Introduction
This guide is applicable for CMS 1.8 and later versions and assumes that you already have a working CMS. Players need to be version 1.8.0-rc1 or later and XMR also needs to be configured.
As a first step, you will need to decide what application you will want to use to connect to the API.
In this guide we will use Postman as an example application.
The API documentation can be found in the Developer manual under the Integration section.
CMS Application
No matter what application you want to use, you will have to create a new application in your CMS Instance.
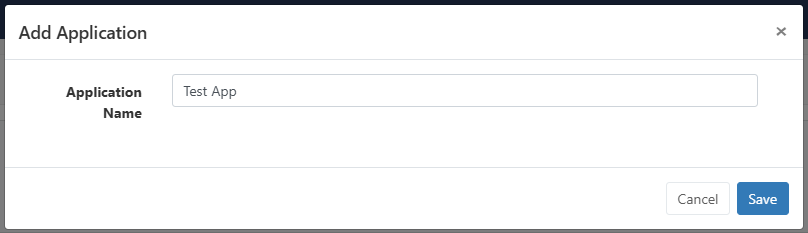
- Navigate to Applications under the Administration section of the main CMS menu and click the Add Application button:

- Give your Application a Name and click Save:
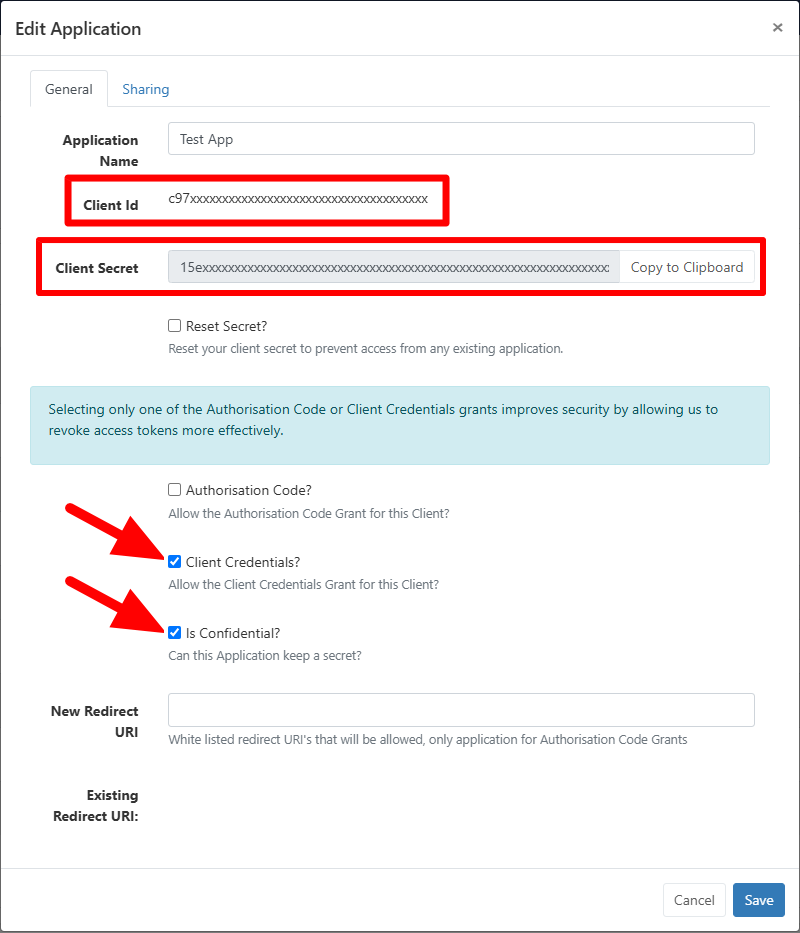
After saving, the Edit Application form will open.
The Client Id and Client Secret will be needed later. For this example, we need to check the Client Credentials? and Is Confidential? checkboxes for our application:
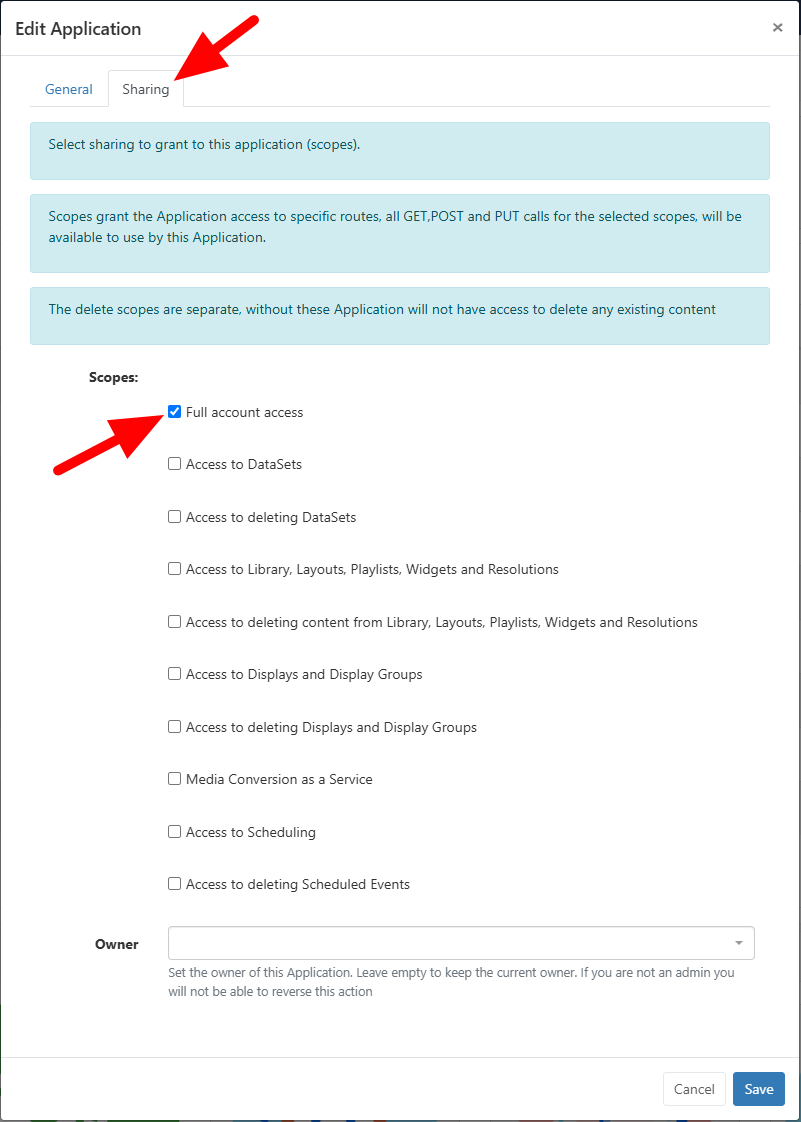
- From the Sharing tab, check Full Account Access
- Click to Save.
Application Configuration
Once the application is created in the CMS and have Client Id and Client Secret, next configure the application to communicate with CMS.
Postman will be used for this example:
Environment
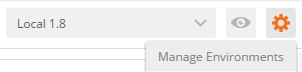
Select the gear icon at the top right of the Postman application and select Manage Environments:
Click the Add button and configure your environment:
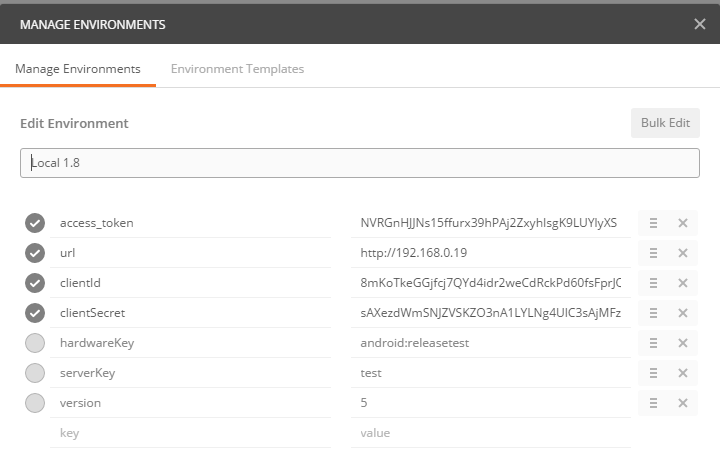
- access_token - you will get this with your first API call.
- url - your CMS address
- clientId and clientSecret - keys from creating the application in the CMS.
- hardwareKey / serverKey / version - are not required (but can be used in some calls).
Once configured, make sure Postman is set to use your environment - in this example ‘Local 1.8’ is the environment name.
Add Xibo APIs to Postman
Postman can import Xibo’s swagger.json file which will add a collection containing all of our documented APIs. Doing this is quite straightforward, on the top left side there is the ‘Import’ button, all you will need to do is click it, select “Link” and paste in the link to our swagger.json file.
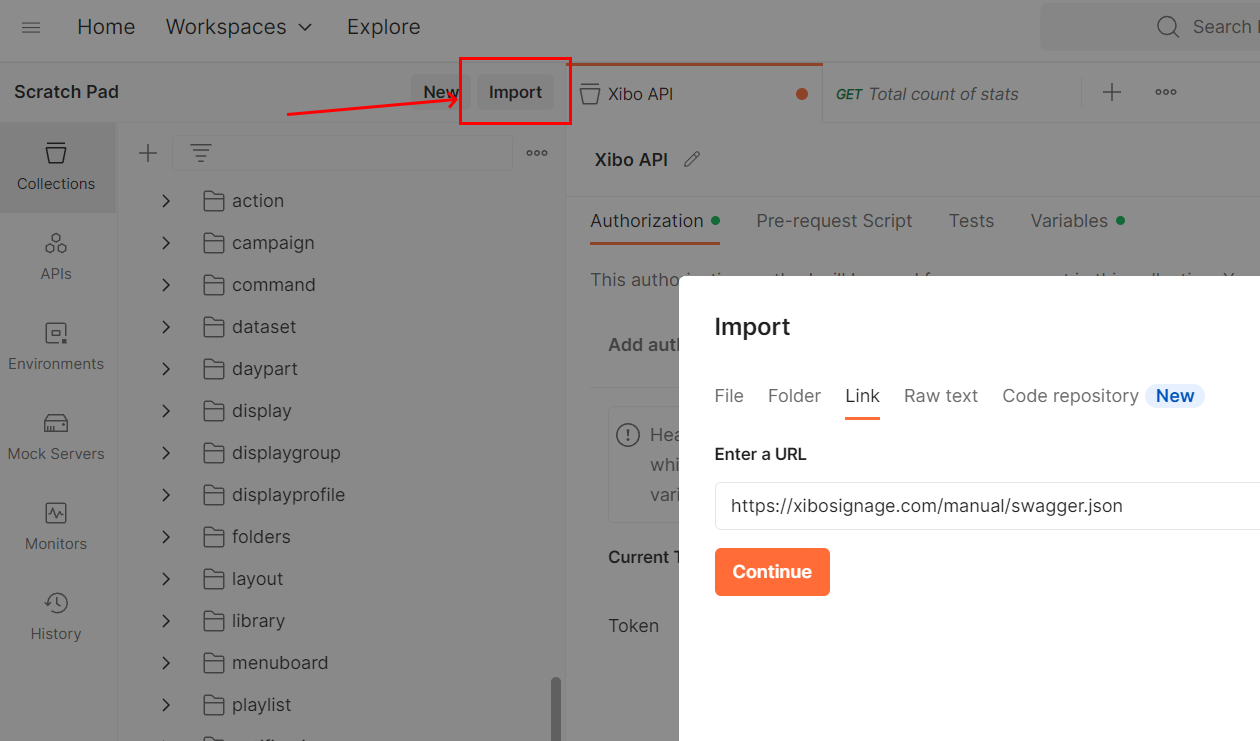
You can find our latest swagger.json file here: https://xibosignage.com/manual/swagger.json, however we recommend using the one from the CMS you are connecting to which is available at <your_cms_url>/swagger.json.
Configure authorisation
All APIs require authorisation, which can be configured for the entire collection in postman on the “Authorization” tab.
For this example, the variables created in our environment will be used to fill in the URL / clientId / clientSecret from the “Configure New Token” options. The grant type should be “Client Credentials”.
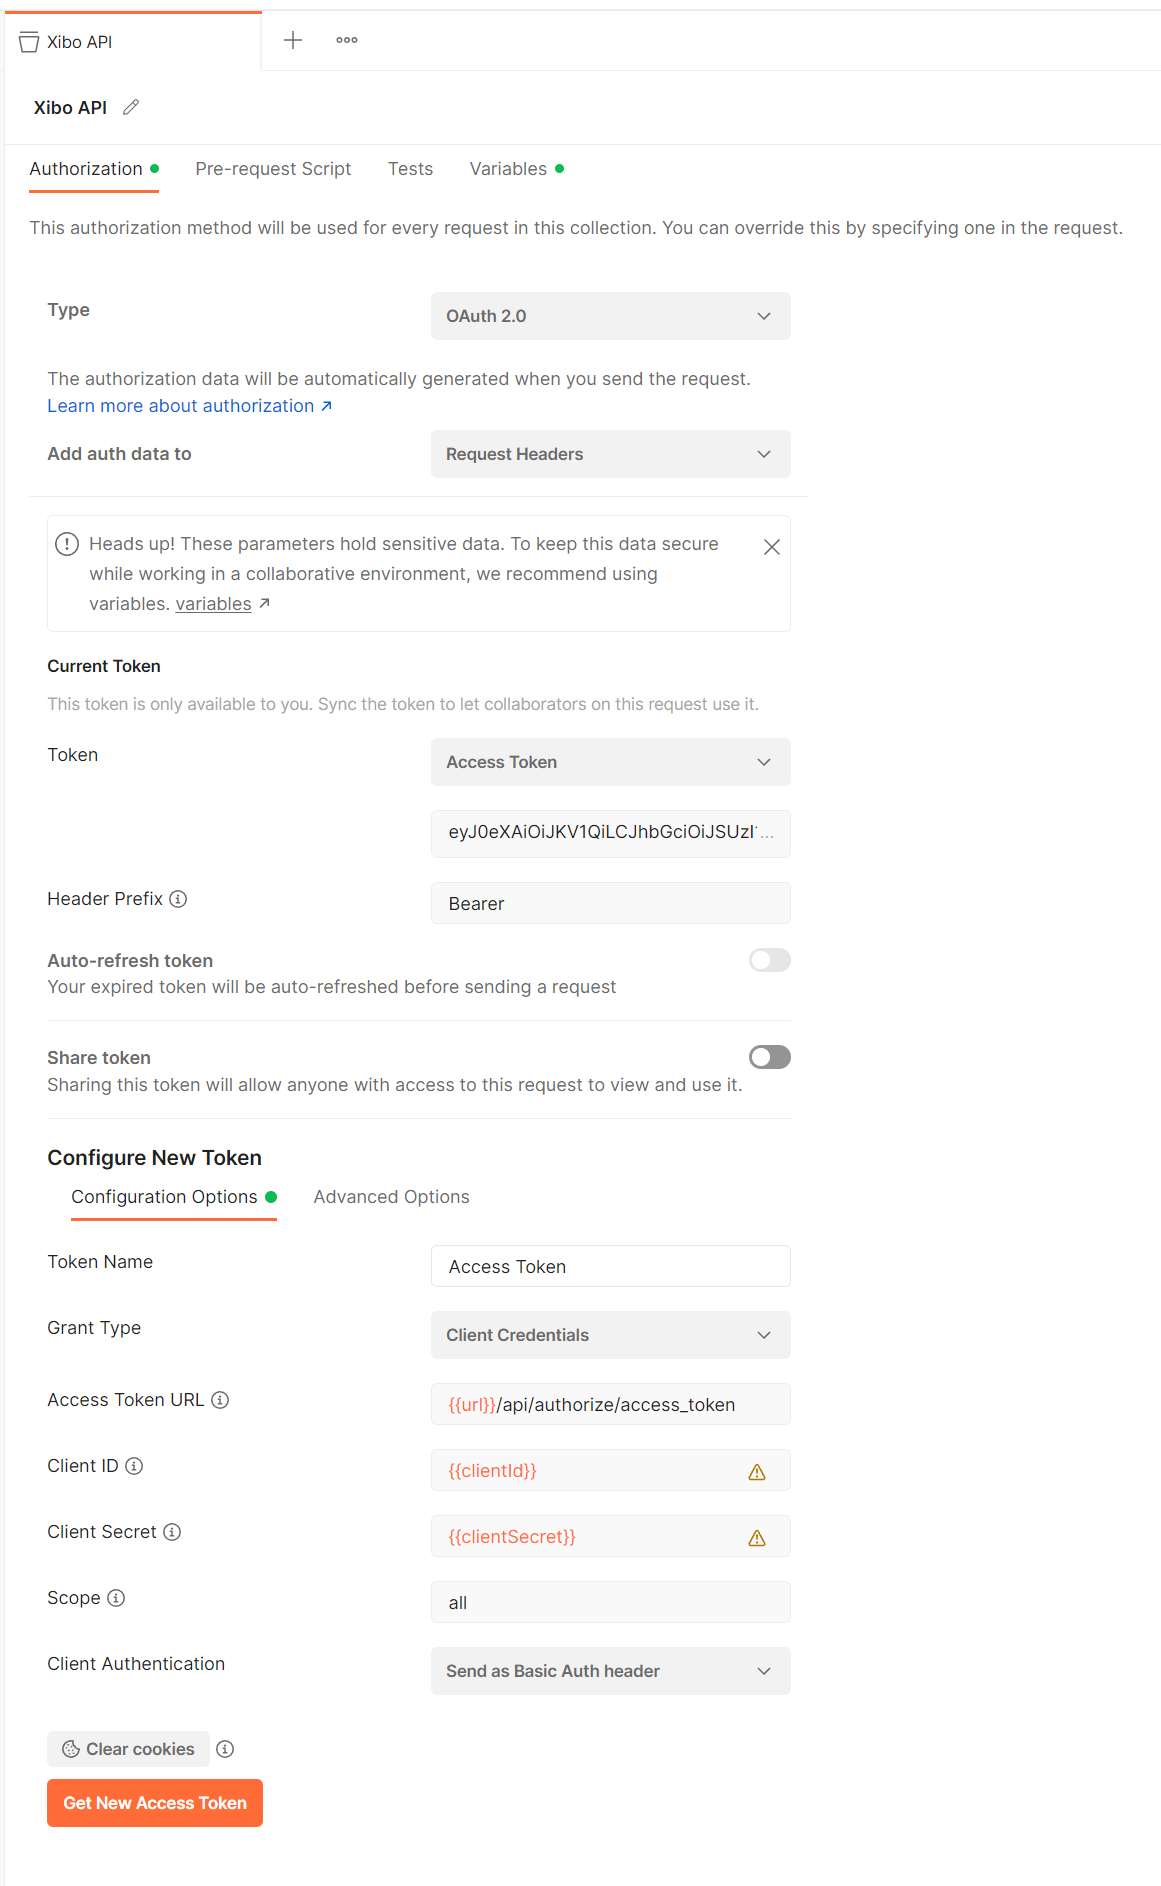
Once configured, select the “Get New Access Token” button to get and use a new token.
Variables
The new collection has a baseUrl variable in the Variables tab, which we can set to {{url}}/api.
Once we have an access token and have configured we are ready to make our first request.
Scroll to the “About” item, open and click send.
Example - creating a Layout
There are couple of API calls in the collection, linked to this guide. Below is a brief description of the calls needed to create a new Layout, Upload Media and assign media to a Player:
Most calls will require Authorization Bearer {{access_token}} in the headers:

All parameters in {{}} like {{url}} or {{clientSecret}} are set in your environment, so you don’t have to, for example, copy whole access_token in each API call that needs it, instead you just put {{access_token}} in call’s header.
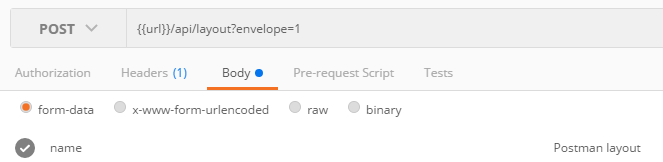
Layout create - pretty self explanatory, you will need to pass the name as a parameter. You can also add additional parameters to the call, please see linked documentation for details.
When you create a new layout via API call in the response field, you will also see the region information ( when you create new Layout in Xibo it comes with an empty full screen region)
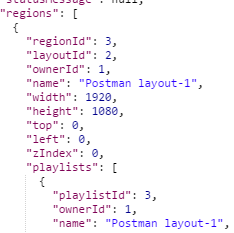
playlistId will be used to assign new media file to that region as explained further down the page.
Next, upload new file to the CMS library. To do that, use library upload call in our test collection.
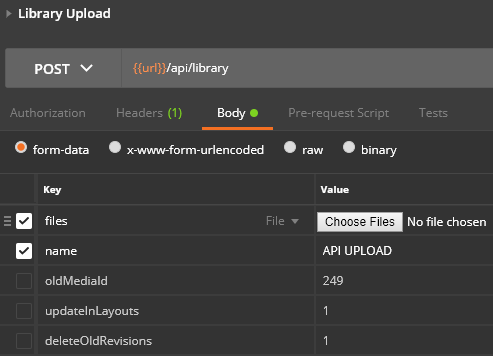
On opening, it will be set to only upload a new file:
- Click the files button
- Select media file
- Change the name
- Click Send
The new file will be uploaded to the CMS library.
There are an additional three parameters shown but these are inactive:
- oldMediaId - put existing mediaId here to replace the new upload
- updateInLayouts - flag (1,0) set to update this media in all Layouts (used with Replace).
- deleteOldRevisions - flag (1,0) either remove or leave the old file revisions (used with Replace)
View edit media in the CMS Media Library to see the same checkboxes.
After you use this call, in the response field, you will see mediaId of the newly uploaded file, it will be needed in the next call.
At this point, Layout and Media has been uploaded to the CMS, next assign the media file to the Layout.
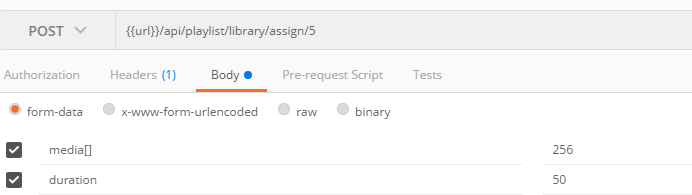
Playlist library assign - you will need playlistId and mediaId with optional duration parameter.
playlistId - each region has a playlistId, if you know the playlistId (in this example 3) then you can use that.
If you don’t know the playlistId, you will need to call GET Layouts (included in the collection .json from this guide).
media - is an array of mediaId you wish to assign to this region (at least one required)
If you don’t know the mediaId you want to use, you can call GET Media (included in the collection .json from this guide)
duration - optional parameter that can be passed in this call.
At this point we have created a Layout, uploaded a Media file and assigned it to our Layout.
Another interesting call in our test .json collection from this guide is:
Action: Change layout
You’ll need displayGroupId and layoutId
You can call GET Displays to get displayGroupId - each display has it’s own unique displayGroupId
You can also call GET DisplaysGroup to get displayGroupId of a display group, if you have Display Groups set up in the CMS.
You can call GET Layout to get the layoutId you need
Once configured you can instantly change the Layout showing on your Display / Display Group.
If it is sent without a specified duration, it will be shown as per the Layouts duration.
Notes
There are a lot more API calls available, using this guide and API documentation you should be able to create them yourself.
In all GET calls you can pass additional parameters to filter the results, check the API documentation - http://xibo.org.uk/manual-tempel/api/#/
If you find that some calls are not working, please create a new topic in the Dev Category from the Xibo Community site!