I want to share my experience for installing Xibo on Windows Server. I want to share if help anyone needs this kind of installation.
This guide will explain every step for IIS 8.5 on WINDOWS SERVER 2012 R2 Standart 64Bit. If any mistake please correct me.
XIBO Installation IIS 8.5 on WINDOWS SERVER 2012
Install Microsoft Web Platform Installer from Windows
Select and Install PHP 5.6 From Web Platform Installer
MYSQL:
Mysql 5.6 download from community and install (https://dev.mysql.com/downloads/file/?id=467267)
Files and Folders
In this Manual web site is: Default Web Site you can use which you want in IIS
Extract all Xibo Php Files to C:\PHP_FILES - And Give Permission for IUSR and IIS_IUSR
Create directory for your Library Files C:\LIB_FILES - And Give Permission for IUSR and IIS_IUSR
IIS Settings
Default Web Site -> Basic Settings-Change Physical path to your XiboFiles folder in this manual C:\PHP_FILES\web
Default Web Site-> Request Filtering - Maximum Query String (Bytes) to 4096 (otherwise you will get datatables.ajax error)
Default Web Site->URLRewrite-Import Rules-Configuration files.And browse and import the .htaccess file in C:\PHP_FILES\web\folder. (remove the problem line and import)
Default Web Site->MimeTypes -> Add (.woff = font/x-woff )
Default Web Site-> MimeTypes -> Add (.woff2 = font/woff2 )
Default Web Site->PHP Manager-Select Checkbox If Not optimal PHP configuration detected-View recommentdations
Default document
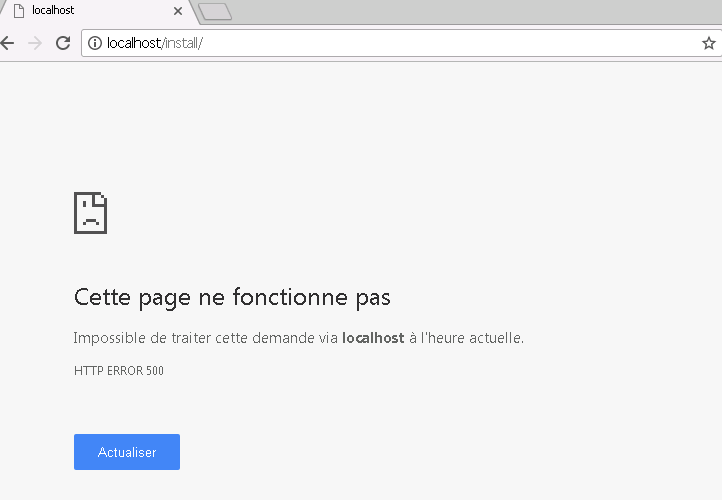
monitorChangesTo (otherwise you will get HTTP 500 error when start install.php)
IIS: Request Filtering -> Edit Request Filtering Settings - Maximum allowed content length (Bytes) (3000000 to 30000000) (Add one more zero) (Default file size is 30mb, we are making it 300mb.)
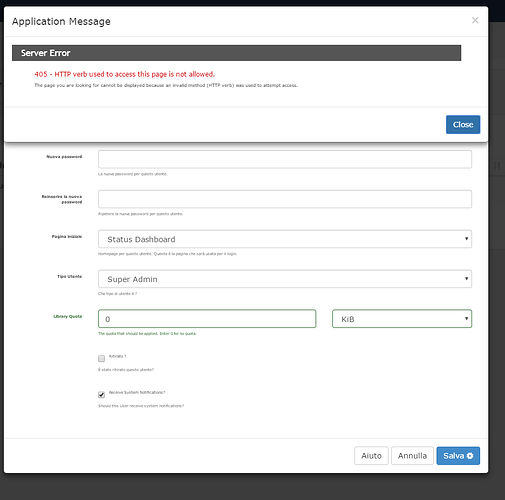
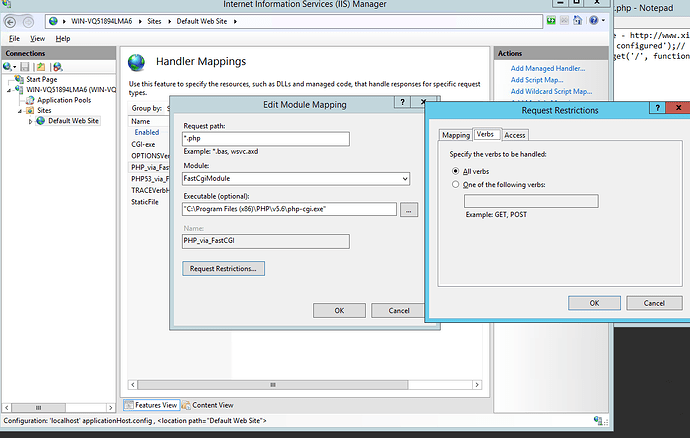
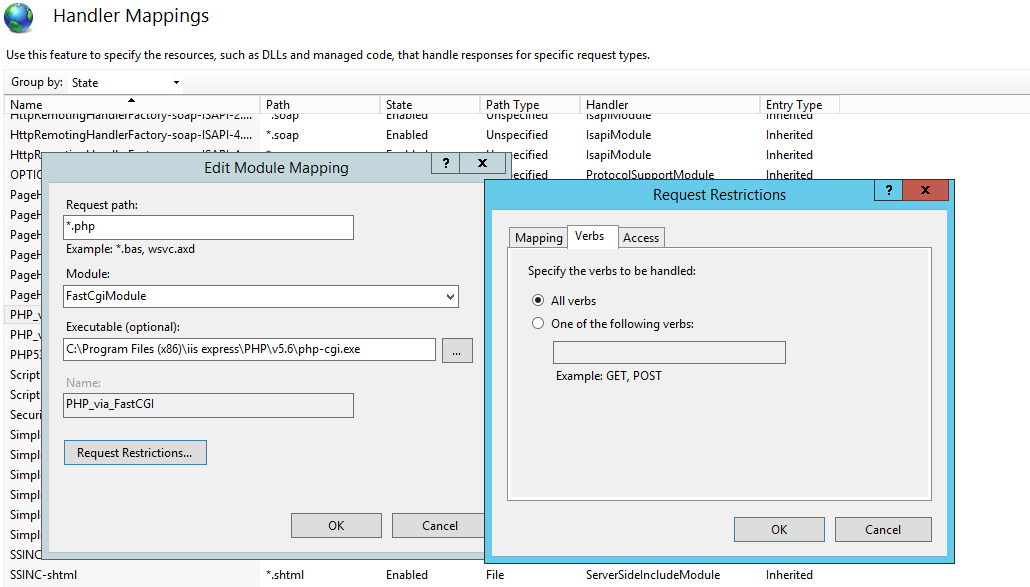
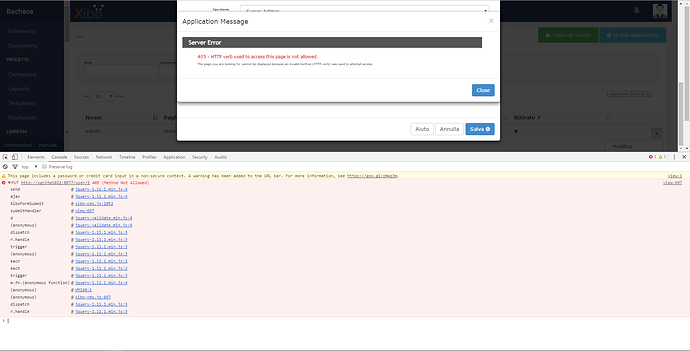
Default Web Site->Handler Mappings-PHP_via_FastCGI-Request Restrictions-Verbs-All verbs . (Otherwise you will get HTTP 405 error when try to save a setting in portal) (You need the double quota for start and end of the line of php.exe path, othervise windows wont let you save the setting for Handler Mappings for Php)
PHP.ini (DefaultWebSite-Php Manager-Php.ini)
Add line in [PHP] section: extension=php_fileinfo.dll
Change other lines as below in PHP.ini;
post_max_size=200M
upload_max_filesize=200M
max_execution_time=120
Sending Mail in PHP
Xibo uses PHPMail to connect your local SMTP Server Application but PHPMail cannot send directy from itself. You need a 3rd party smtp server for sending mail from php.
I am using sendmail.exe
Download and extract all sendmail files to a folder ex.C:\Sendmail
modify files as below;
sendmail.ini (samples for office 365mail setting, use your smtp provider setting)
smtp_server=smtp.office365.com
smtp_port=25
smtp_ssl=tls
default_domain=yourdomain.com
error_logfile=error.log (it creates a text file in sendmail folder to track errors.)
debug_logfile=debug.log (it creates a text file in sendmail folder to track errors.)
auth_username=your@domain.com
auth_password=password of your email
You also need to modify PHP.ini for your mail settings;
PHP.ini
[mail function]
SMTP = smtp.office365.com
smtp_port = 25
sendmail_from = your@domain.com
sendmail_path ="C:\sendmail\sendmail.exe"
mail.add_x_header = On
ZeroMq
No Need to install Any Seperate Server for Zero Mq
Php Xmr Settings
Download zero mq package from php.net (this is PHP 5.6 and must be x86 even in x64 Windows)
http://windows.php.net/downloads/pecl/releases/zmq/1.1.2/php_zmq-1.1.2-5.6-nts-vc11-x86.zip
copy php_zmq.dll to your ext folder in PHP installation (ex. C:\Program Files (x86)\PHP\v5.6\ext)
copy libzmq.dll to your PHP installation folder (ex. C:\Program Files (x86)\PHP\v5.6)
If your package is wrong you could get error. You can check from Windows Event Viewer-Application Logs (PHP Warning: PHP Startup: Unable to load dynamic library ‘C:\Program Files (x86)\PHP\v5.6\ext\php_zmq.dll’ - The specified module could not be found.)
Modify php.ini
[PHP]
extension=php_zmq.dll
Xibo Cms Side
Copy from C:\PHP_FILES\vendor\xibosignage\xibo-xmr
or Create new file as the below content
config.json content:
{
  "listenOn": "tcp://127.0.0.1:50001",
  "pubOn": ["tcp://yourip:9505", "tcp://yourip:50002"],
  "debug": true
}
copy the file in to C:\PHP_FILES\vendor\bin folder.
in same folder open command promt (Pressing Shift and right mouse key and select Open Command prompt from here)
run the command: php xmr.phar
you will get debug console with information on xmr events
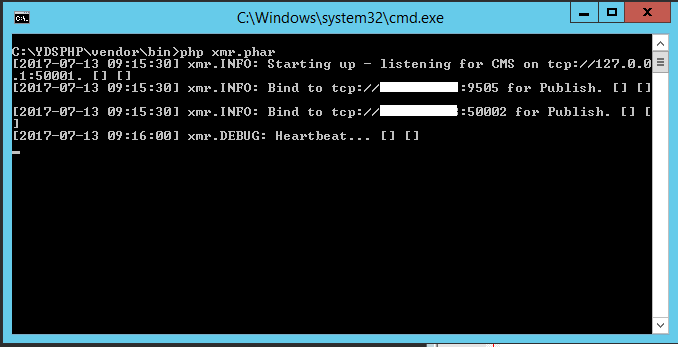
if everything is correct you will get a screen like this
C:\YDSPHP\vendor\bin>php xmr.phar
[2017-05-04 22:13:19] xmr.INFO: Starting up - listening for CMS on tcp://127.0.0.1:50001. [] []
[2017-05-04 22:13:19] xmr.INFO: Bind to tcp://yourip:9505 for Publish. [] []
[2017-05-04 22:13:19] xmr.INFO: Bind to tcp://yourip:50002 for Publish. [] []
[2017-05-04 22:13:49] xmr.DEBUG: Heartbeat... [] []
[2017-05-04 22:14:19] xmr.DEBUG: Heartbeat... [] []
[2017-05-04 22:14:49] xmr.DEBUG: Heartbeat... [] []
[2017-05-04 22:15:19] xmr.DEBUG: Heartbeat... [] []
Note: Dont forget to run “php xmr.phar” command when you restart your server
CMS Settings for Zeromq
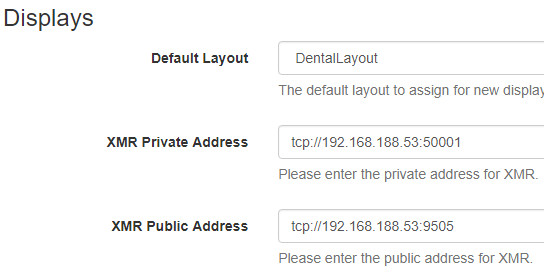
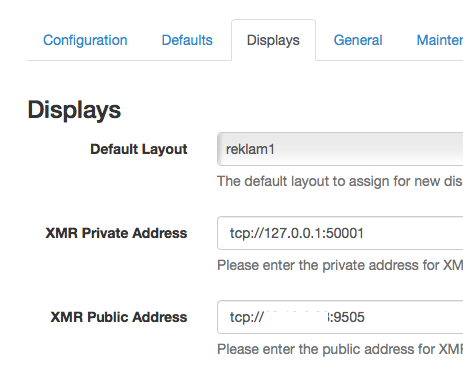
Settings-Displays-XMR Private Address: tcp://127.0.0.1:50001
Settings-Displays-XMR Public Address: tcp://x.x.x.x:9505
Displays-Display Setting for your display group-Edit-XMR Public Address:tcp://x.x.x.x:9505
After players get those settings you will see XMR Status: Connected (tcp://x.x.x.x:9505, last activity 04.05.2017 12:23:22) It will update every 30 seconds.
