This guide is applicable for users of a v3.1 and later CMS
This guide will take you through the steps needed to create a simple Layout using a v3.1.x CMS.
1. Add Layout record
2. Configure Regions (only if modifying an existing Template or from selecting a Blank Template)
3. Add Content
4. Publish
If you are using an earlier version, please use the following links to select an appropriate guide:
So how do you create a simple Layout using Xibo?
A Layout consists of one or multiple Regions which act as placeholders for content. Content is then added to Regions using Widgets or Library Media.
1. Add new Layout record
- Select Layouts located under the Design section of the main CMS menu and click the Add Layout button:
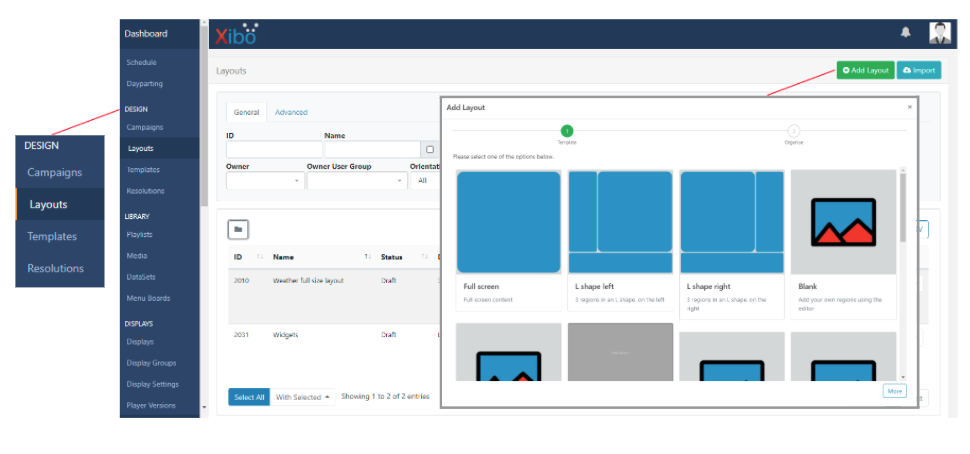
- Select from one of the Templates that will best suit your requirements to make it even easier by skipping the need to configure Regions and get straight to adding content!
For the purpose of this guide I will select a Blank template to demonstrate how Regions can be added/edited.
- Select Blank and click Next at the bottom of the form.
To keep things simple, we shall only complete the following necessary fields:
- Give your Layout a Name, this is for internal identification purposes only and will not be shown anywhere on the Layout itself.
- Use the drop down menu to select the intended Resolution for the Layout.
- Save
The Layout Designer will open as a blank canvas.
2. Configure Regions
As we have selected a Blank template, first we need to add Regions.
- Click on the edit icon located at the bottom of the viewer.
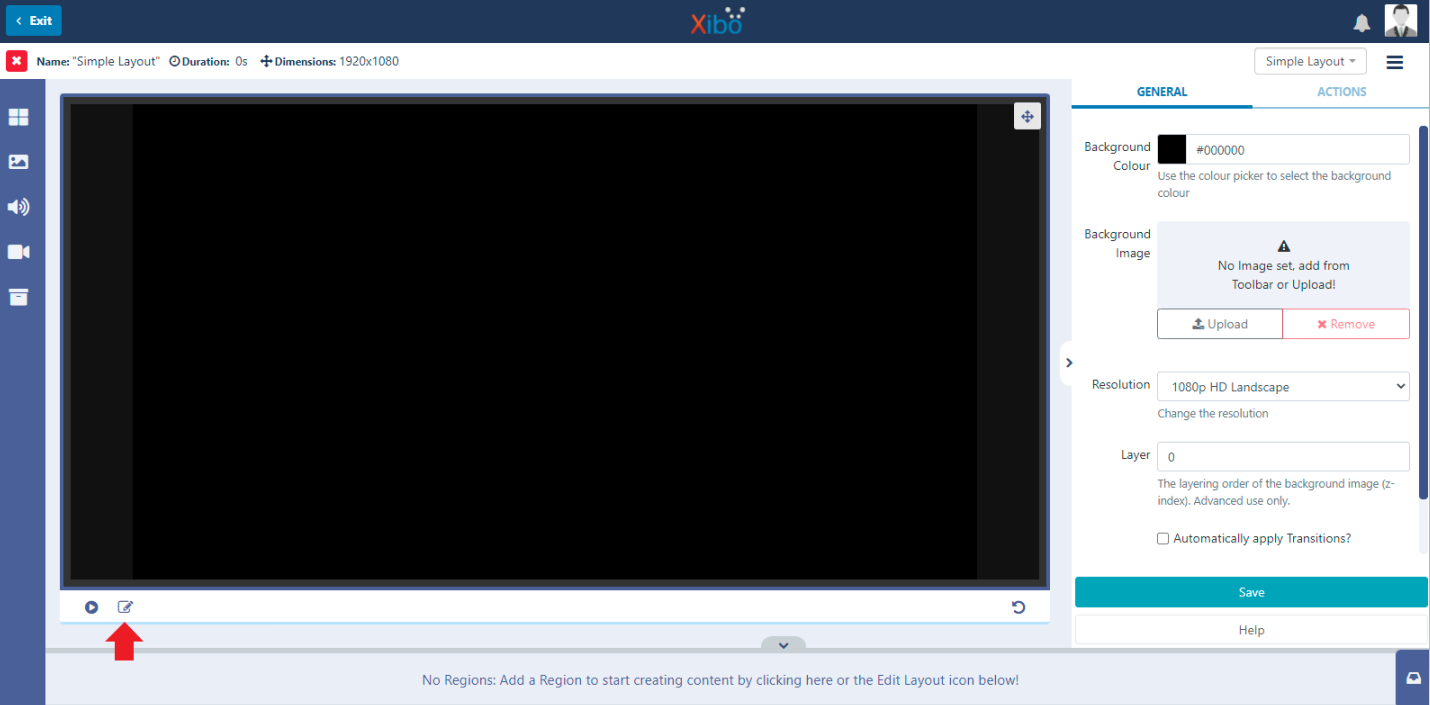
This will open up the Region editor so that we can add Regions.
When in ‘edit’ mode, the viewer window will have an orange border!
- Click on the
+icon at the bottom of the viewer to add a Region to the canvas.
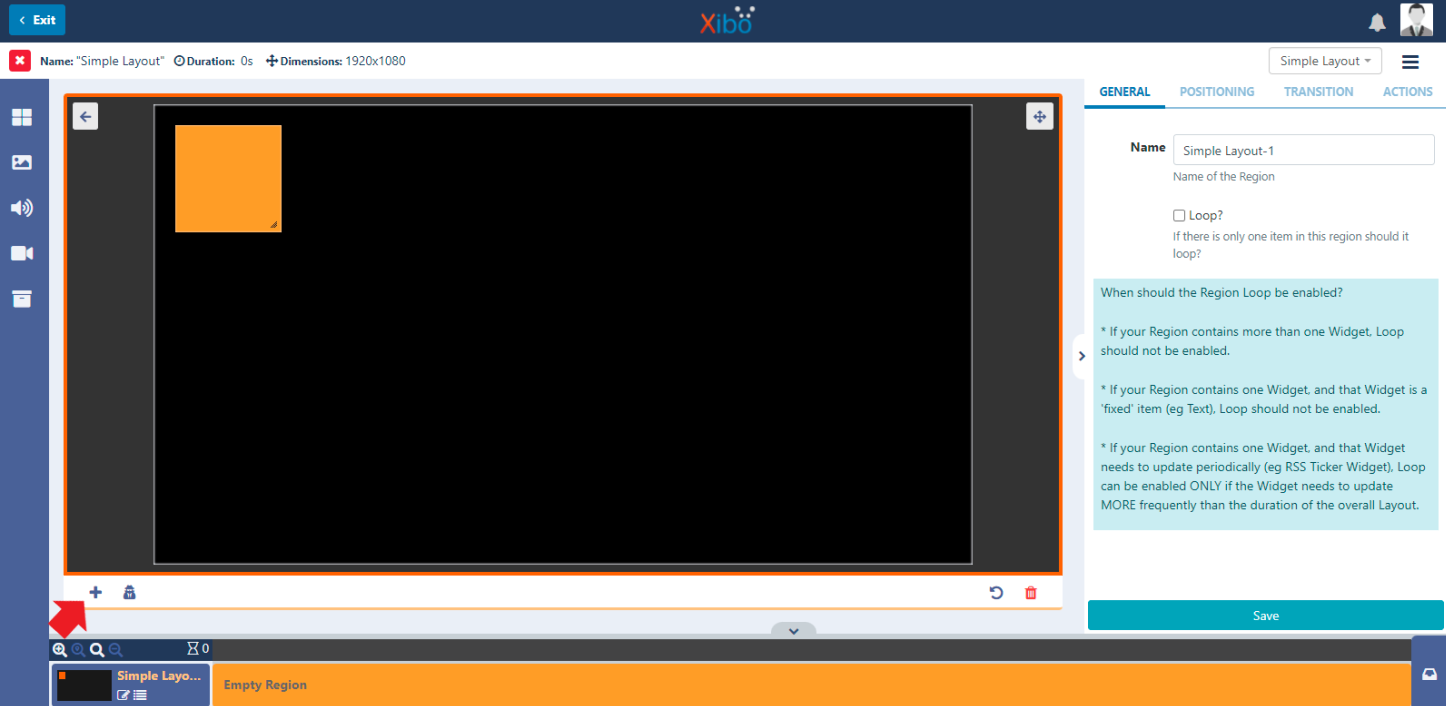
- Click anywhere inside this Region to select.
By selecting a Region, options will be presented in the right hand properties panel which can be used for precise Positioning and for the application of Exit Transitions.
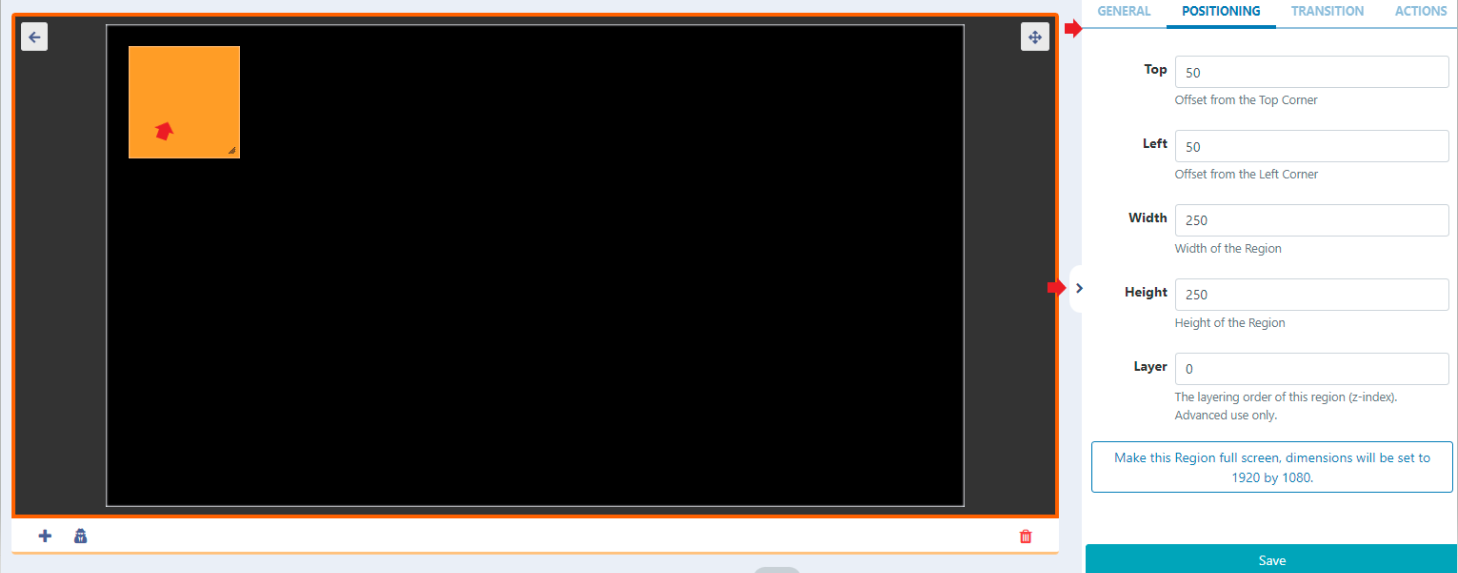
For this guide, we will minimise the properties panel by using the arrow to give us a clearer workspace and then use the resize handle located in the bottom right of the Region.
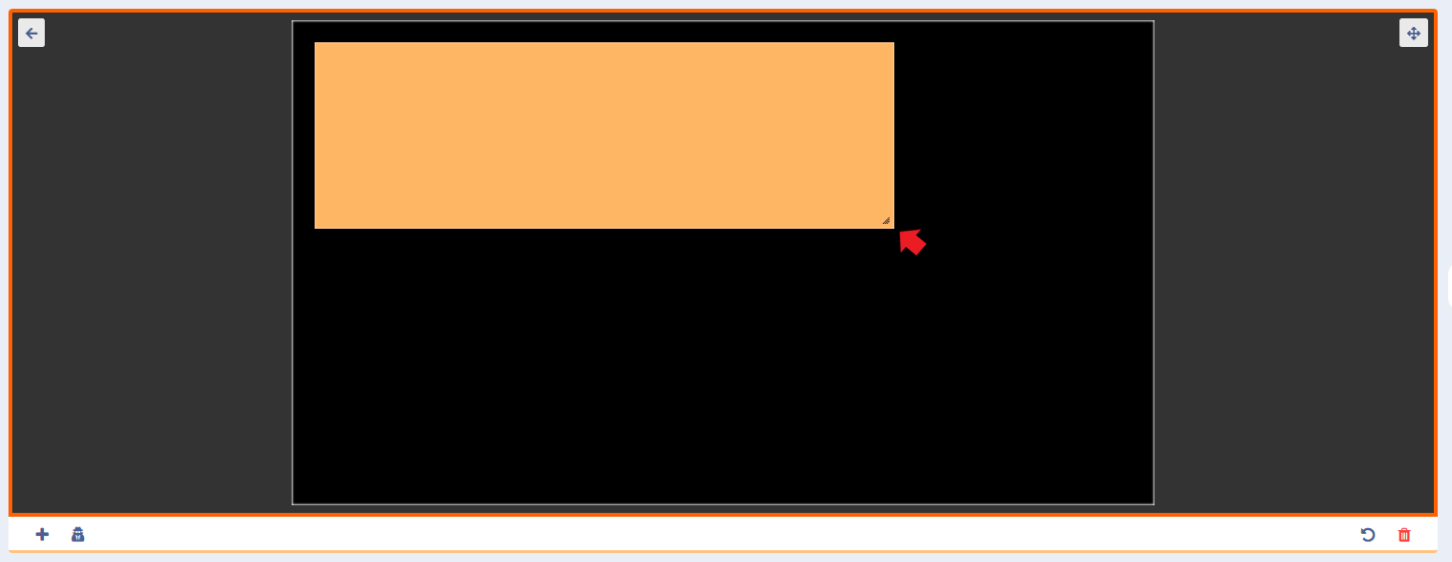
- Click the handle and drag to resize.
- Next click inside the Region, and drag to position on the canvas.
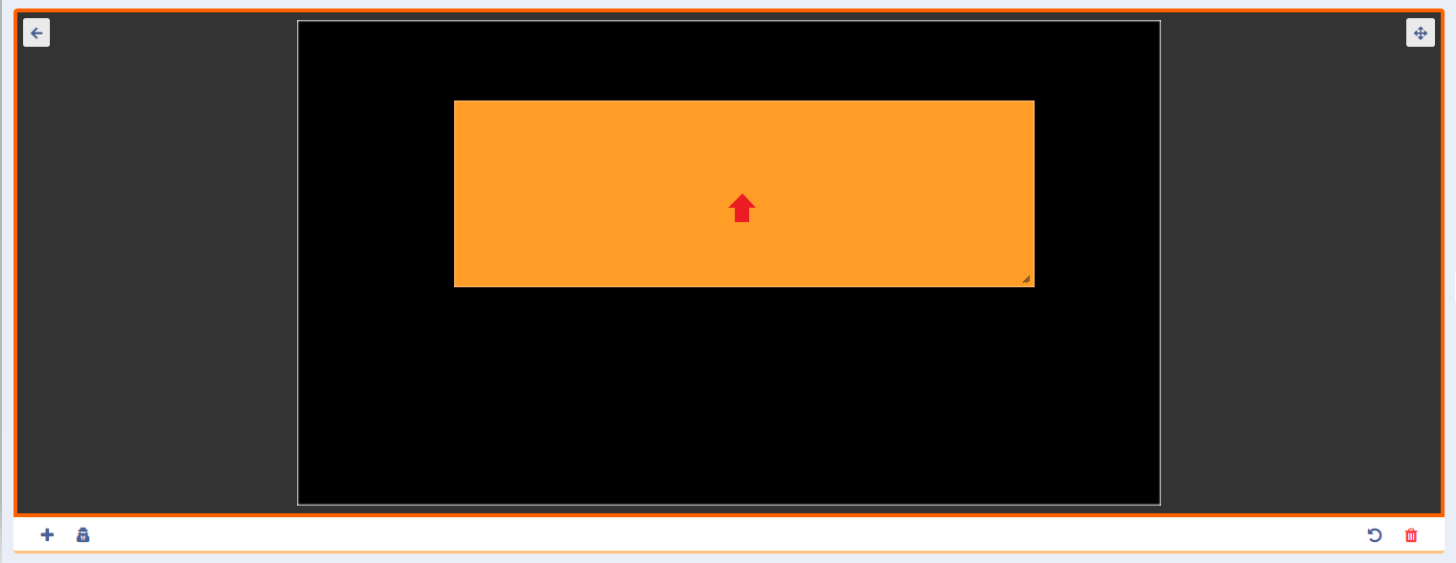
Clicking outside of a Region onto the canvas will save any changes!
- Now add a second Region by clicking on the
+button and resize and position this Region.
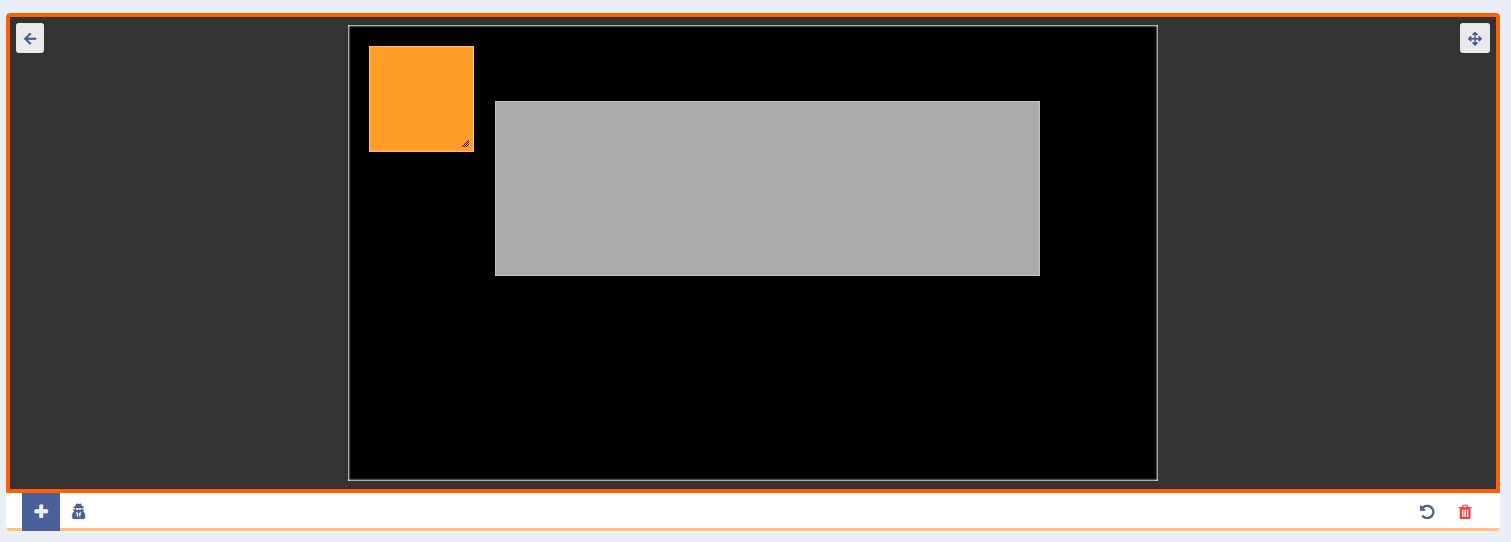
- Click outside of the Region onto the blank canvas to save and use the arrow located in the top left of the viewer to exit the editor and return to the Layout view.
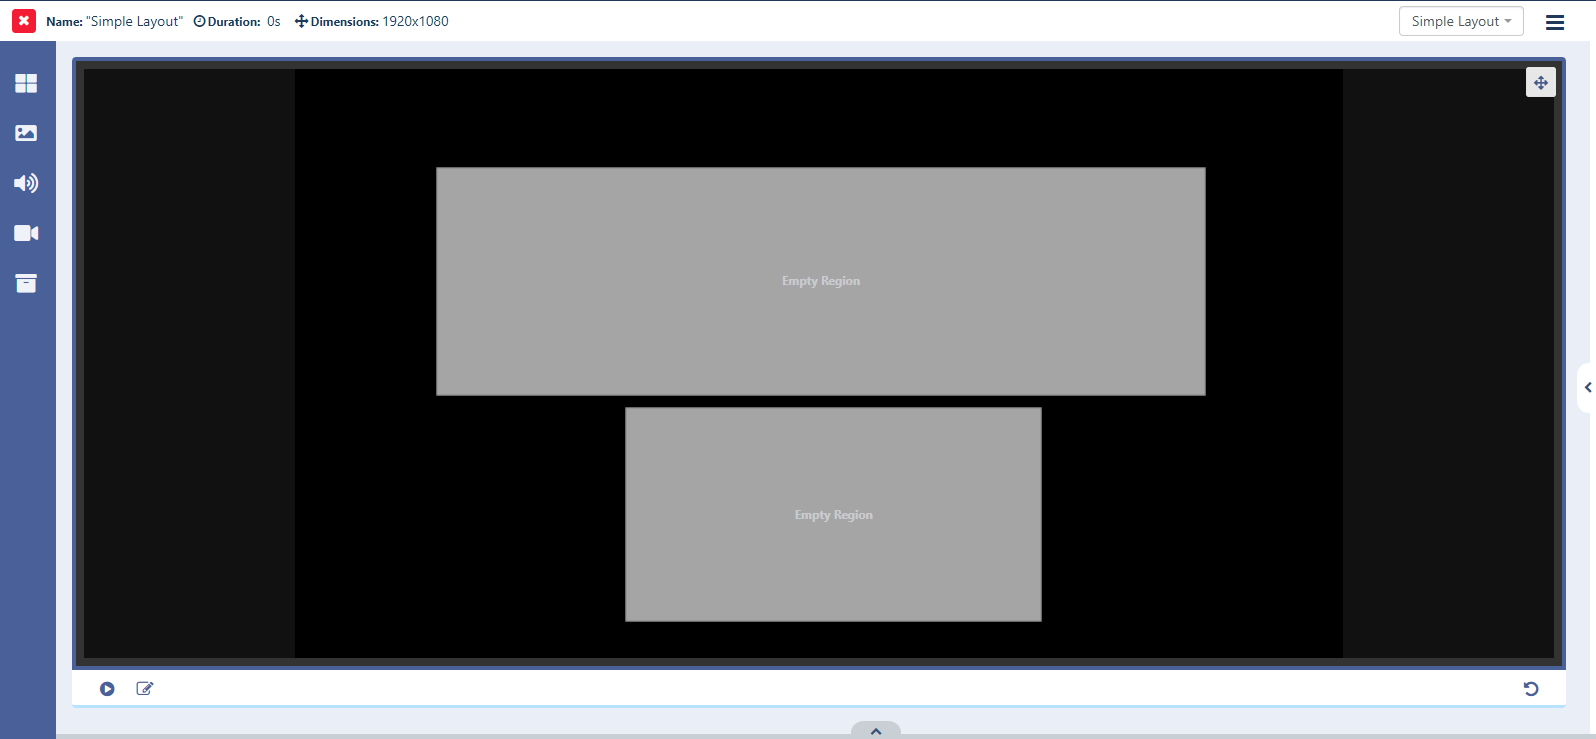
Now we have two empty Regions positioned and sized on our Layout ready for some content to be added.
You can see how selecting Templates when adding Layouts can save users a lot of time!
3. Add Content
Let’s keep things simple and add a Text Widget to the top Region.
- From the left hand toolbar click the top icon Layout Designer Widgets to open:
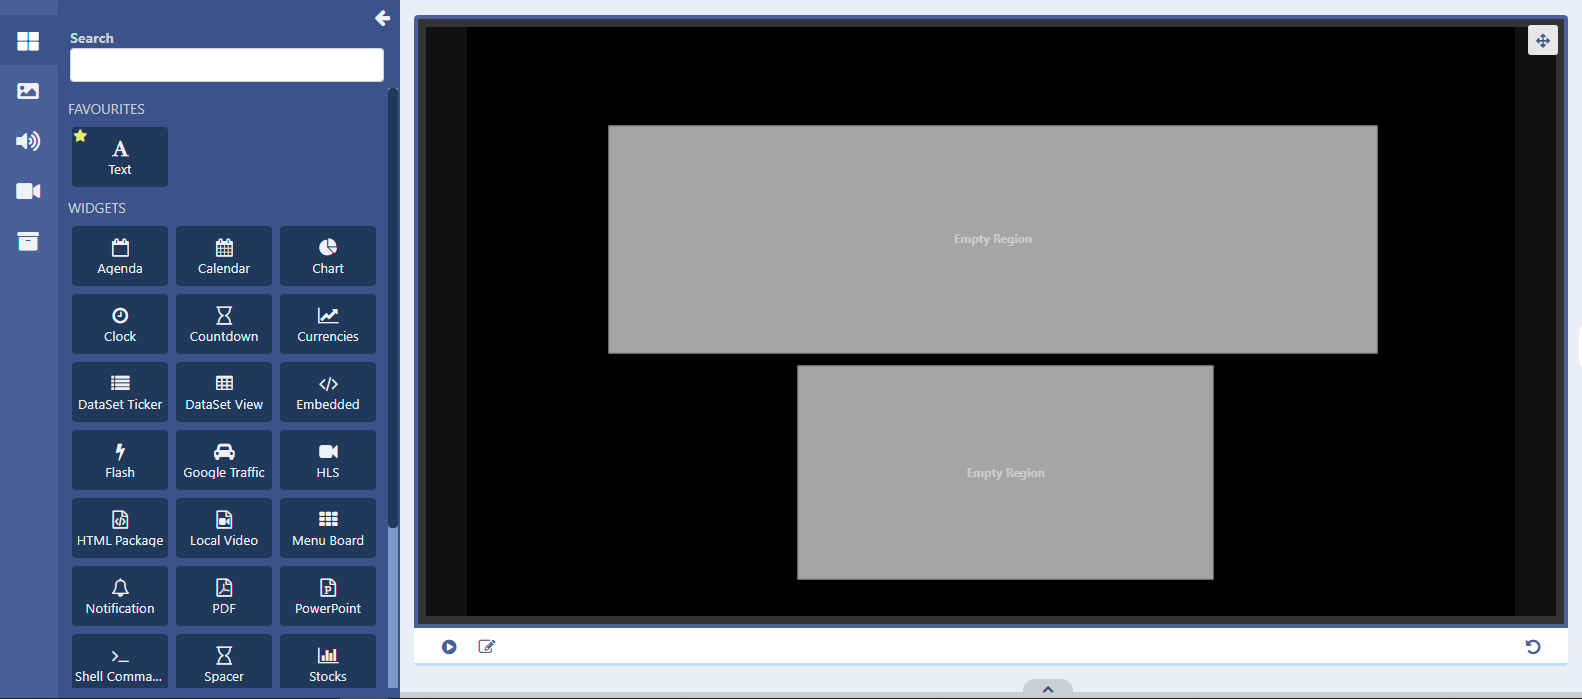
I have already added the Text Widget as a ‘favourite’ for ease of selection.
Widgets can be added and removed to the Favourites section by clicking in the top left of a Widget and selecting the star!
Find the Text Widget by using the Search field at the top or use the scroll bar to locate.
- Click to Add or Grab the Text Widget and add it to the top empty Region.
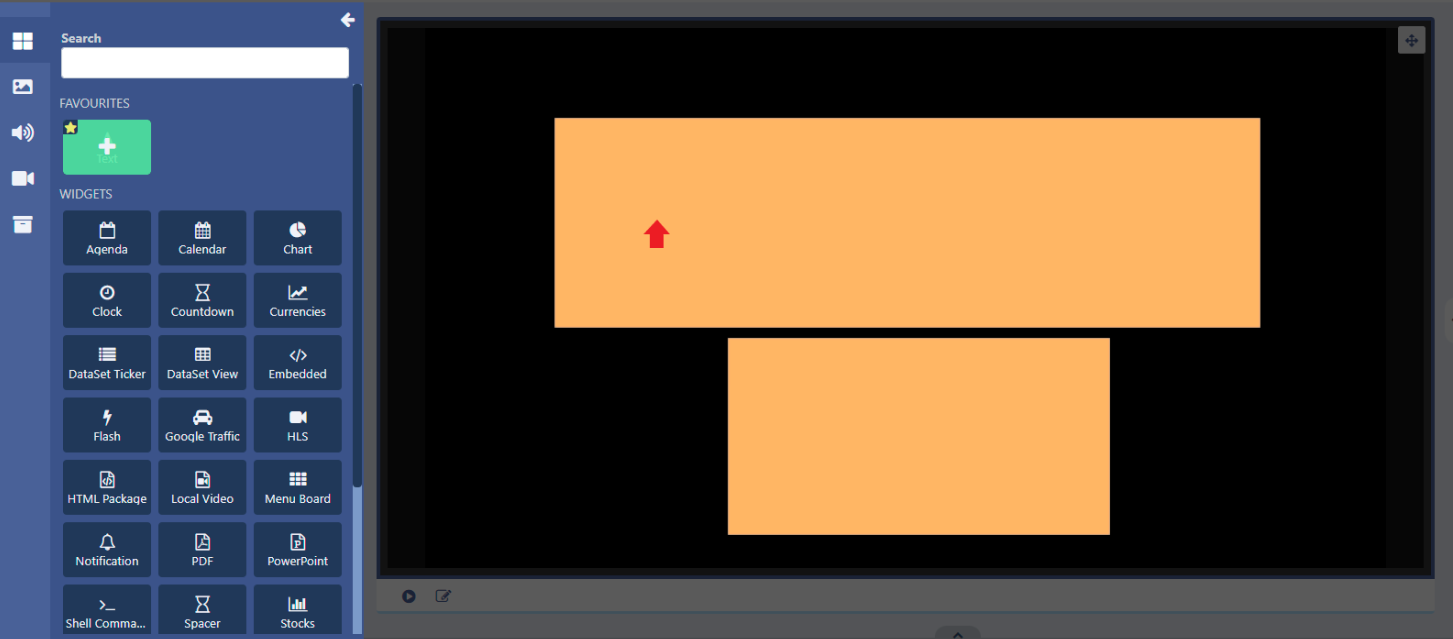
You can also add to a Region using the Timeline located at the bottom of the Layout Designer.
- Click on the edit icon in the viewing window to open the inline editor.
Use the arrow to minimise the toolbar
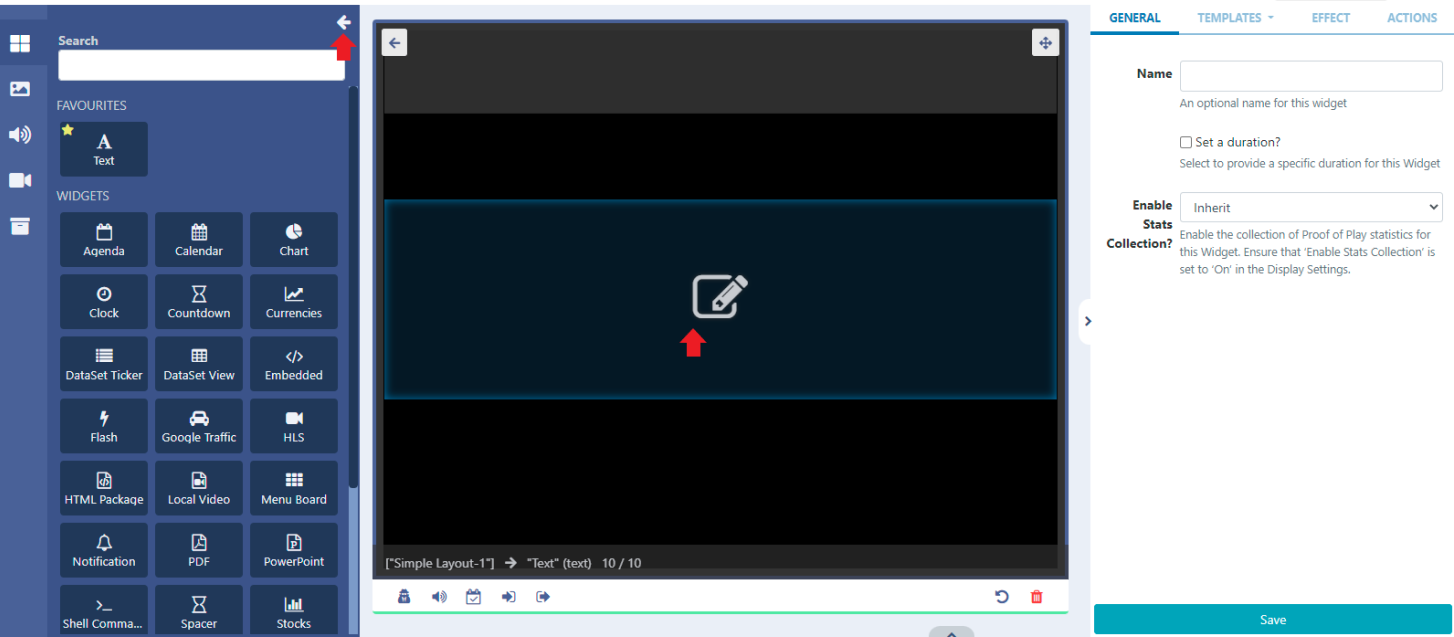
- Enter text and format ensuring that you keep your text within the Region borders, shown as a thin red line, to ensure that all your text is properly displayed.
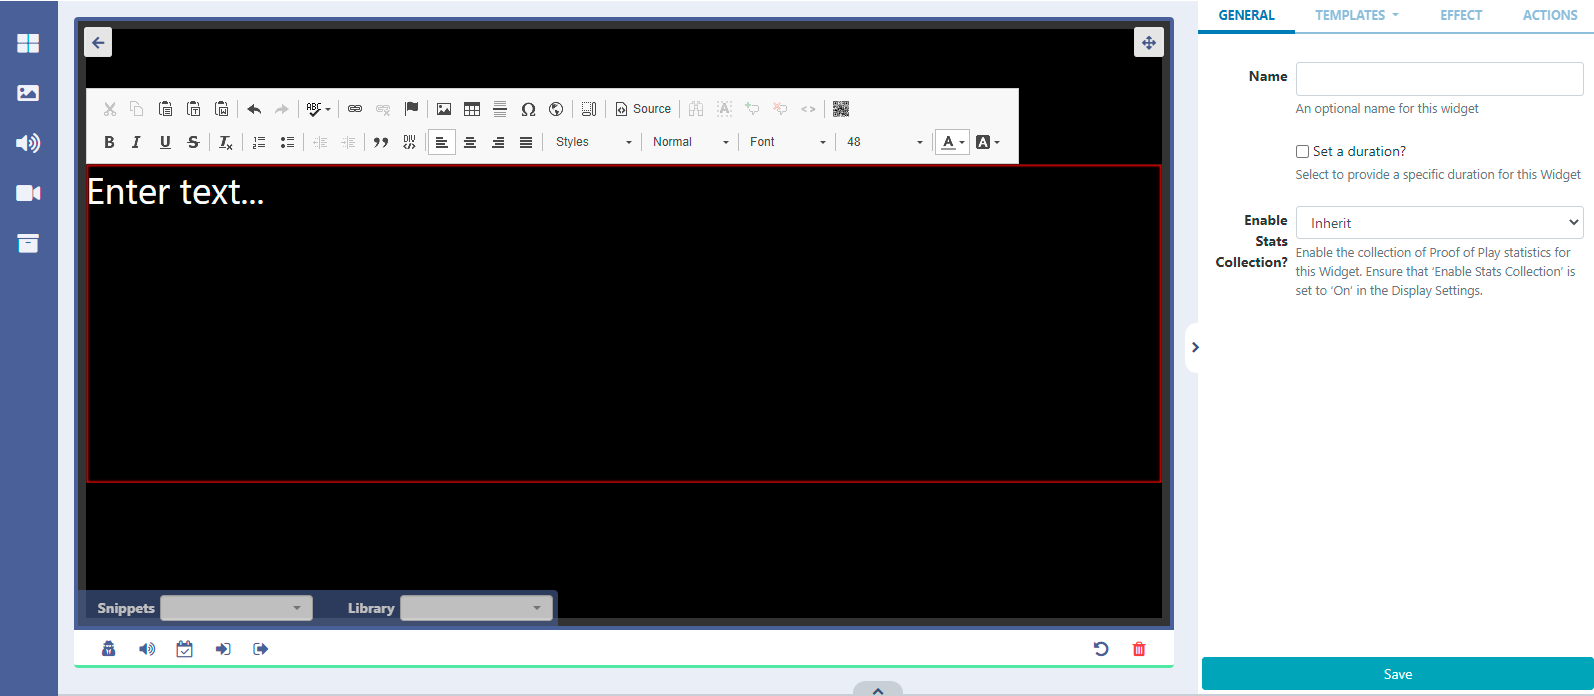
- Once you are happy click the Save button at the bottom of the properties panel.
You can use the available options in the properties panel to override the duration and select effects for text!
- Use the arrow in the top left of the viewer to return to the Layout view.
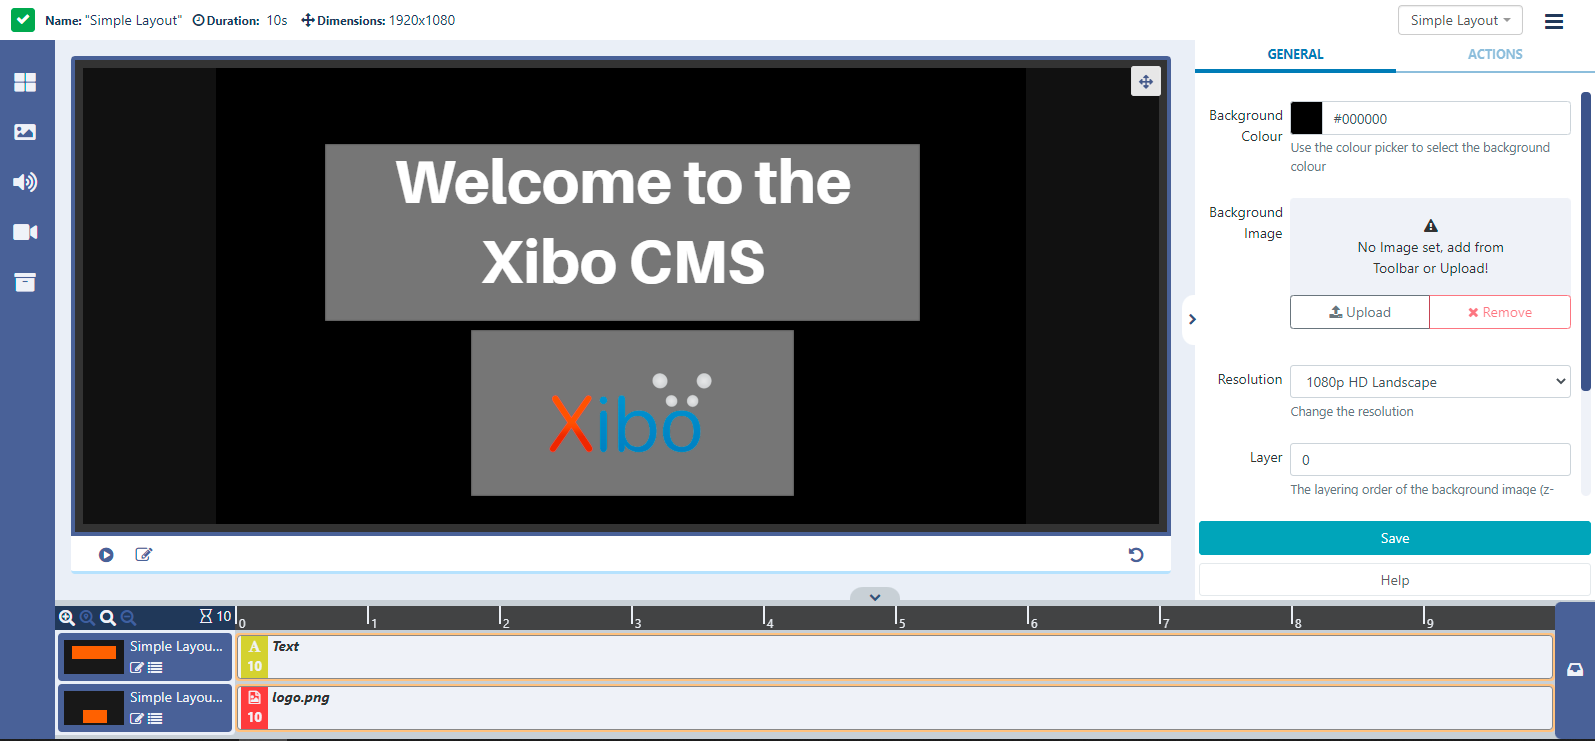
If you enable the Timeline at the bottom, you will see the added Text which has a default duration of 10 seconds.
You will notice that the status located at the top of the Layout Designer, is still a red cross. This means that this Layout is invalid and would not play if scheduled to Displays.
This is because this Layout still contains an empty Region, so let’s add an Image to this Region.
- Click on the Library Image search button from the left hand toolbar:
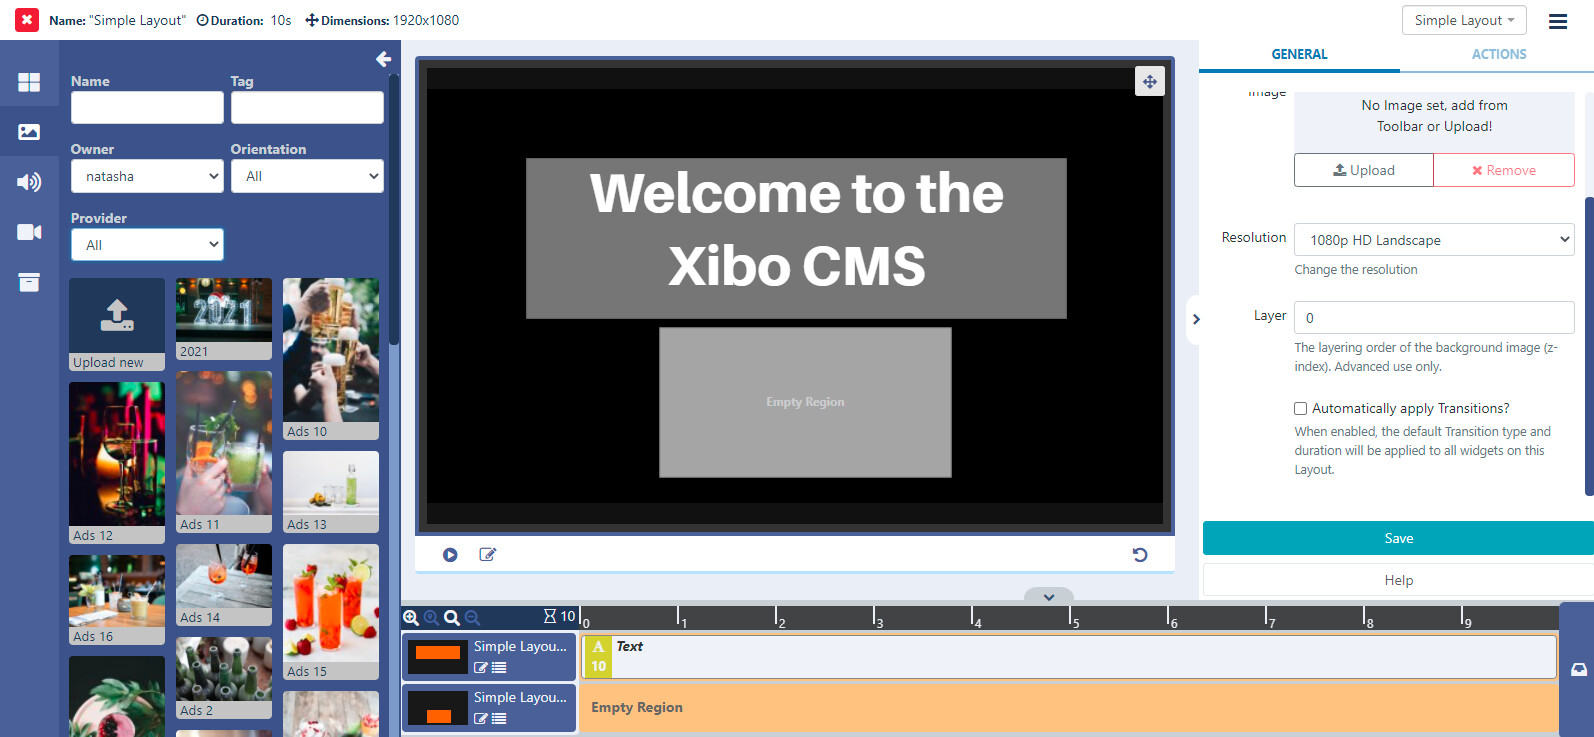
Use the fields to narrow down searches for Images that have already been uploaded to the Library.
Integration from Pixabay allows for Image searches to also be shown here.
Pixabay is enabled by default for Xibo in the Cloud customers!
If you want to use one of the images already available, click the + icon in the top left hand corner of the image file to select, then click in the Region to add.
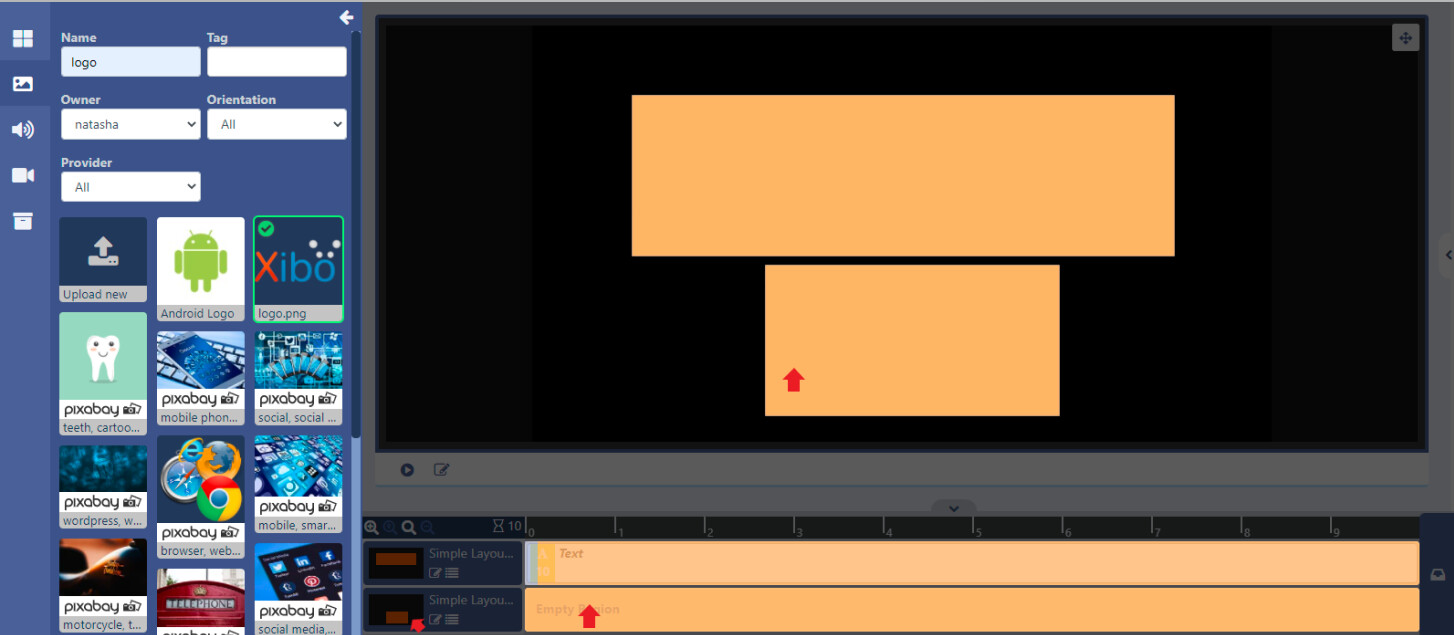
You can add to the bottom Region in the viewer or Timeline!
- If the Image you want to use has yet to be uploaded, select Upload new and add to the Region.
On adding, the Upload media form will open:
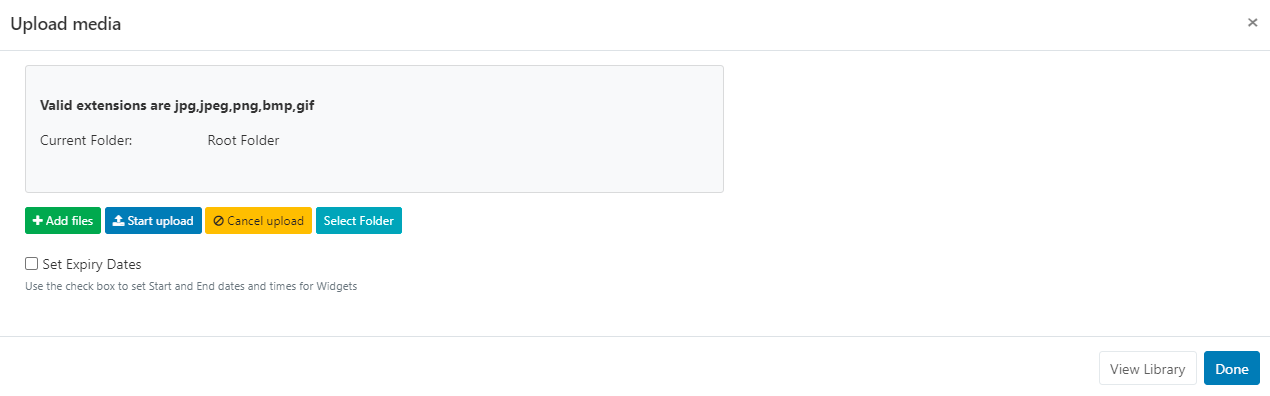
-
Click on Add files and select the image file on your computer you wish to upload and click the Start upload button.
-
Once successfully uploaded, click Done.
Images uploaded to Layouts will be automatically added to your CMS Library and can be selected using the Library Image search for future use.
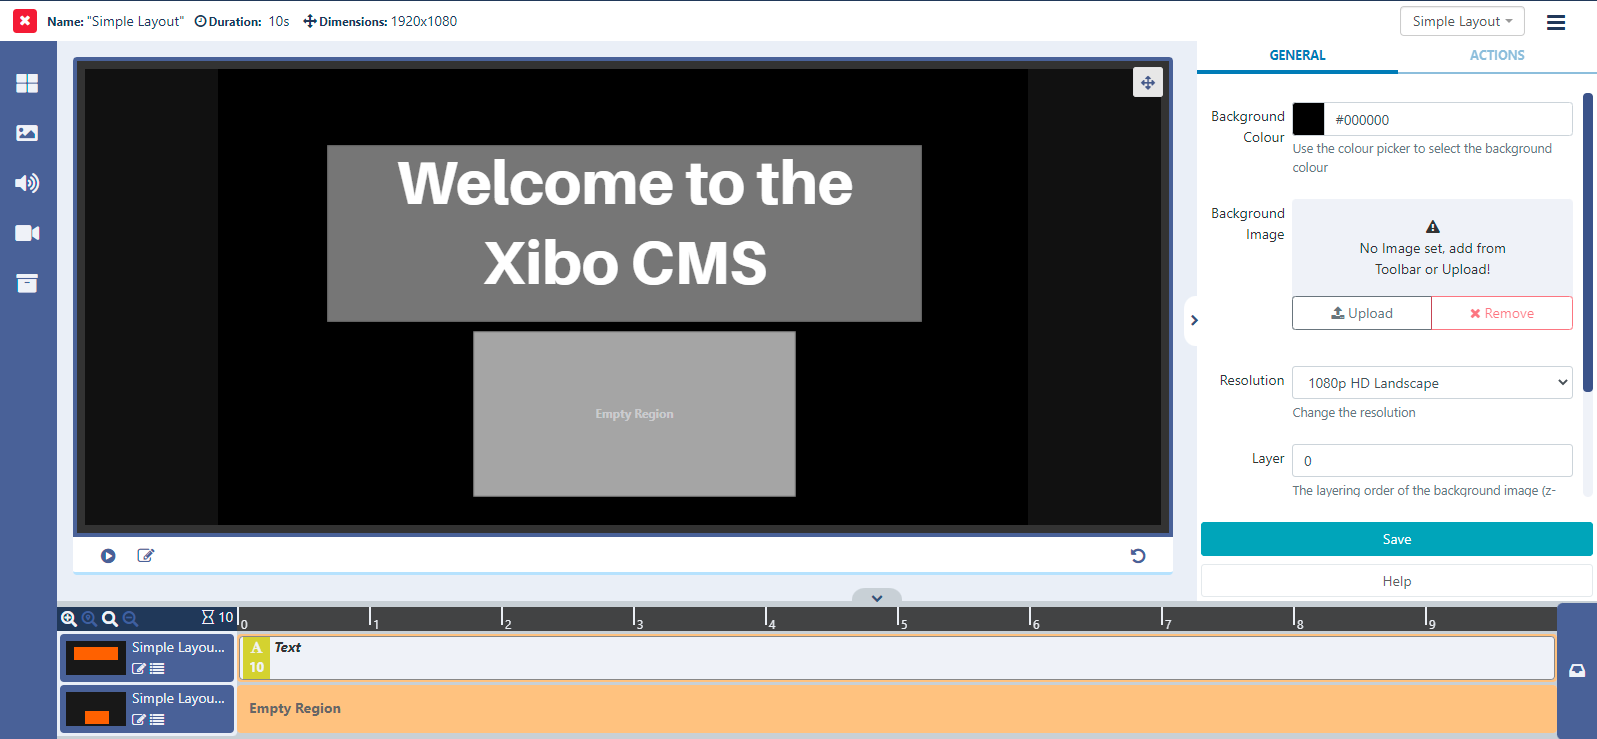
If you now go back to the Layout view, you can see that the status has changed to a green tick, with both Regions now containing content.
You can see that the Regions are on a default black background, we can change that using the properties panel and can either select / upload an image or pick a colour to use.
I am going to select an image then click in the Add background image section to add:
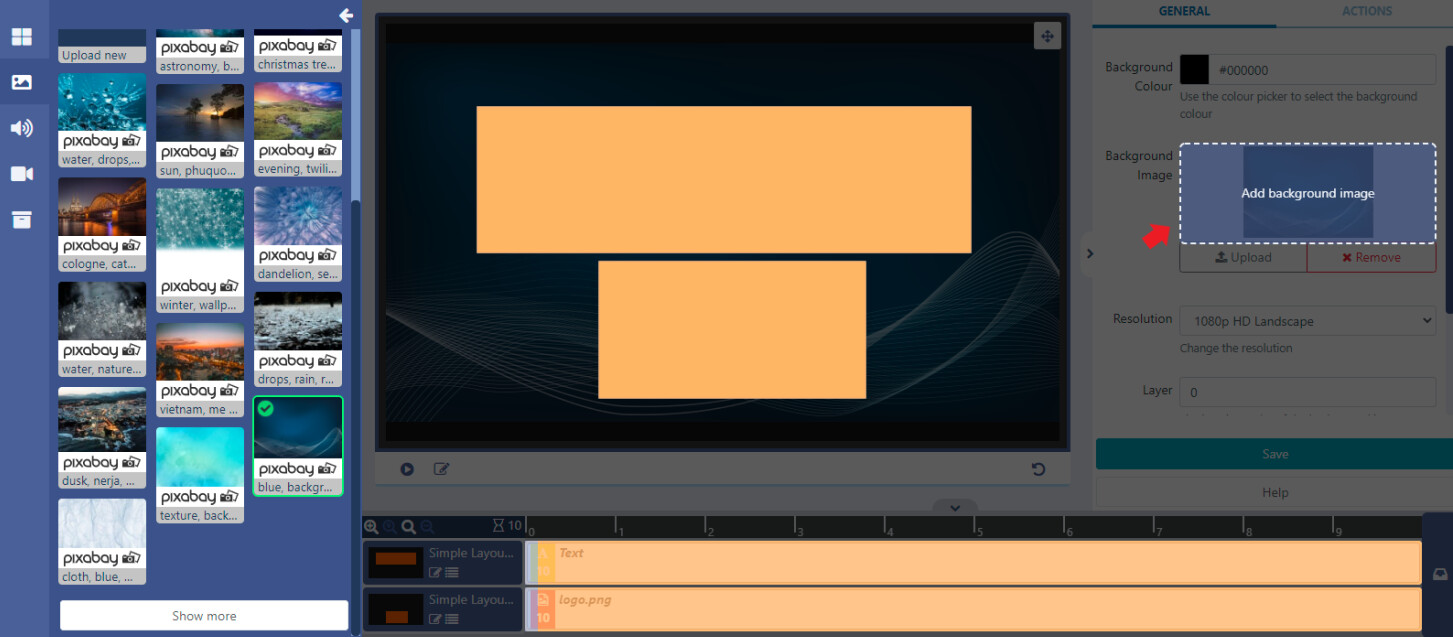
- Click the Save button on the properties panel to save the background image.
We can now play a Preview to see how the Layout will look once scheduled to Displays.
- Click on the play icon located under the viewer.
You can also toggle to full screen using the button in the top right hand corner, then press to play!
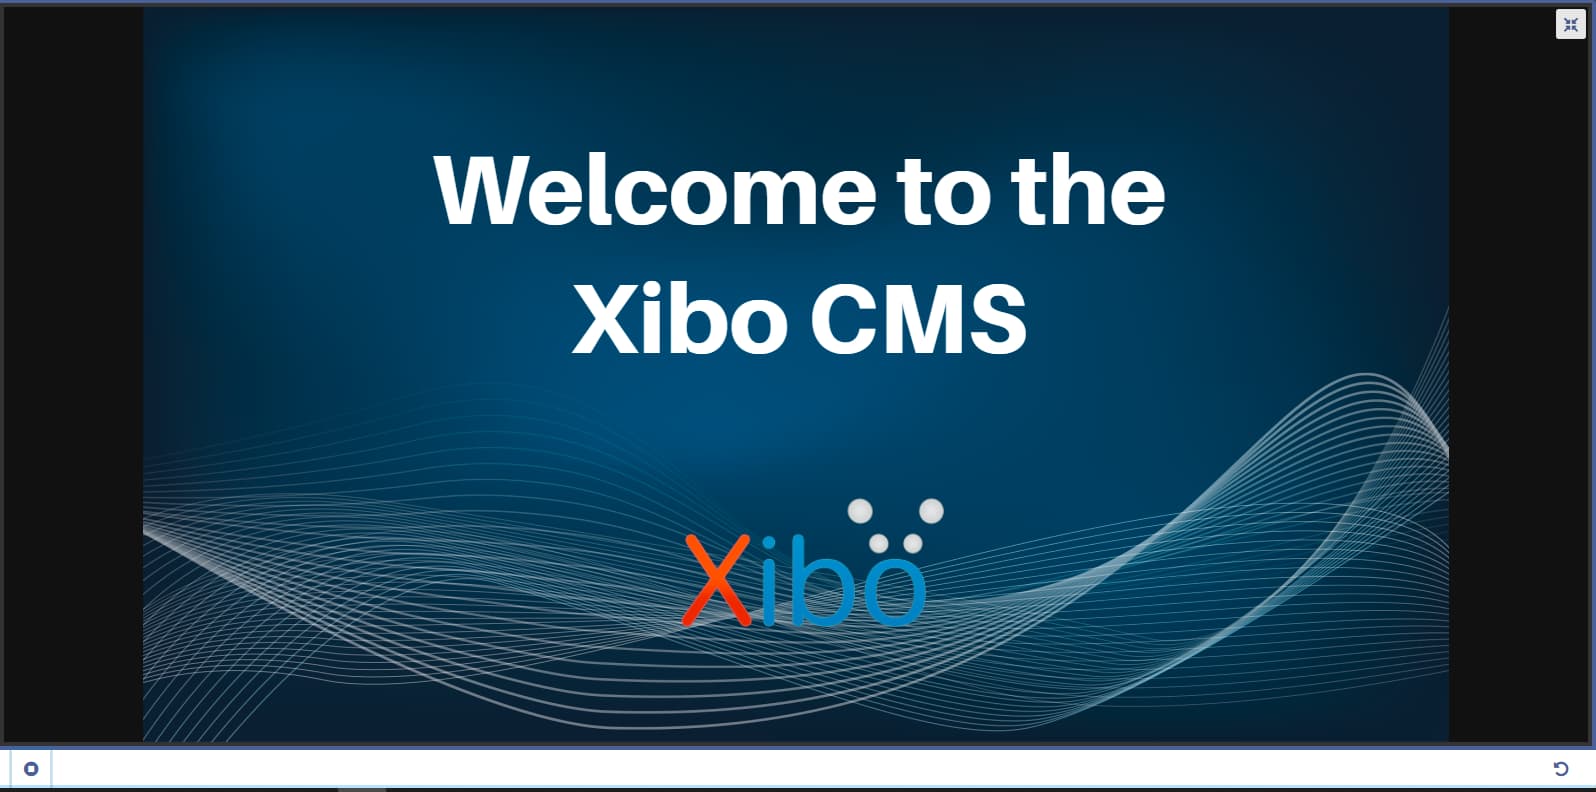
Previewing your Layout allows you to see if you need to make any adjustments prior to Publishing.
4. Publish
Layouts need to be Published before scheduling to Displays.
- Click on the menu located in the top right of the Layout Designer:
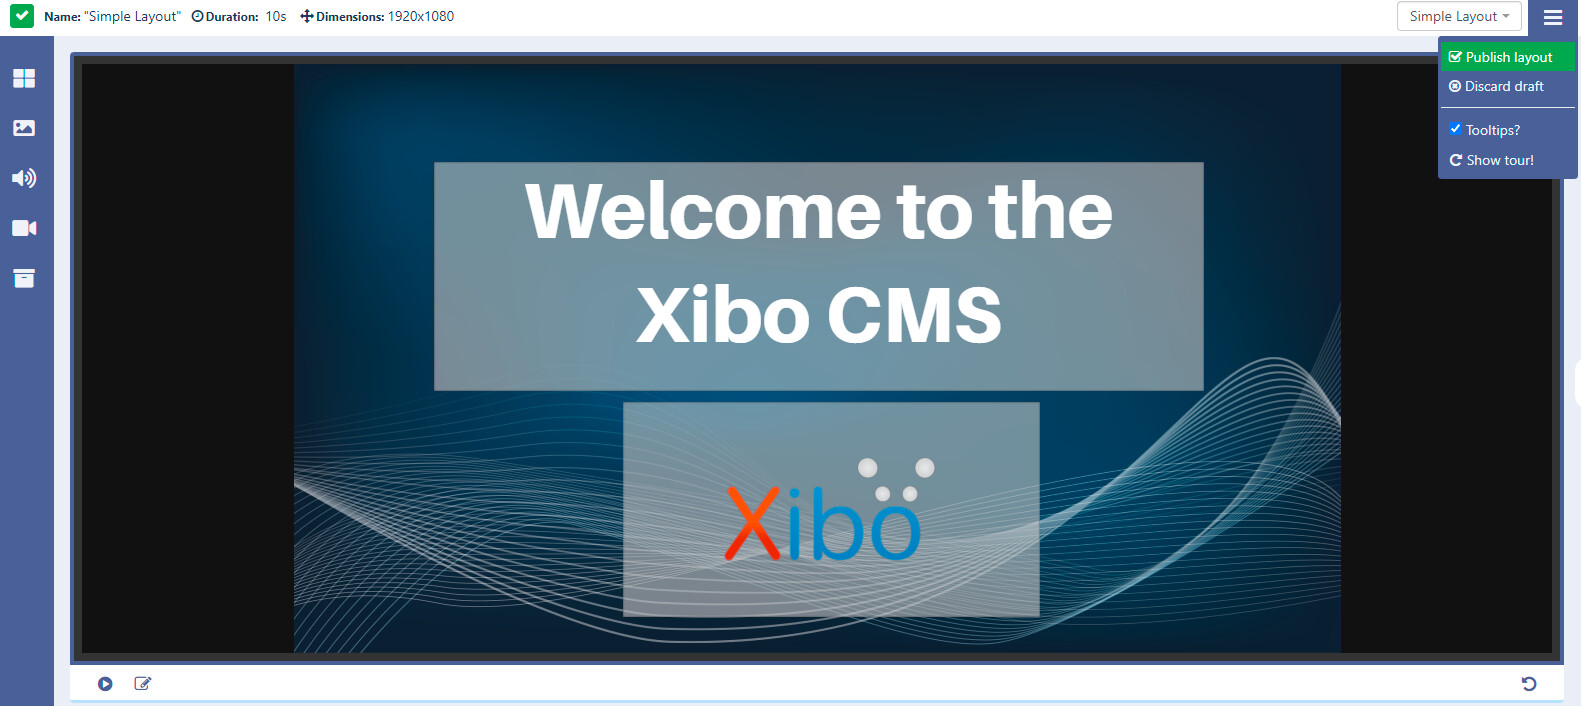
- Select Publish Layout
Your designed Layout is now ready to be Scheduled to your Displays!
Now you have had a little taster of the possibilities with Xibo take a closer look at the available Widgets and try adding them to your test Layouts!
Take a look at our Understanding Media duration and how it affects playback guide next!