Following on from our Overview of v4 for Existing Users this guide will take existing Users through the new Elements tools added to the Layout Editor in v4 and show how they can be utilised to create your designs.
NOTE: Elements are only available in the Layout Editor!
Two types of Elements have been added to the Layout Editor, “global” and “data”. Global Elements can be used anywhere on the canvas and include text, shape and line Elements. Data Widget Elements are available for all Data Widgets and allow for the same Element to be used on the canvas at the same time to show data side by side. Elements can be grouped for ease of formatting, positioning and duplication.
Each Element has easy formatting options available to Users from the Properties Panel of the Layout Editor. One of the key decisions which shaped the v4 Layout Editor was the fact that not all users are developers and for some, seeing HTML/CSS in the editor can be very confusing. It was decided that these should be made available via developer tools instead. Using these new tools developers can control the appearance of Data Widgets using Templates for Elements, Stencils or Static Templates.
Read more about the Layout Editor Evolution in v4.
Using Global Elements
Global Elements are added to Layouts/Templates from the Layout Editor:
- Click on the second
Abutton from the Toolbar to open.
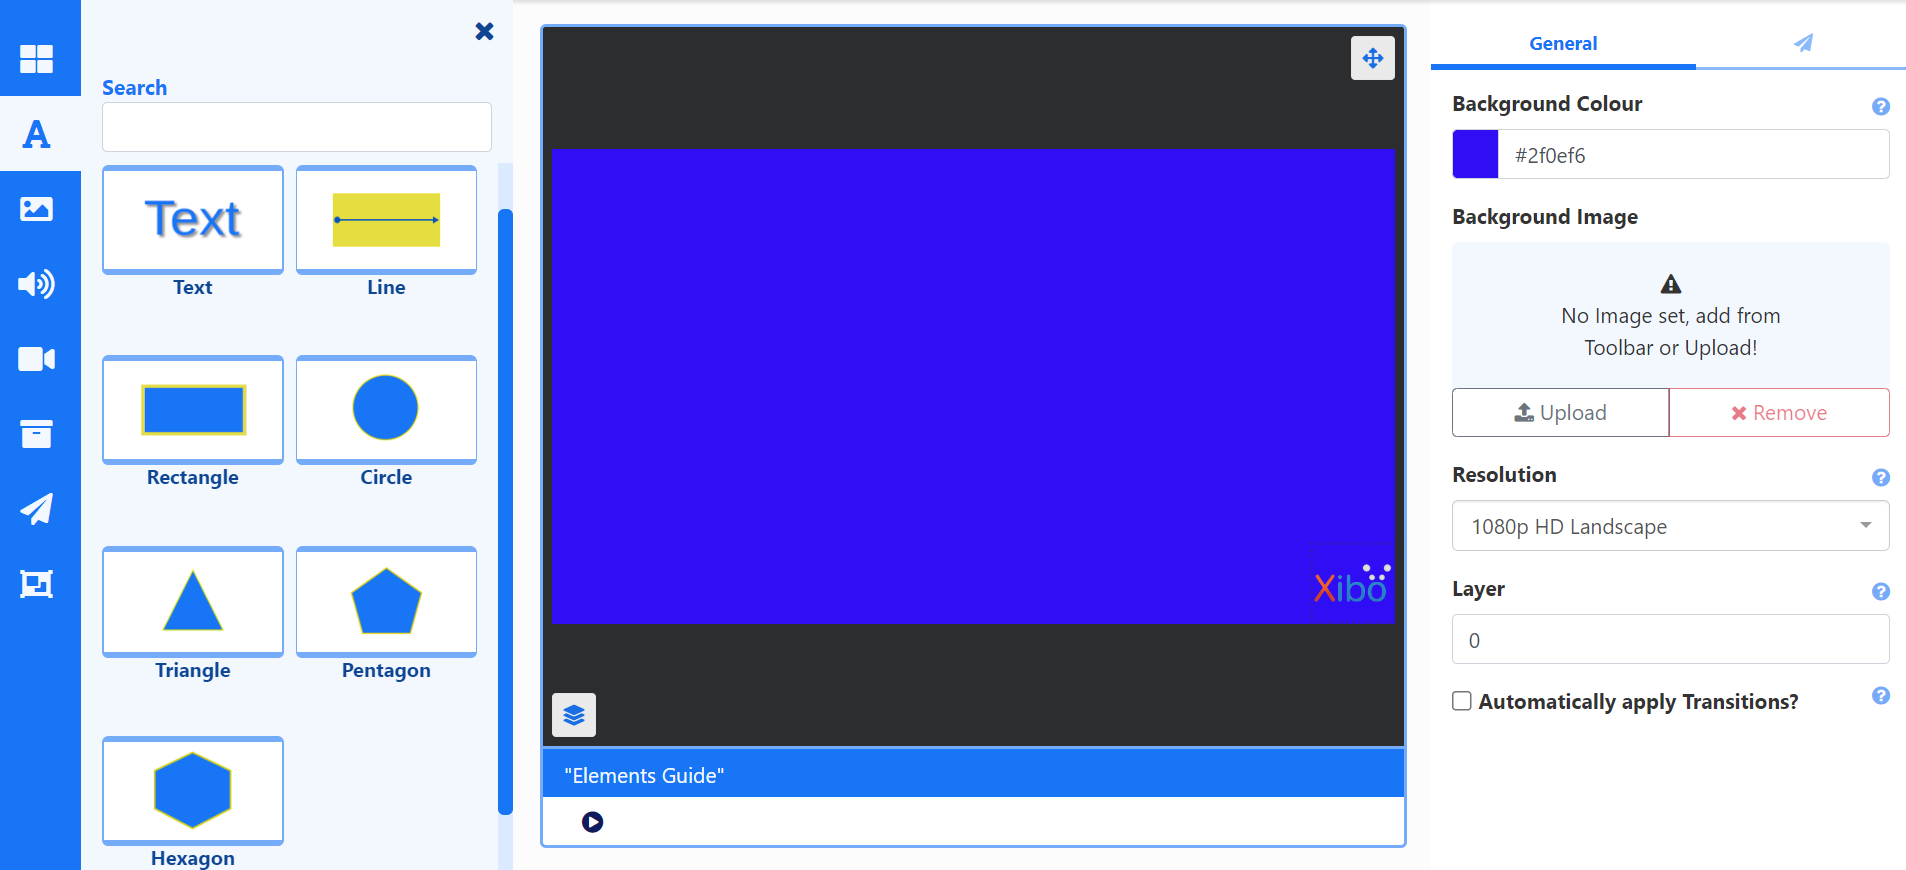
From here you can add and format Text, Lines and a number of shapes.
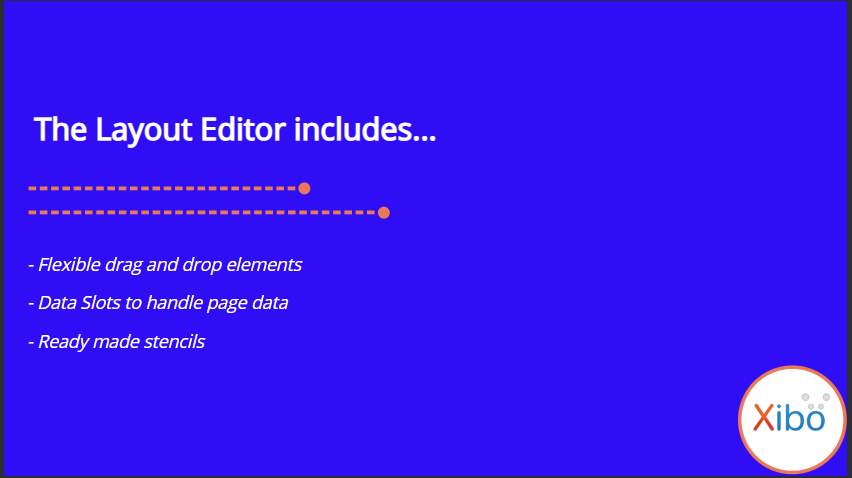
Use Global Elements to compliment other items on your Layout.
- Add an element by drag and drop, position and resize directly on the canvas.
Use the snap buttons at the bottom right of the canvas for easier positioning!
- Format the appearance using the available options in the Properties Panel.
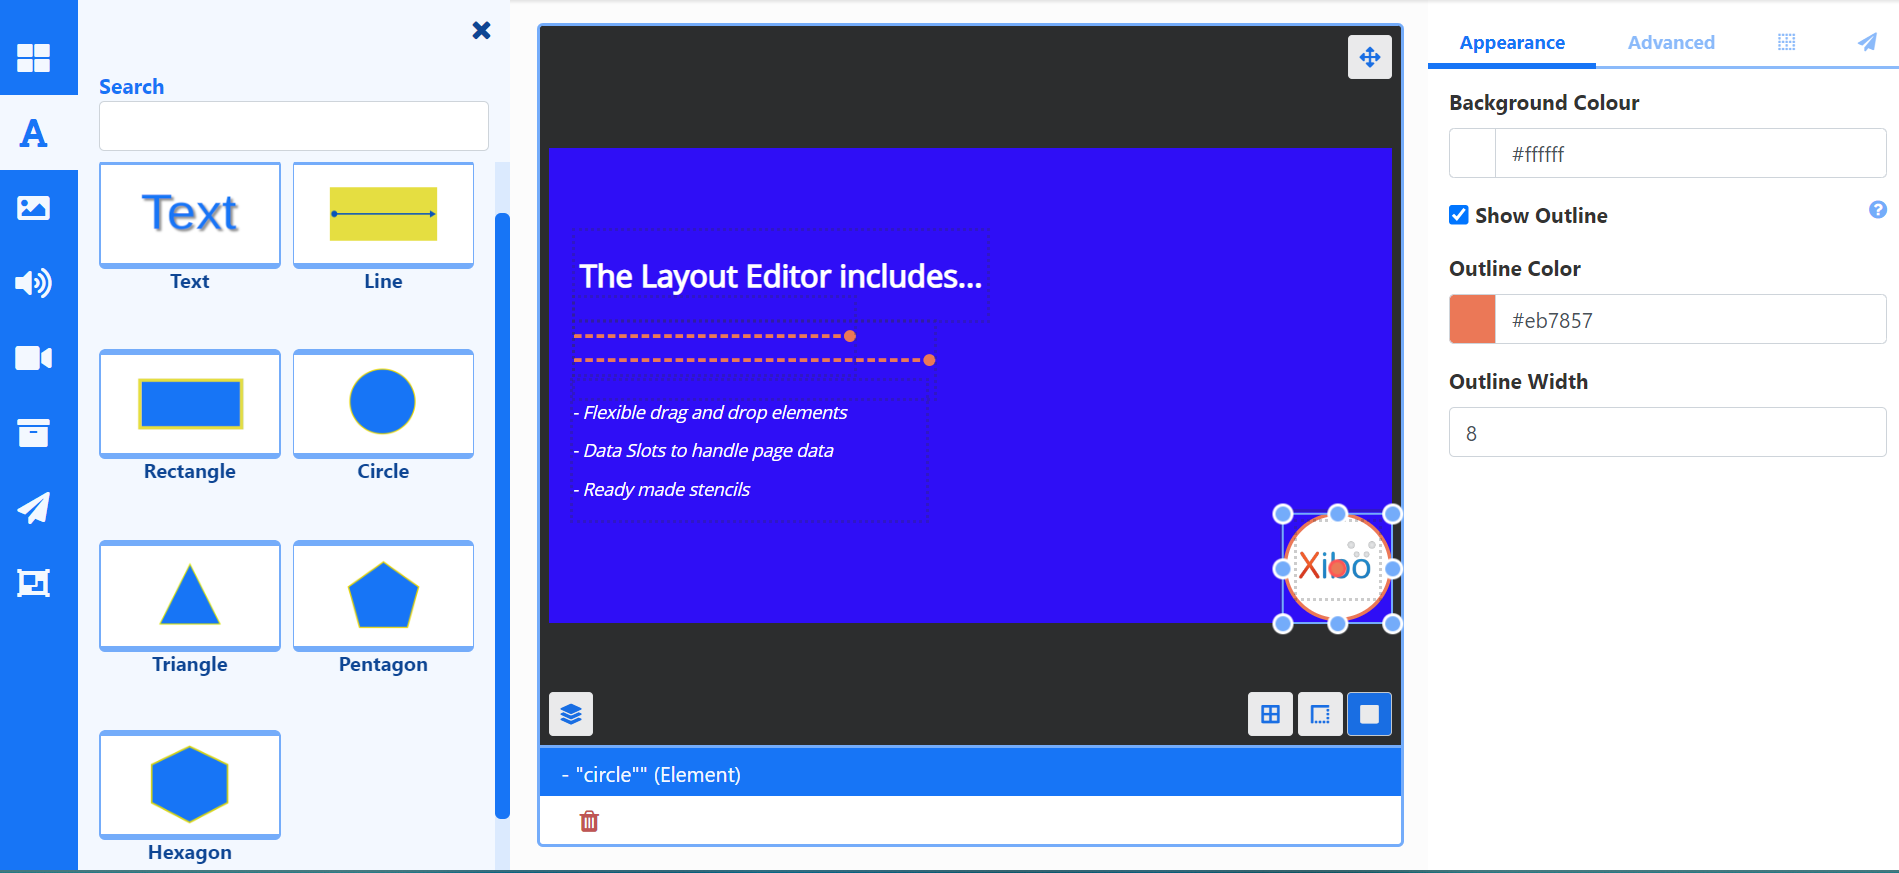
Right click an element to show a context menu to easily duplicate, send backwards and delete amongst other functions!
When finished, Publish your Layout and Schedule to your Displays.
Using Data Widget Elements
Data Widgets contain ‘data’ Elements enabling a User to place each individual Element where needed on the canvas.
- Click the top Widgets button on the Toolbar from the Layout Editor.
- Scroll down to the Data Widgets section and click on the Widget you wish to use.
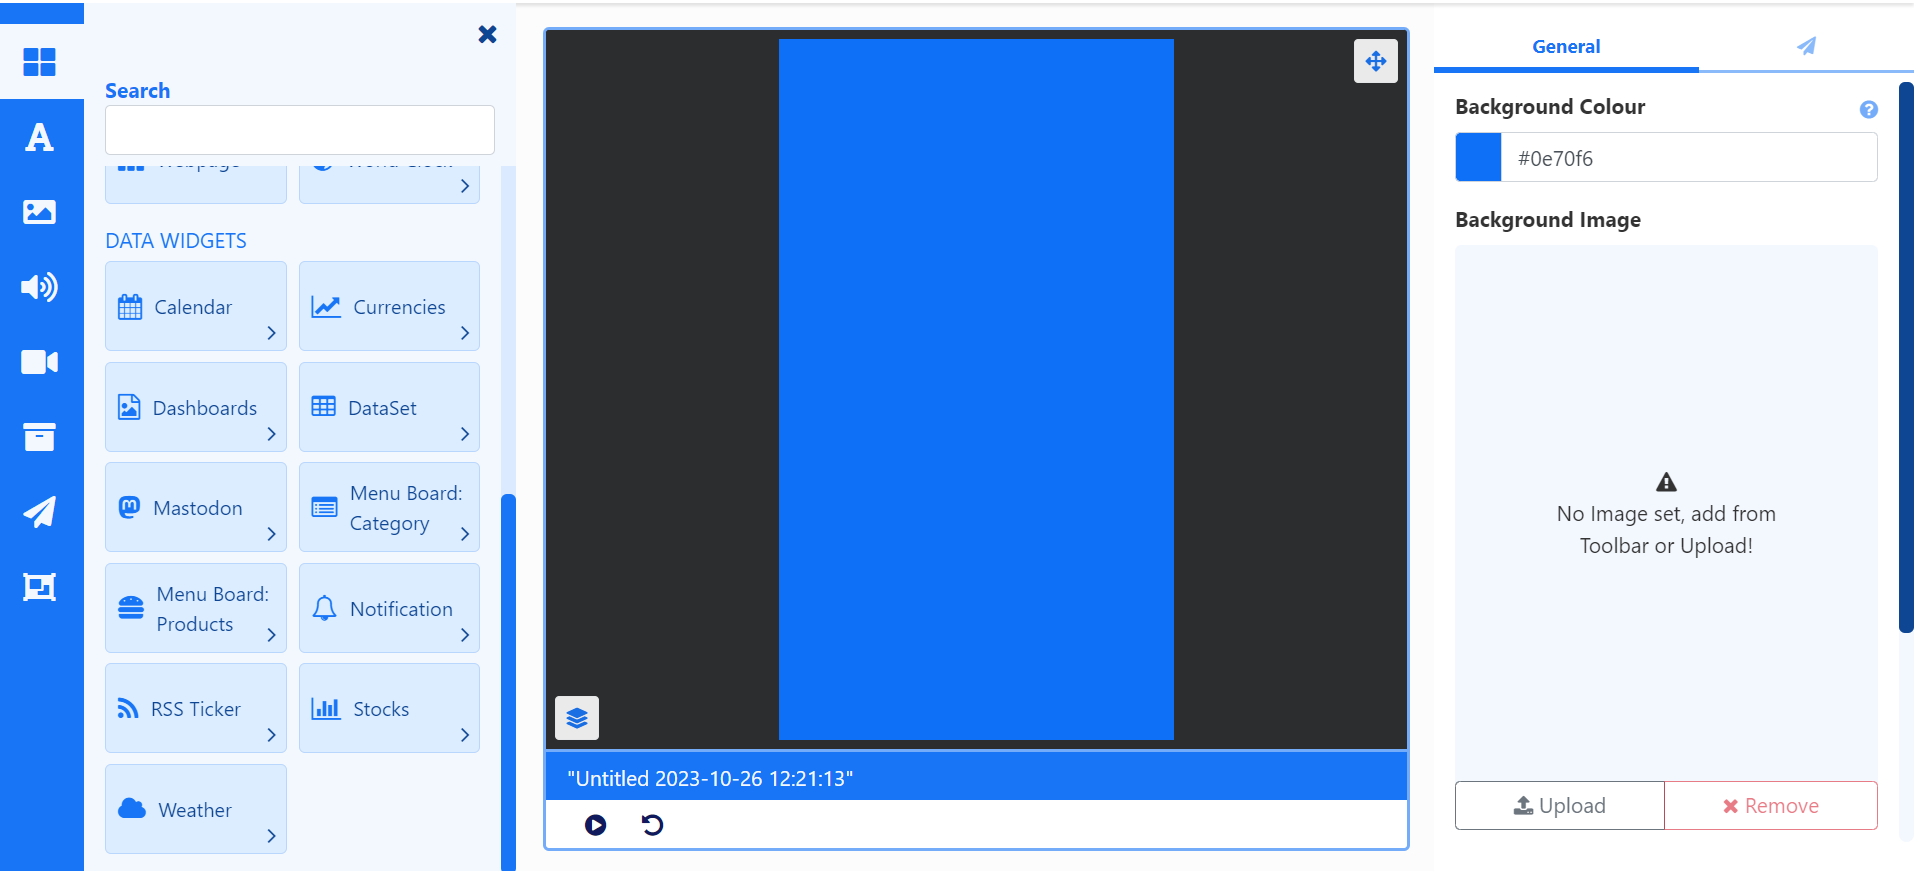
For the purpose of this guide I am going to select the Weather Widget.
If you are not a Xibo Cloud customer then you must ensure that you have an API Key from Open Weather Map to enter in the Connectors section of the CMS.
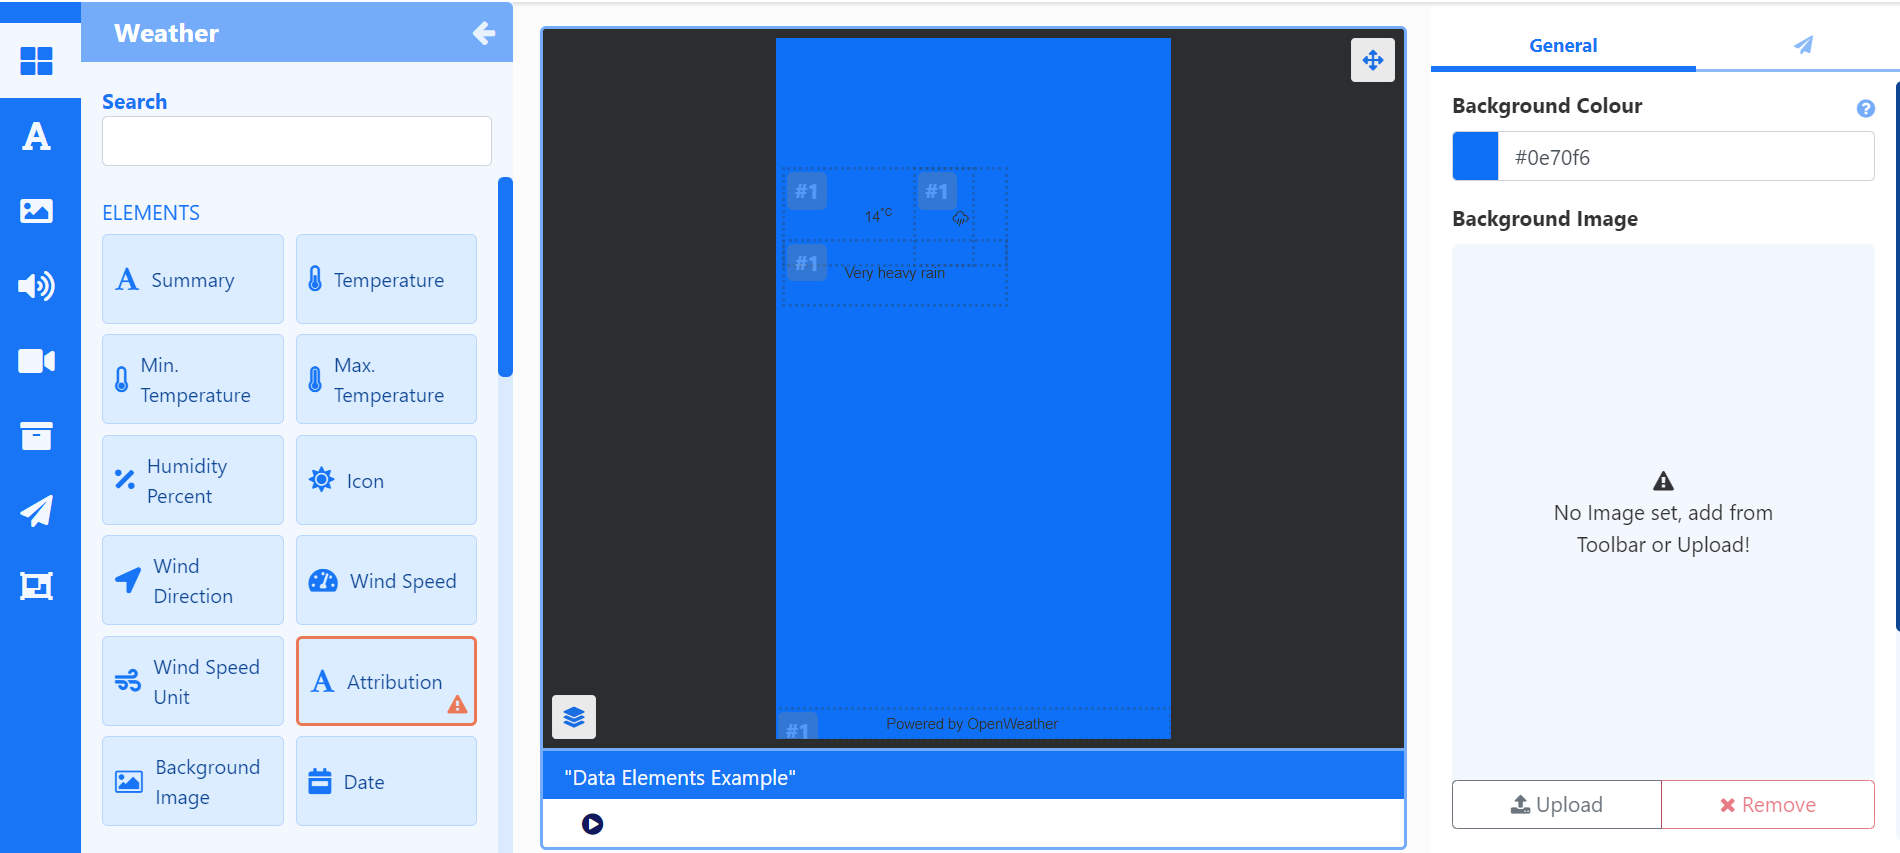
- Once selected, Weather Elements will show for selection.
- Drag the Elements you want to use and position.
Use the Snap to Elements option for easier positioning with other Elements.
- Use the Properties Panel to Configure the Weather data.
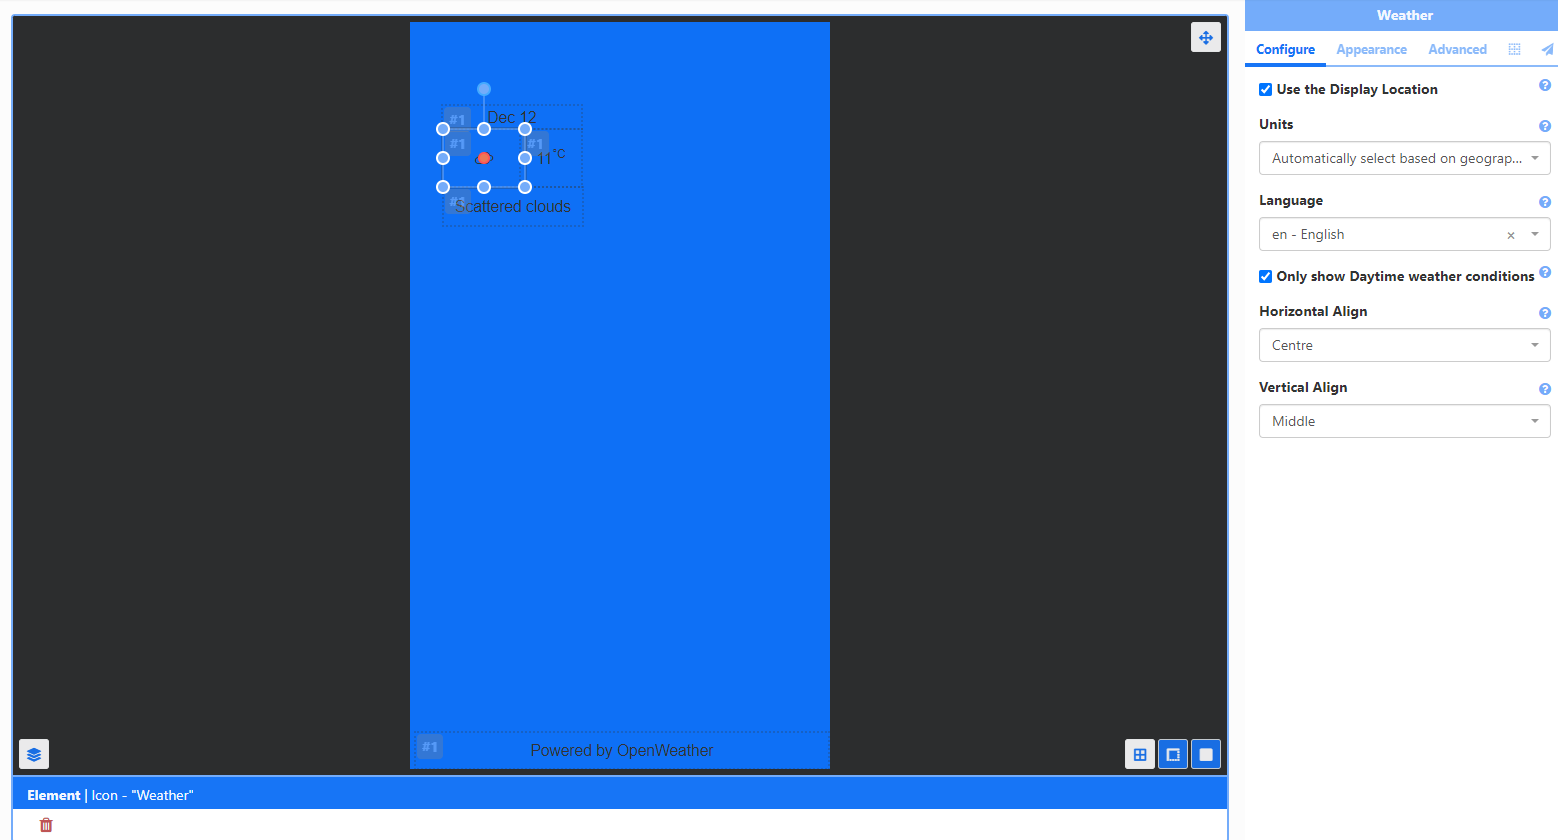
This configuration will apply to all Weather Elements added to the Layout. To set a different configuration, please see the New Configuration section below.
- Click in each Element and use the Appearance tab to style how you want each Element to look.
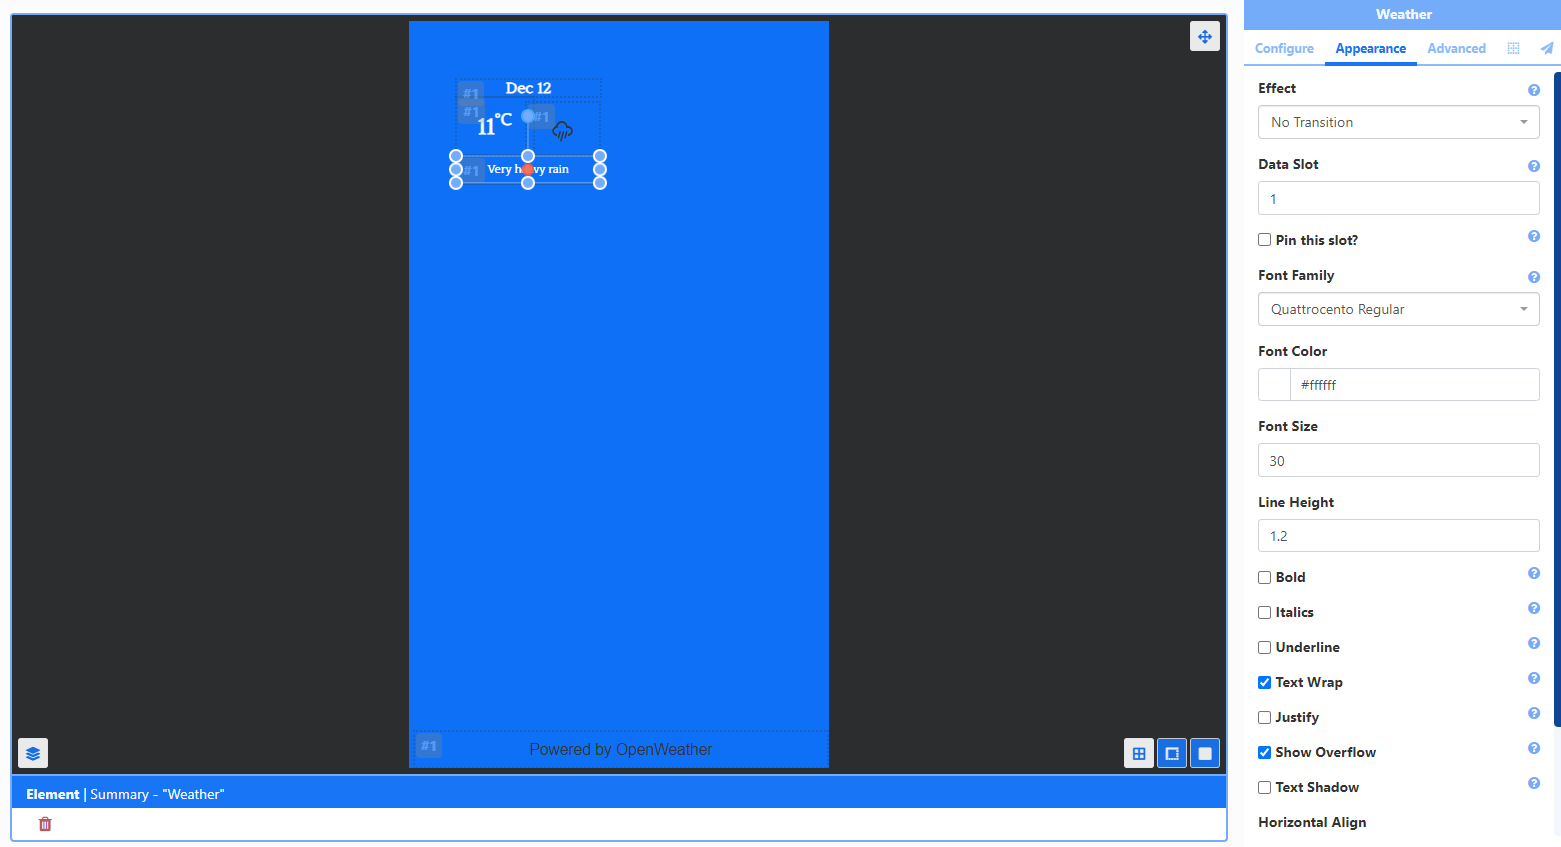
You can see that each Element I have used has a #1 so sharing the same Data Slot and in this example showing the Weather for the current day.
I could add some more Elements and give them different Data Slots to cycle through days of the Weather or I can create an Element Group to keep the styling I have already applied before applying Data Slots.
Creating Element Groups
- Holding down the Shift key, click in each separate Element on the Layout you want to add to a group.
- Once all selected, right click and select Group elements.
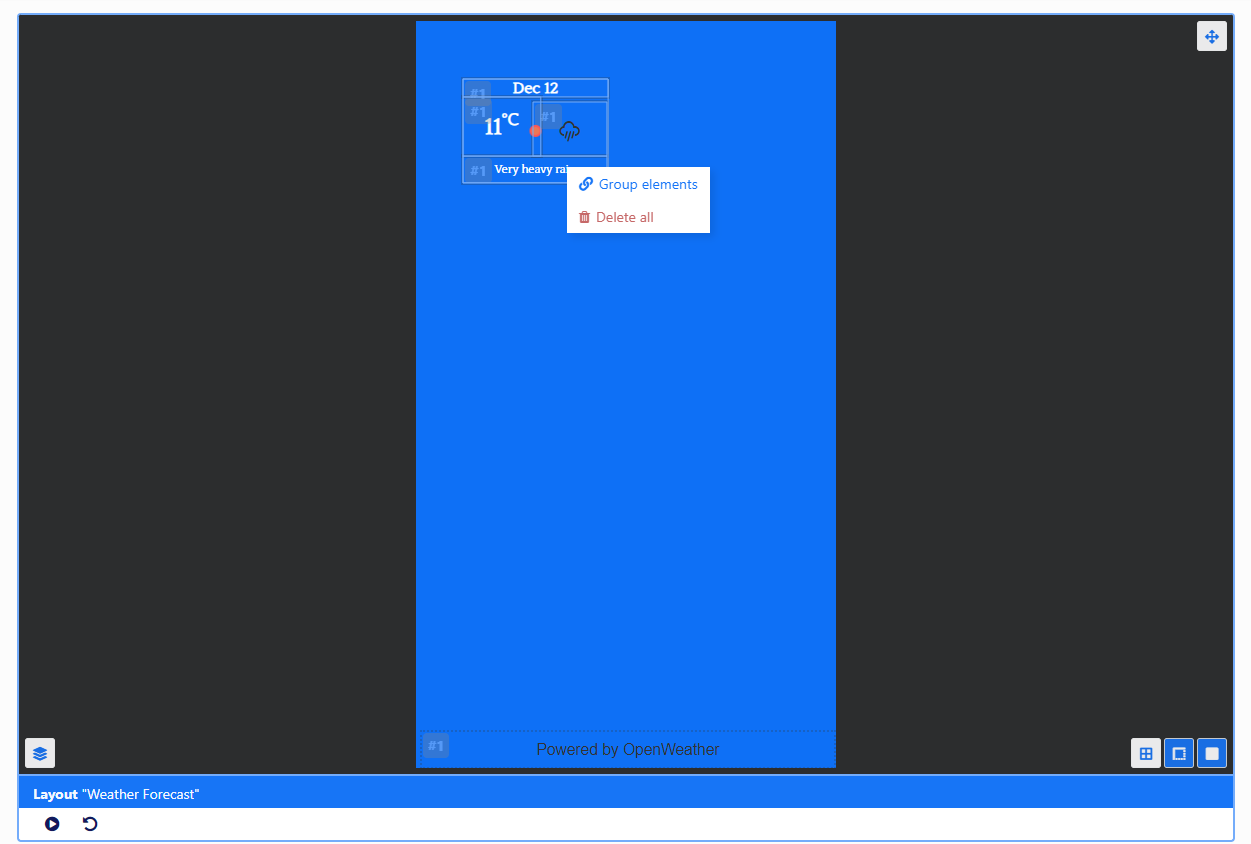
- Once grouped they will all share the same Data Slot and hold their configuration, making it easier to resize, position and rotate if needed.
- I can easily make a copy of this group by right clicking again and selecting Duplicate.
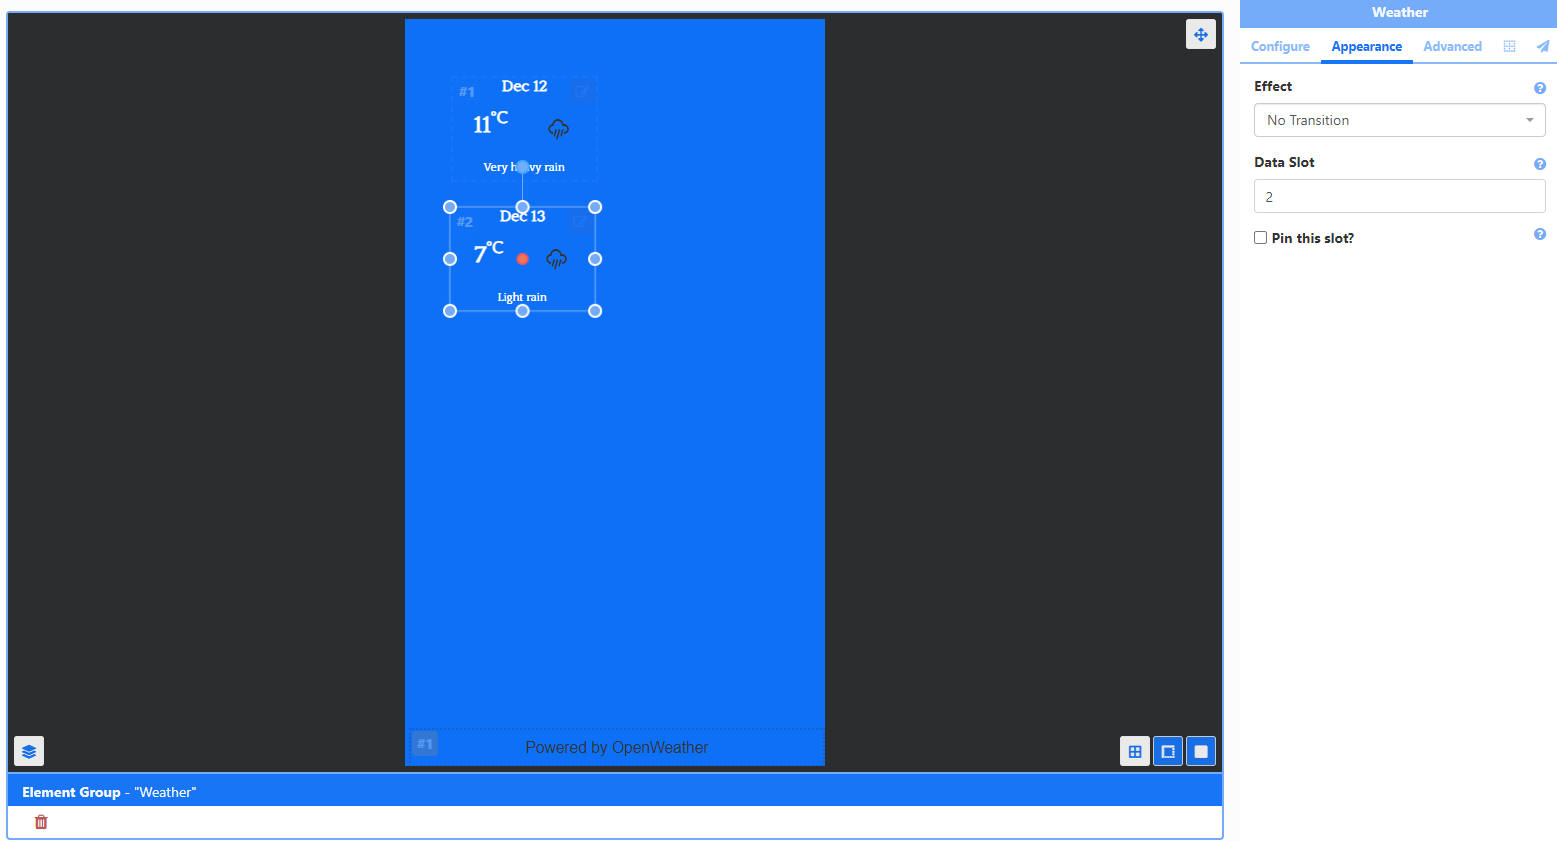
- Move the second group underneath the first group and click on the Appearance tab from the properties panel.
- Change the Data Slot to 2.
-
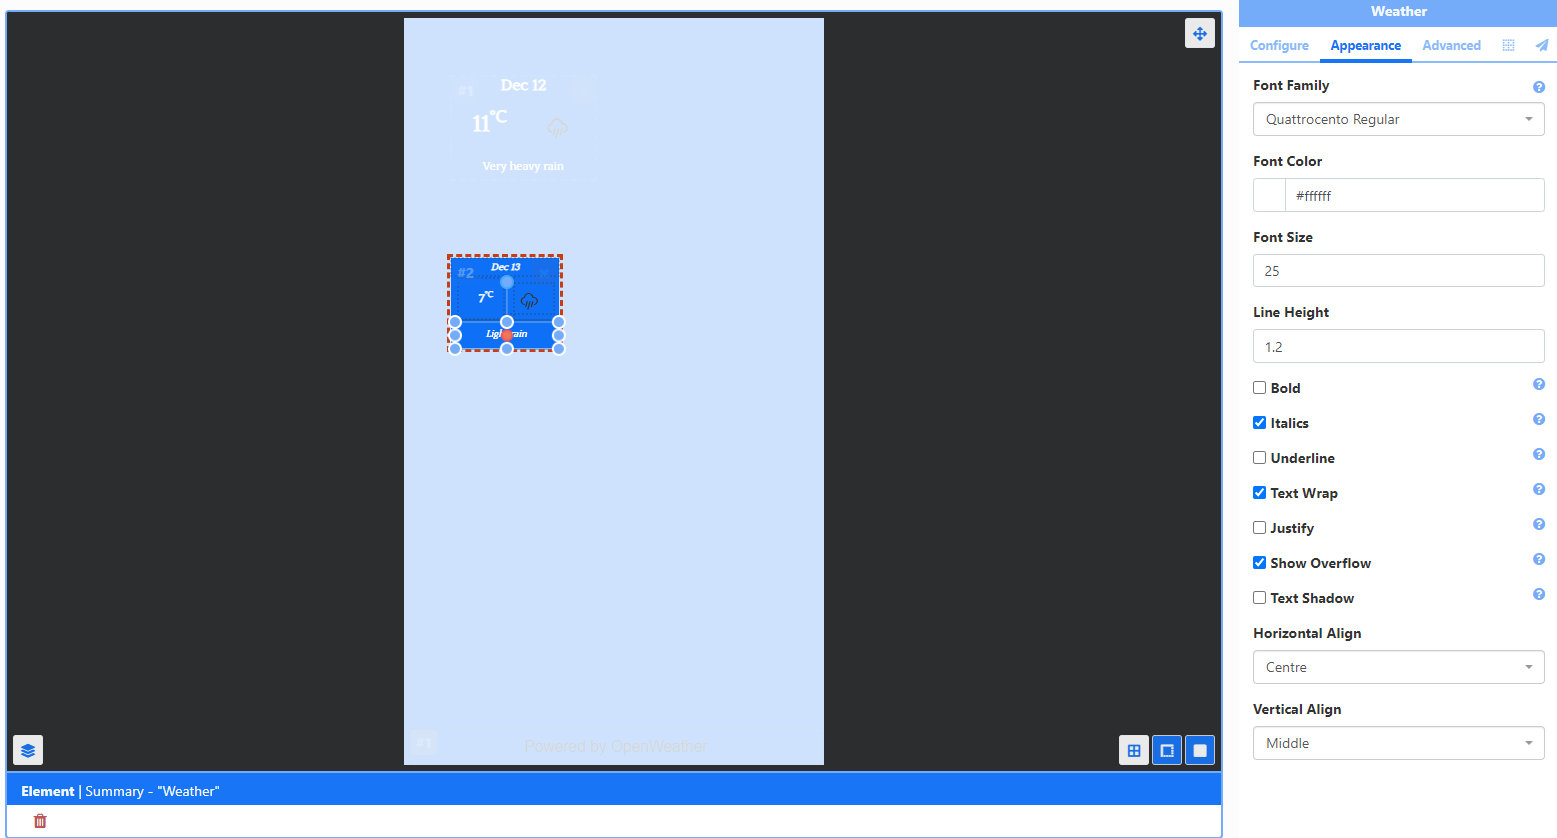
I can change the appearance of singular Elements in a group by clicking on the pencil icon in the top right corner to Edit Group.
-
Click in each Element and use the Appearance tab to make changes to the styling and resize each Element as necessary:
- I can now create groups from this edited group by right clicking and selecting Duplicate.

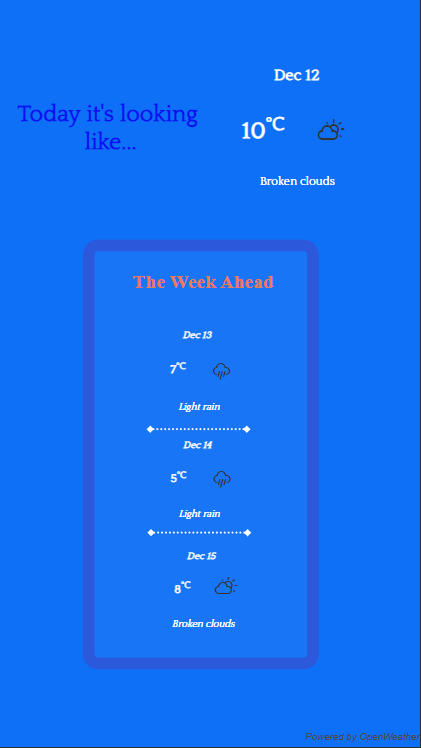
- I can now use the Appearance tab for each of my groups to set Data Slots to cycle through the forecast for the week ahead:
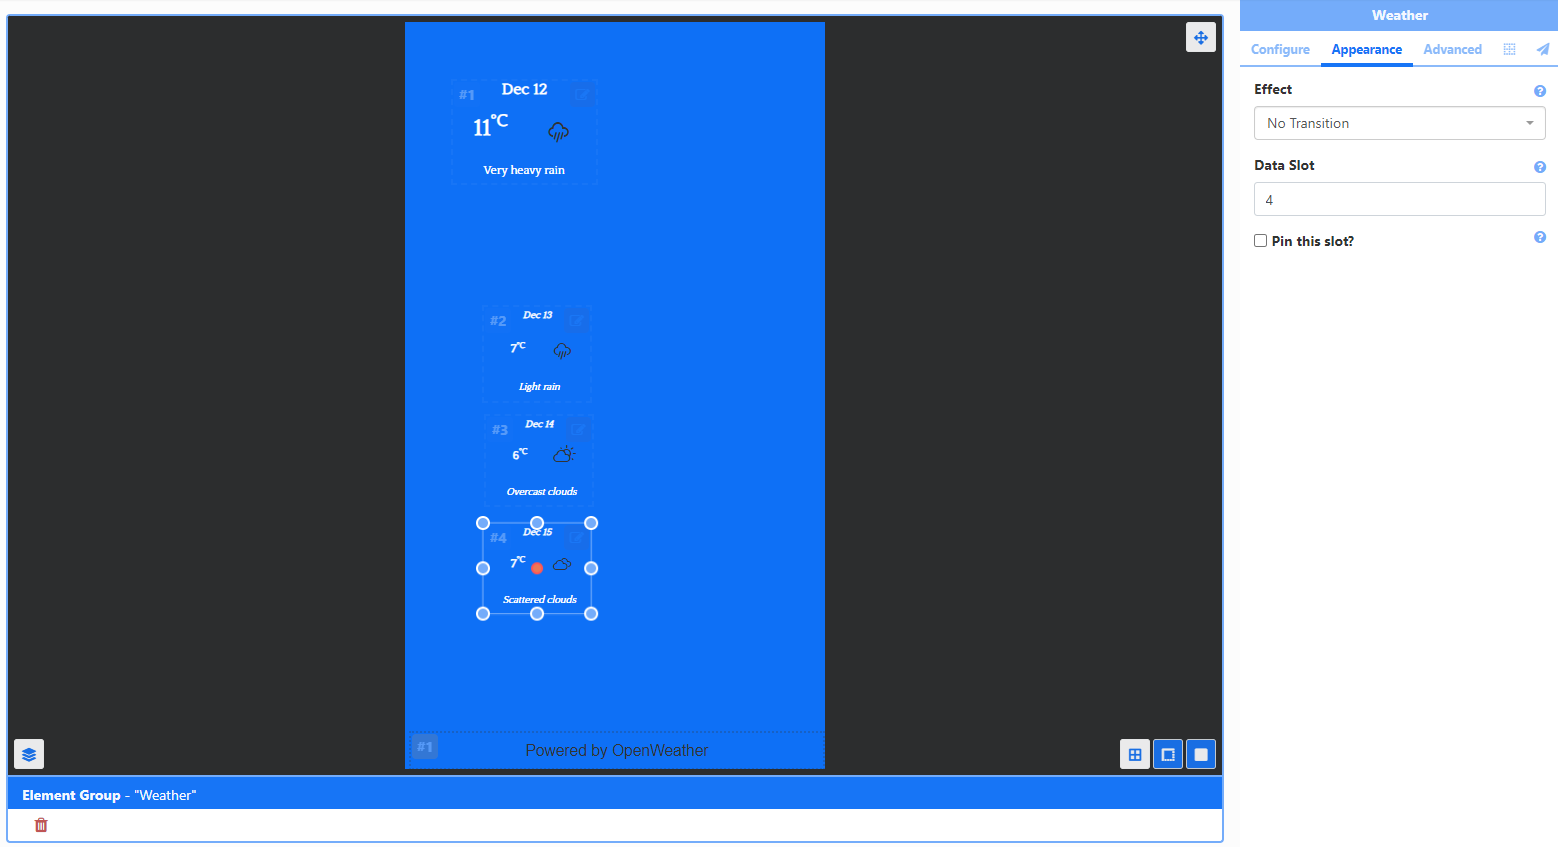
Weather data will now cycle through each of the slots for the full week when played.
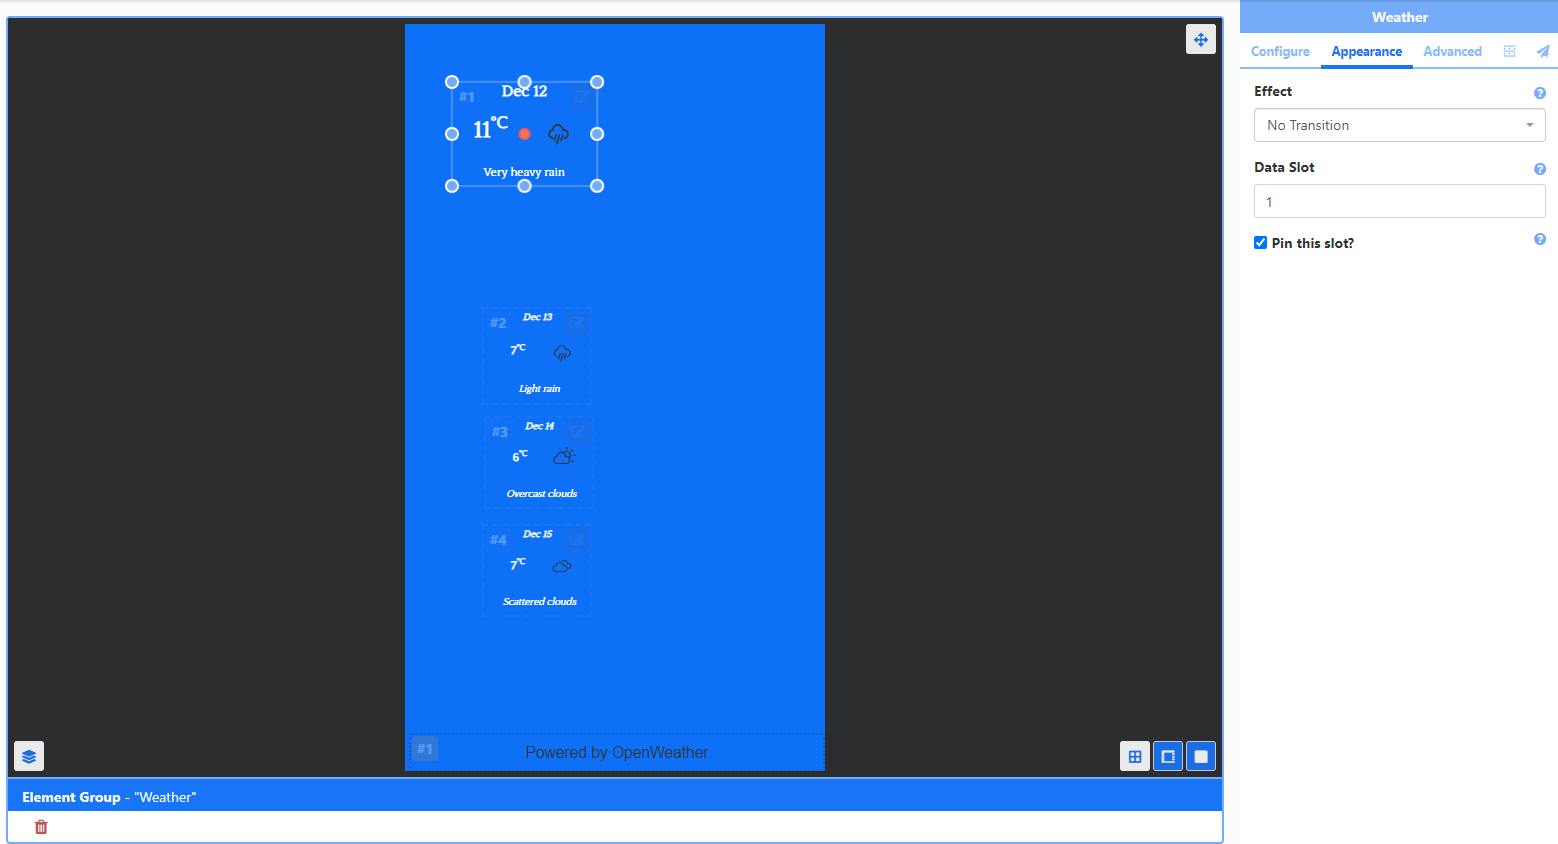
- If I go back to the Configuration for my first group of Elements (with Data Slot 1) I can select to Pin this slot.
Once pinned, other data will not cycle with this Element group and so it will always show the current (pinned) days weather.
-
I can now add some shapes and text using Global Elements to compliment my Data Elements.
-
Preview the Layout and then Publish before Scheduling to Displays.
Stencils
A selection of Widgets have pre-configured Element Groups to take advantage of. These Stencils can be ungrouped and re-configured to suit your needs.
New Configuration
From CMS v4.0.6, singular Elements and Element Groups can have an “alternate configuration” provided, perhaps you wish to show the Weather for different locations for example. This can be achieved by right clicking the Element Group you wish to re-configure and selecting New Configuration from the menu and using the Configuration tab.