Many Users have created posts asking for advice on how to set up a Video Wall with Xibo. Below is a guide on how to do this.
Requirements
To create a Video wall, you will need to use the Xibo for Windows Player. For video walls with 2 screens, the PC you are using will require a Graphics Card or Cards that are capable of connecting both of the displays that will be part of your Video wall. For video walls with more than 2 screens, you require a graphics card which can group multiple display outputs in to a single contiguous desktop - for example the nVidia Quadro range in Mosaic mode. More than 2 screens will not work reliably with Windows Extended Desktop.
Please note: You will only need a single Xibo for Windows Player running on the PC. Using more than one Player on the PC will not stretch a single Layout across all of the screens.
If you would instead like to set up multiple Players on one PC, please refer to the manual page;
Windows Player - Multi Install
Extend The Displays
Once you have installed and configured your Xibo for Windows Player and connected all of the screens that you would like to use, you will need to change the Display Settings on your Windows Operating System to Extend the Display. How this is done will depend on the Windows Operating System you are using.
For Windows 7;
- Right click on the Desktop and select Screen Resolution from the menu.
- If the screens do not all show up in the numbered displays window on this page, click the detect button.
- Once all of screens are detected, you will see an option named Multiple Displays, click the box and choose the Extend option.
For Windows 8.1;
- Whilst on the Desktop, swipe the right side of the screen inward or hover your mouse cursor over the bottom right corner of the screen to reveal a quick menu. Select the Devices option from this menu.
- You will be presented with options for your connected screens. Click on the screens and set to Extend in the next menu.
- You can also use the Windows and P keys pressed together on your keyboard to reveal the same option.
For Windows 10;
- Right Click on the Desktop and choose Display Settings from the menu.
- If the Displays are not showing in this menu, you may need to click the Detect button.
- When the screens have been detected, you will see an option named Multiple Displays, click the box and set this to Extend These Displays.
For more than 2 screens - nVidia etc
Use the graphics driver software to bond all the displays together in to a single Display device, such that in the Windows Display settings, you see only one monitor with your desired resolution.
Your Desktop should now stretch across all of the connected screens.
Creating and Configuring a Display Profile for your Video Wall
You can use an existing Display Profile for your video wall, but consider that all Players using this Profile will also have the same settings. If you are Using another Xibo for Windows Player with a different number of screens or resolution, this will cause the Layout on the other Player to display incorrectly.
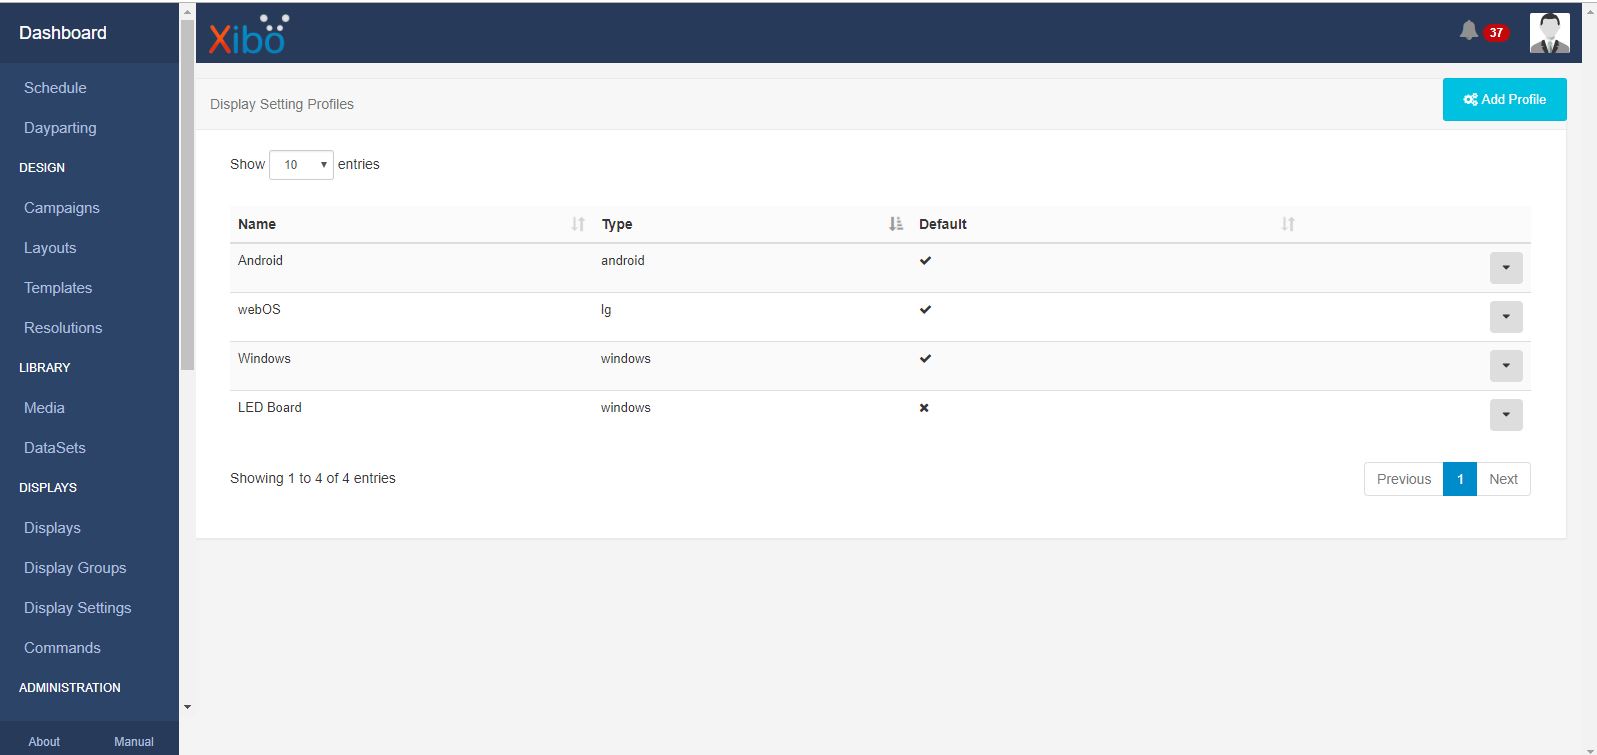
To create a new Display Profile, select the Display Settings option in your CMS and click on the Add Profile button.
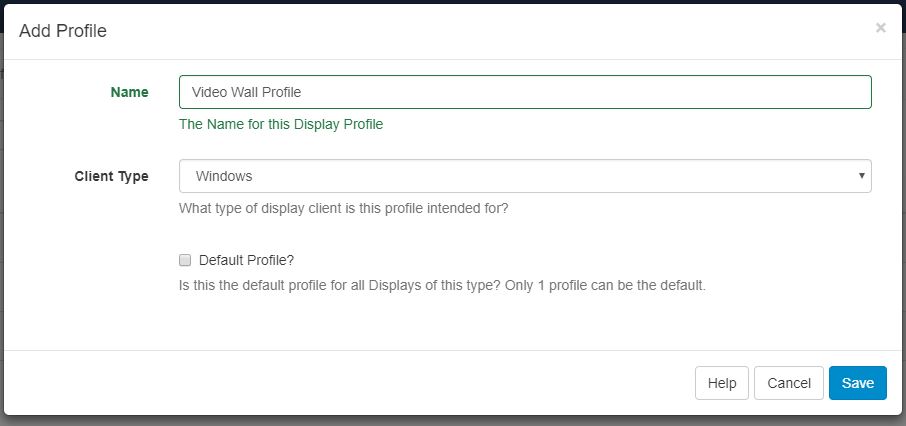
This will open the Add Profile window. In the below example I have given the Profile a name that is relevant its function and set the Client Type to Windows.
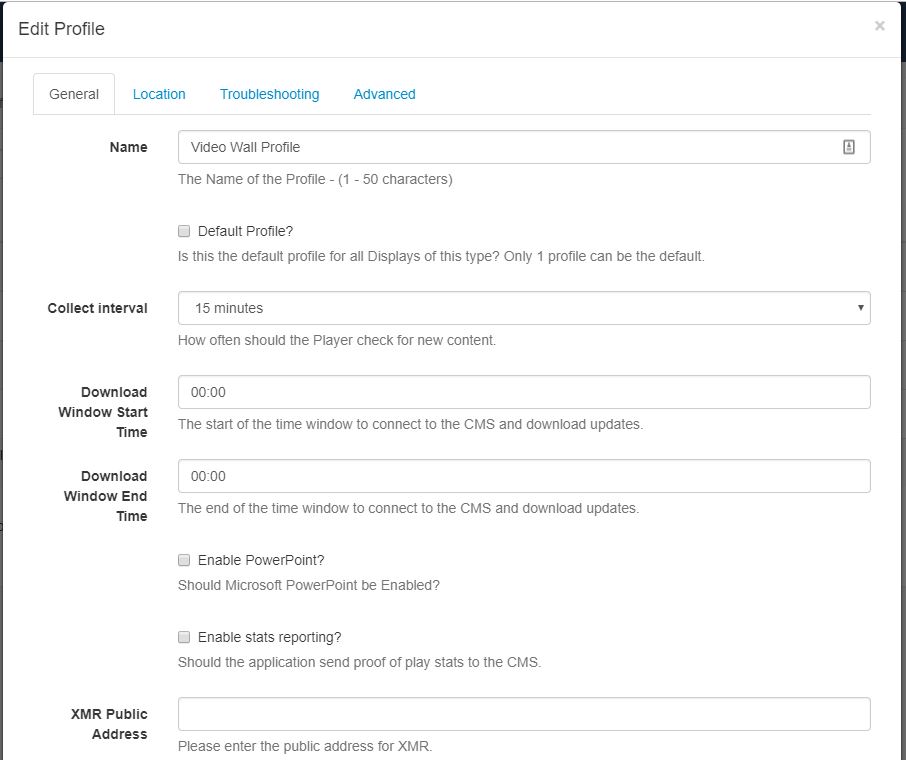
Once you have created the Profile, the Edit Profile window will automatically open. Please note this new Profile will not be automatically configured to match your other Profiles, you may need to adjust the default values.
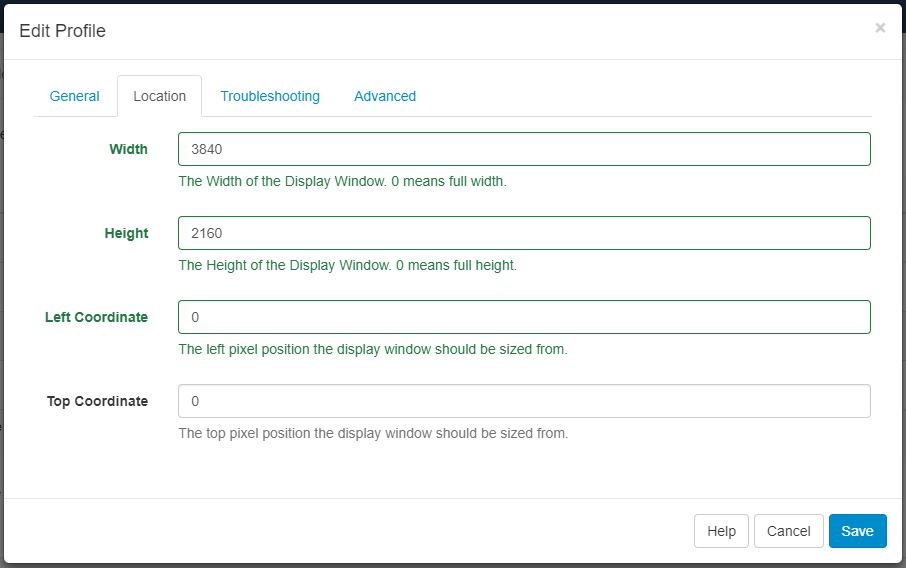
You will also need to configure the resolution of your video wall. You will find the resolution settings under the Location tab of the Edit Profile window. Enter the width and height of the Video Wall you are creating into the Width and Height fields. The Top and Left fields set the starting position of the Layout. Keeping these set at 0 will ensure that the Video wall will start from the top left corner of the first screen you are using for your setup. In the below example, I have set the Width to 3840 and the Height to 2160, which would be the correct resolution for 4 Full HD screens in a square formation.
Remember to save any changes you have made to the Profile before exiting.
Setting the new Display Profile for your Video Wall Player
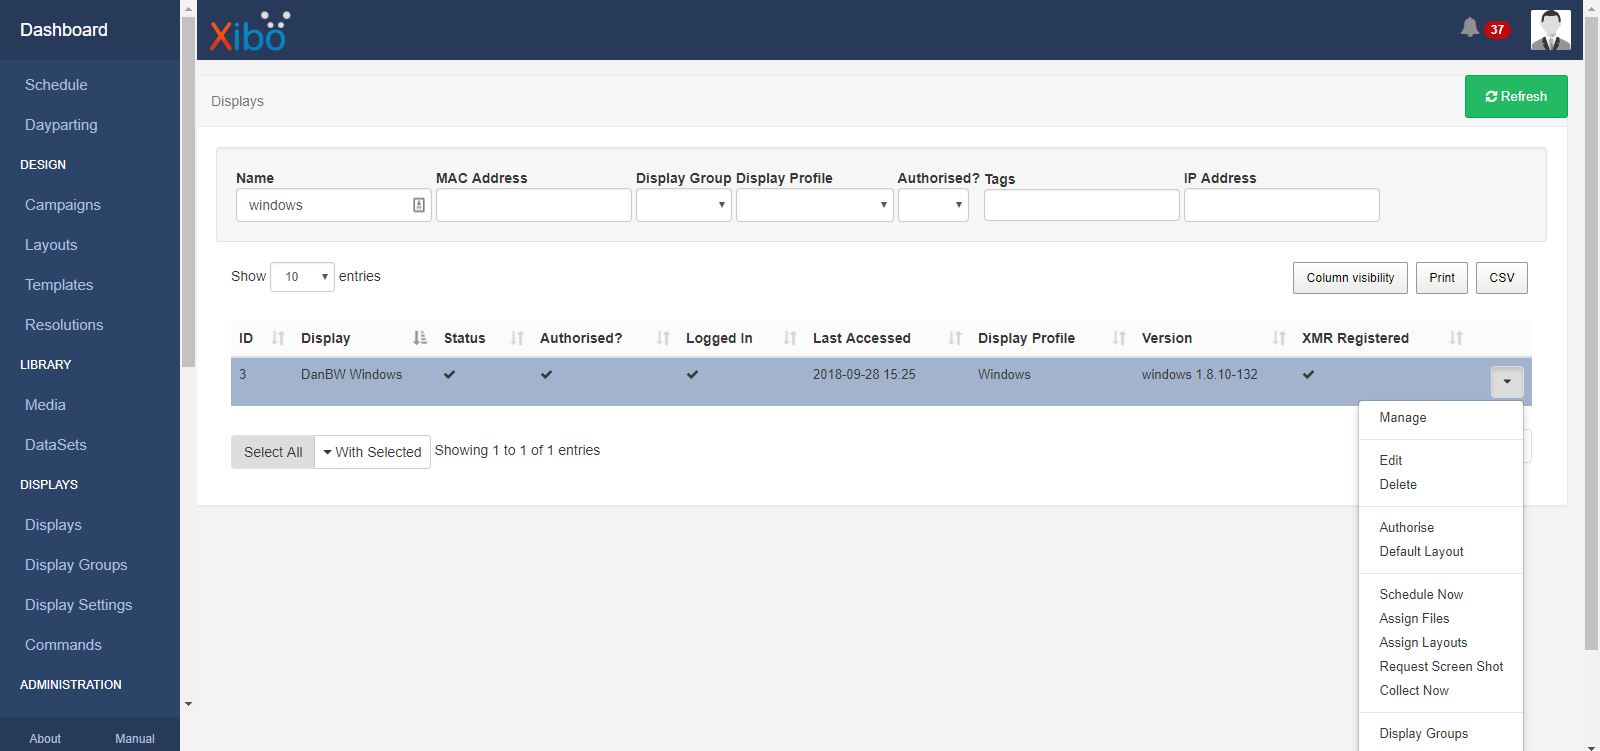
Now that you have created the Profile for your Video Wall, you will need to set it for your Windows Player. To do this, select the Displays option in your CMS and click the drop down arrow at the end of the Windows Display for your Video Wall. Choose Edit from the drop down menu.
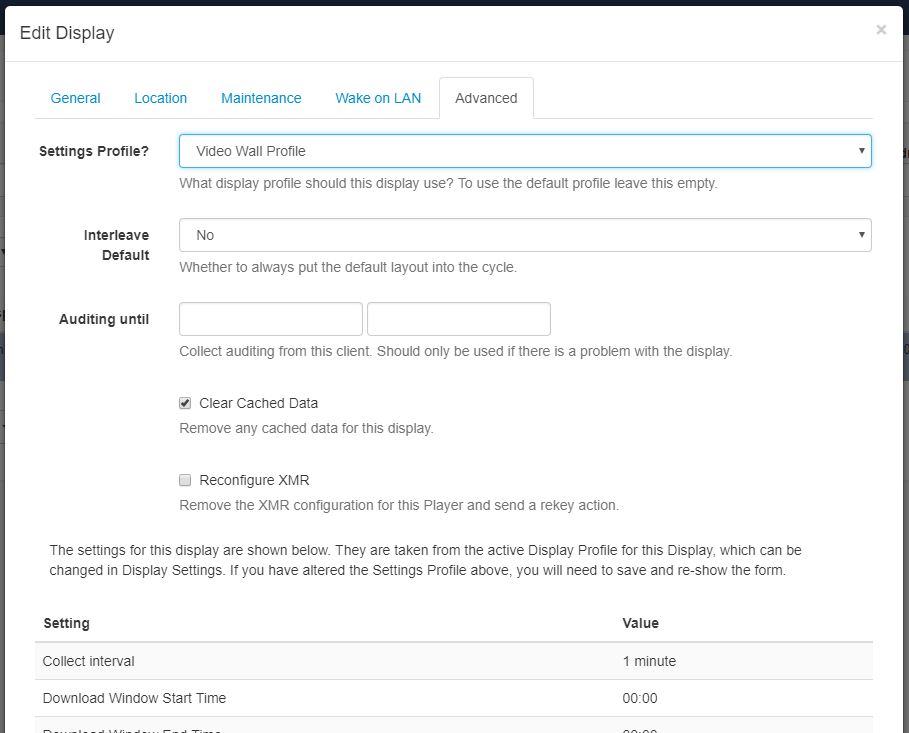
This will open the Edit Display window. Select the Advanced Tab and set the Settings Profile to your Video Wall Profile.
Creating a custom Resolution for your Video Wall Layout
Although you have now extended your desktop across all of your screens for the Video Wall and created a Display profile to match their total resolution, it is also recommended to create a custom Resolution setting for your Layout to ensure that the content is scaled correctly for the Video Wall.
Creating a Custom Resolution
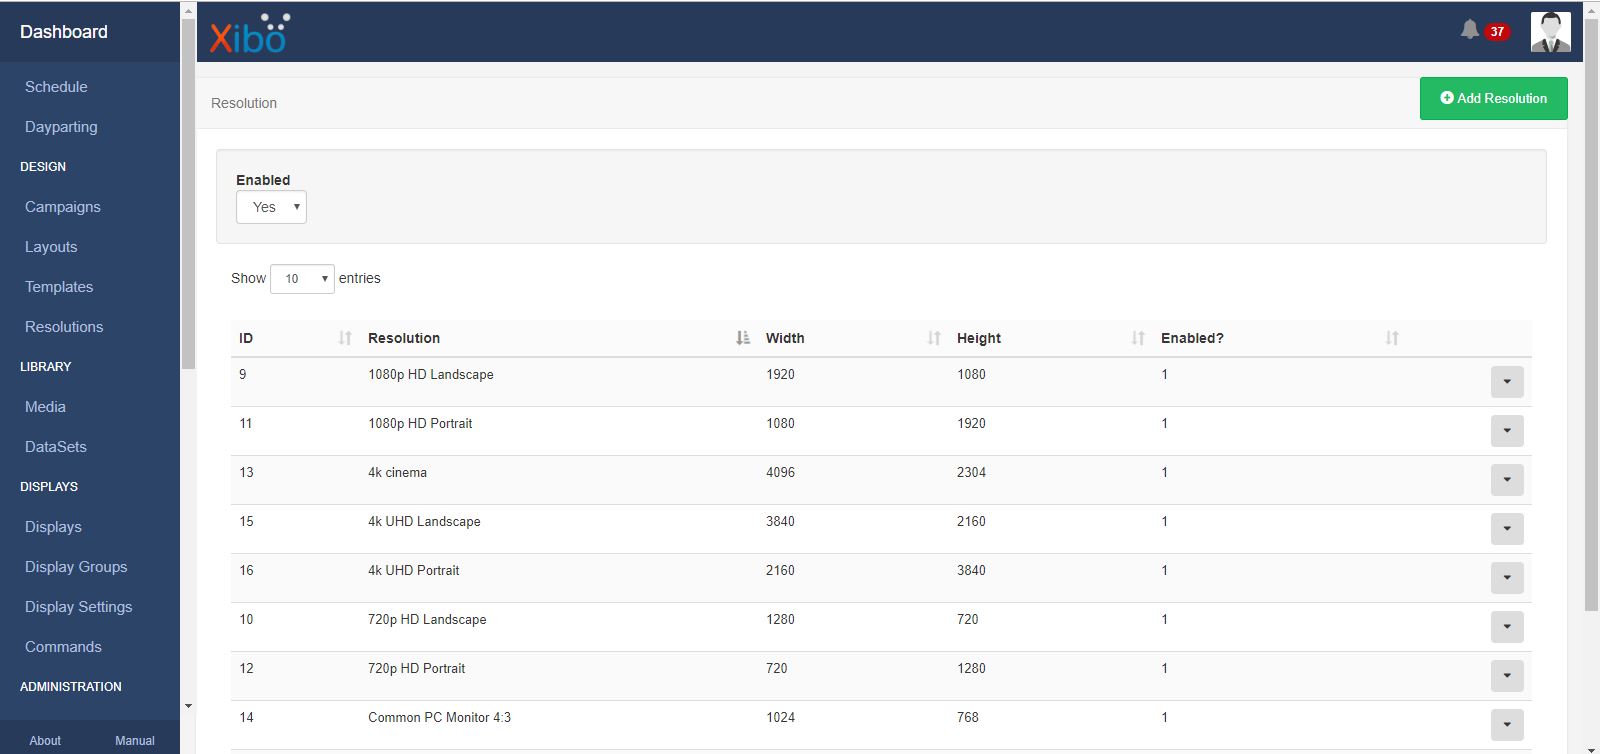
Select the Resolutions option in your CMS. Click the Add Resolution Button to open the Add Resolution window.
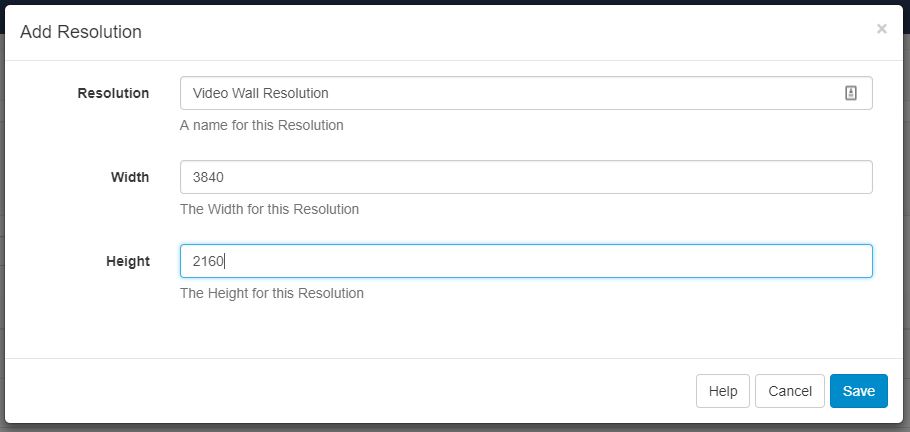
Enter the Name, Width and Height of your new resolution and select Save.
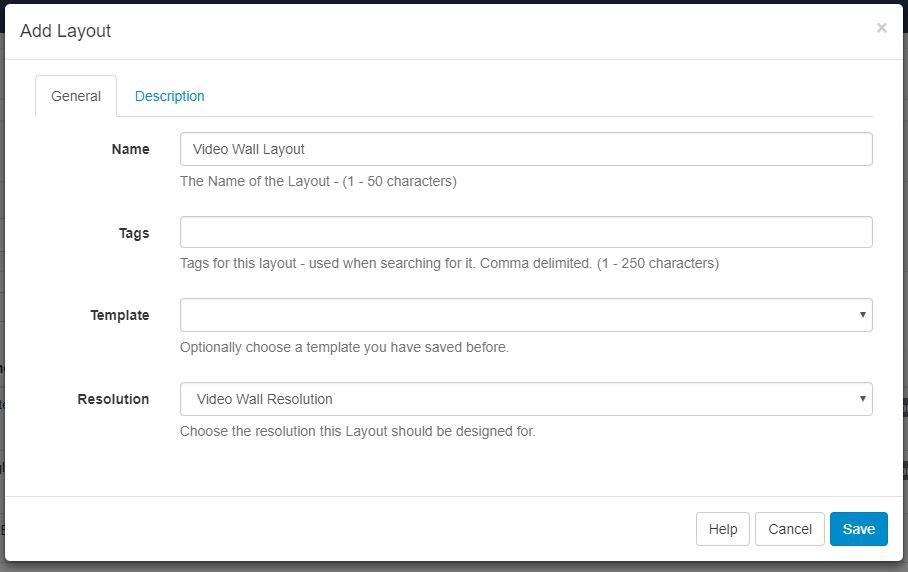
You will now be able to choose your Custom Resolution when creating a new Layout. Just select the Resolution field in the Add Layout window and choose your new Resolution.
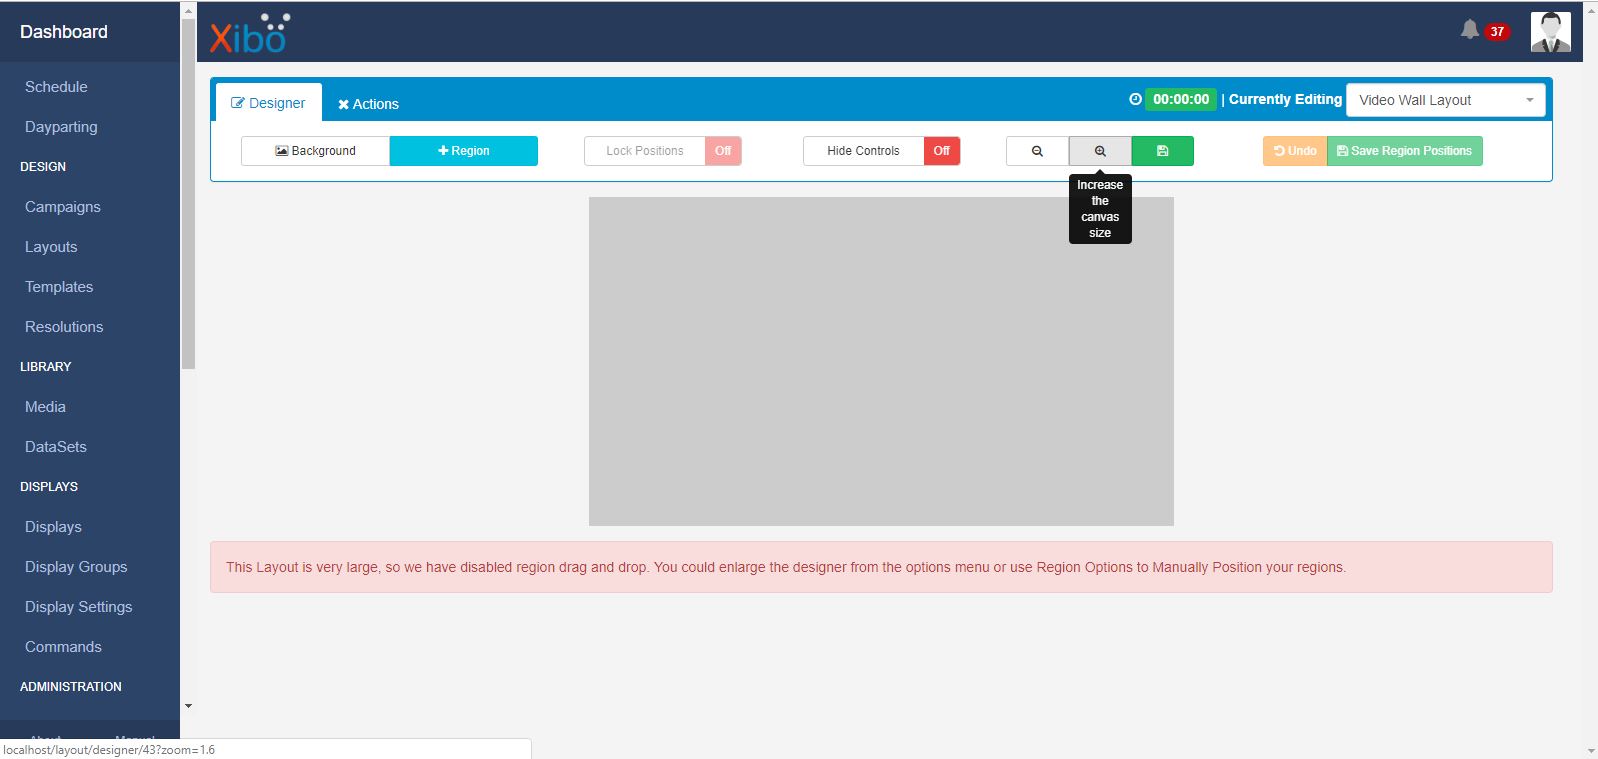
When creating your Layout, you may find that the Canvas is not large enough. You can adjust the size of the Canvas using the Increase and Decrease Canvas size buttons.
Once you have created your Layout, you can schedule it to the Windows Player as you would with any other Display. You have now set up your Video Wall.