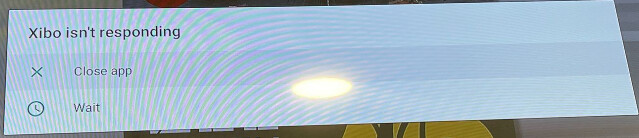
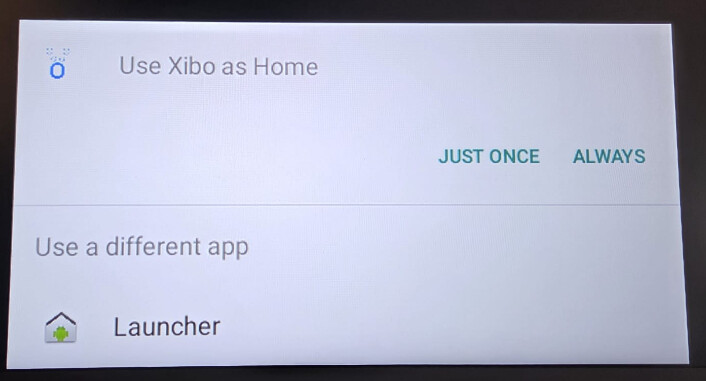
I finally figured it out, there’s a way to push the solution straight from the Xibo CMS and have the script run right when the device starts up!
Important
My solution has only been tested on exclusively the DSDevices DSCS9X. This player runs on Android 9 with the firmware provided by DSDevices. This solution may or may not work on other devices or Android versions.
Create the required files on your machine
Use your own device and any code editor of choice; Visual Studio Code was used in this instance. Then proceed to create the following two files.
As Xibo does not accept all file types, we will be temporary working with a .html file.
XiboHelperRC.html
service xibohelper /system/bin/sh /system/bin/xibohelper.sh
    class late_start
    user root
    group root
    oneshot
    seclabel u:r:su:s0
XiboHelperSH.html
#!/system/bin/sh

PACKAGE="uk.org.xibo.client"
ACTIVITY="uk.org.xibo.player.Player"
COMPONENT="$PACKAGE/$ACTIVITY"

while true; do
    echo "Monitor loop running"
    # Detect crash in system window manager
    if dumpsys window windows | grep -Ei "Error"; then
        echo "Crash detected — rebooting"
        reboot
    fi
    # Check if Xibo process is running
    if ! pgrep -f "$PACKAGE" >/dev/null; then
        echo "Xibo not running — starting"
        am start -n "$COMPONENT"
    else
        echo "Xibo running - bringing to foreground"
        am start -a android.intent.action.MAIN \
                 -c android.intent.category.LAUNCHER \
                 -n "$COMPONENT"
    fi
    sleep 300
done
Upload the files to the CMS
Upload both files to your CMS, and note down the ID given to them.
- Head to the Media page
- Top right select Add Media
- Click on Add files
- Select both
XiboHelperSH.html and XiboHelperRC.html
- Click on Start upload
- Note down the ID’s
Assign the files to each display
If you have a lot of displays, there’s no bulk action. You’ll have to do it display by display.
- Click on the [v] at the right of the display, select Assign Files
- Search for XiboHelper
- Click on the + icon for both
XiboHelperRC.html and XiboHelperSH.html
Wait for these files to be downloaded on the displays.
Create the command
You will only need to replace ID_SH and ID_RC to the ID of the correct file.
su -c "mount -o remount,rw / && cp /data/data/uk.org.xibo.client/files/ID_SH.html /system/bin/xibohelper.sh && cp /data/data/uk.org.xibo.client/files/ID_RC.html /system/etc/init/xibohelper.rc && sed -i 's/\r//' /system/bin/xibohelper.sh && sed -i 's/\r//' /system/etc/init/xibohelper.rc && chmod 755 /system/bin/xibohelper.sh && chown root:root /system/bin/xibohelper.sh && chmod 644 /system/etc/init/xibohelper.rc && chown root:root /system/etc/init/xibohelper.rc && mount -o remount,ro /"
- Head to the Commands page
- Click on >_Add Command
- Give it a name, such as Install Xibo Helper
- Code is XiboHelper
- Command type should be Free text
- Paste in the code from the box above with the IDs added
Execute the command
There are multiple ways to execute the command.
For the commands to execute on the displays page, XMR must be working!
Otherwise use the calendar to schedule the command.
A: Displays page
- Open the Displays page
- Click on the [v] at the right of the display, select Send Command
- Search for Install Xibo Helper and select it
- Hit Save
B: Calendar
- Open the Schedule page
- On the top right, click +Add Event
- Set the type to Command
- Search for Install Xibo Helper and select it
- Click Next
- Select the desired displays
- Click Next
- Set the start time around 5 minutes in the future
- Click Finish
Conclusion
That’s it. With these steps you have now configured your device to resolve the following:
- When the script detects any crash, it will give the system a reboot.
- The script will ensure Xibo is always on the foreground.
This script will run once every 5 minutes.