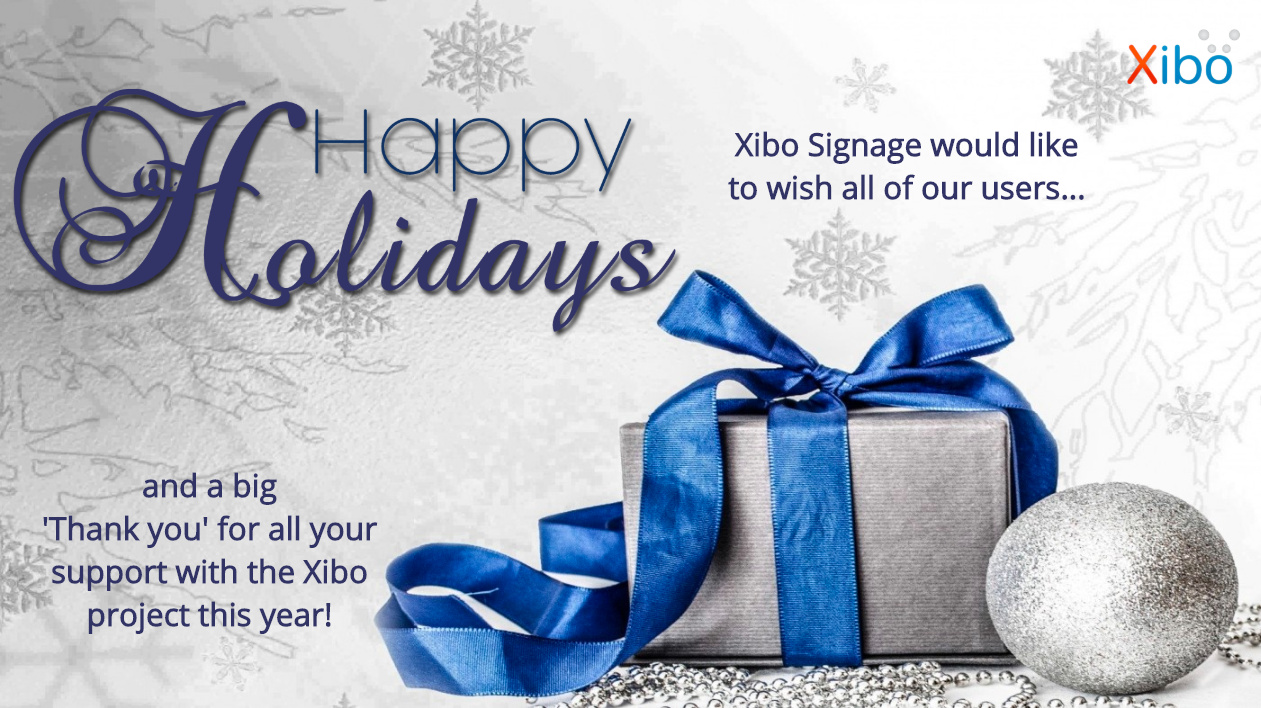
Use Xibo to easily make an eye catching Layout to display your special holiday message this year!
Log in to your Xibo CMS and navigate to Layouts from the main menu.
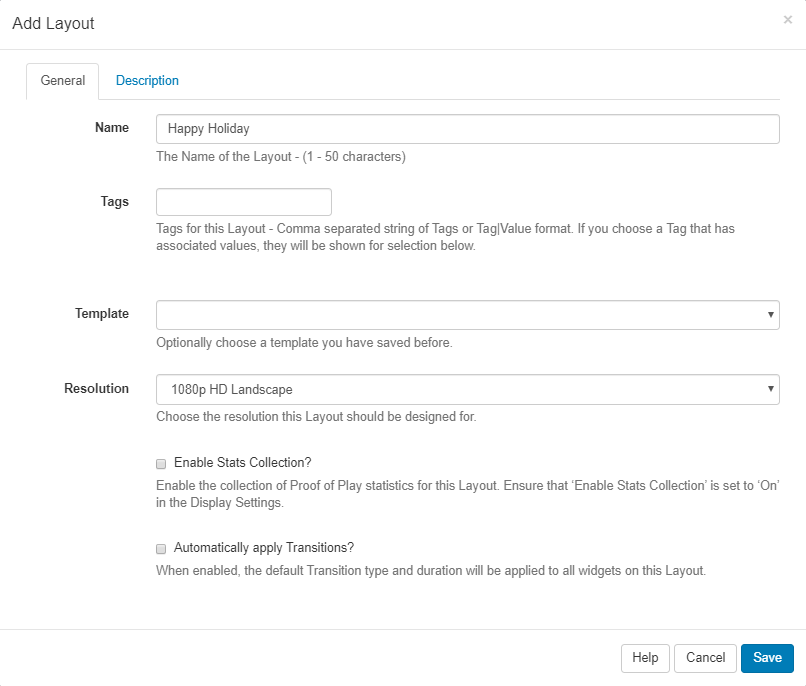
1. Add a Layout
Click on the Add Layout button and give this Layout a Name which you can easily identify later to schedule.
Save
On saving, the Layout Designer will open.
(Versions earlier than 2.2, ensure that you ‘checkout’ your Layout to open the Layout Designer).
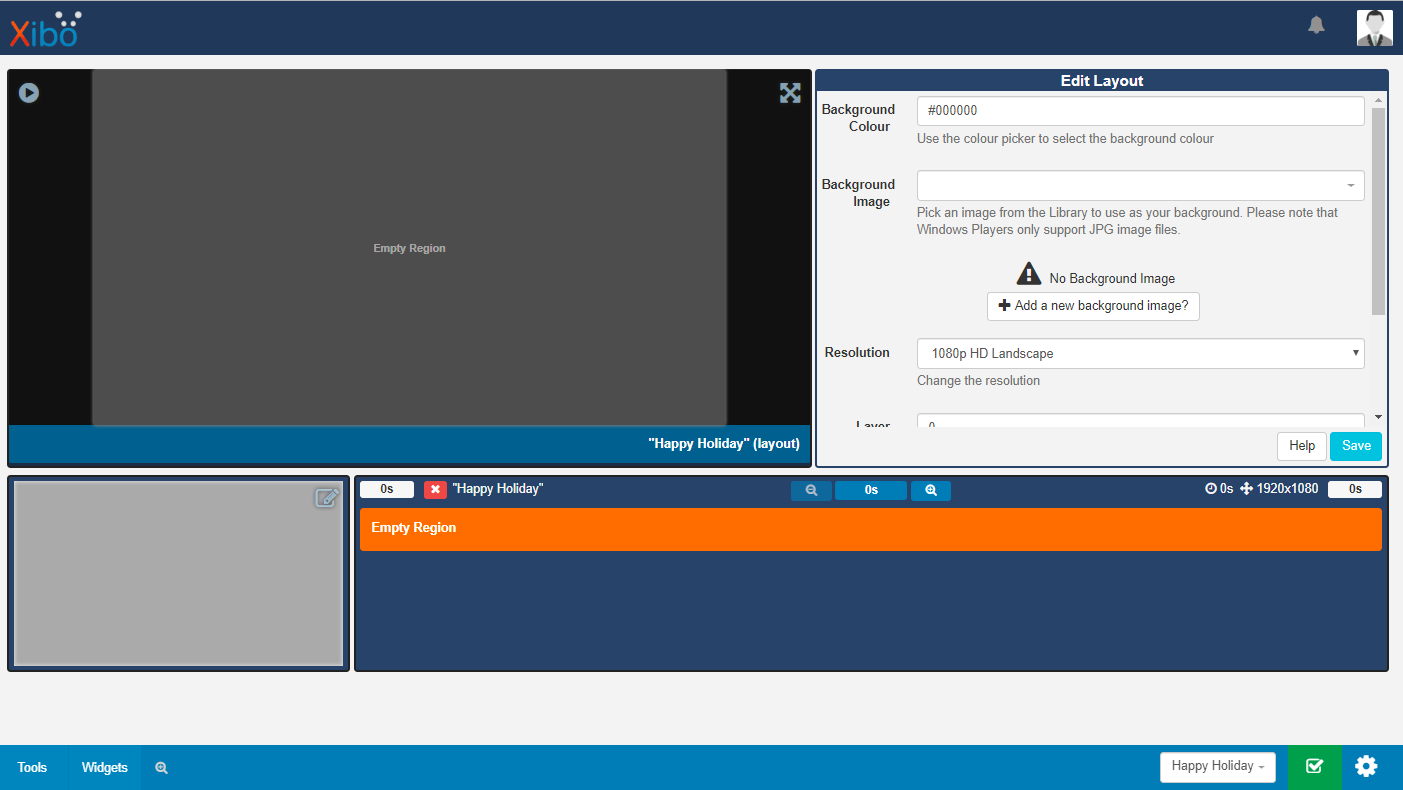
2. Layout Design
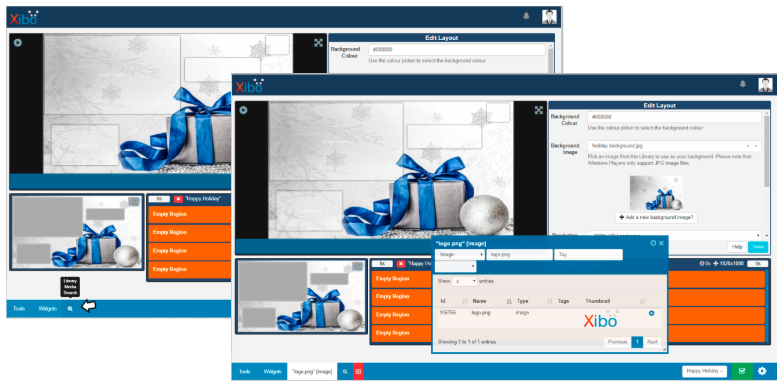
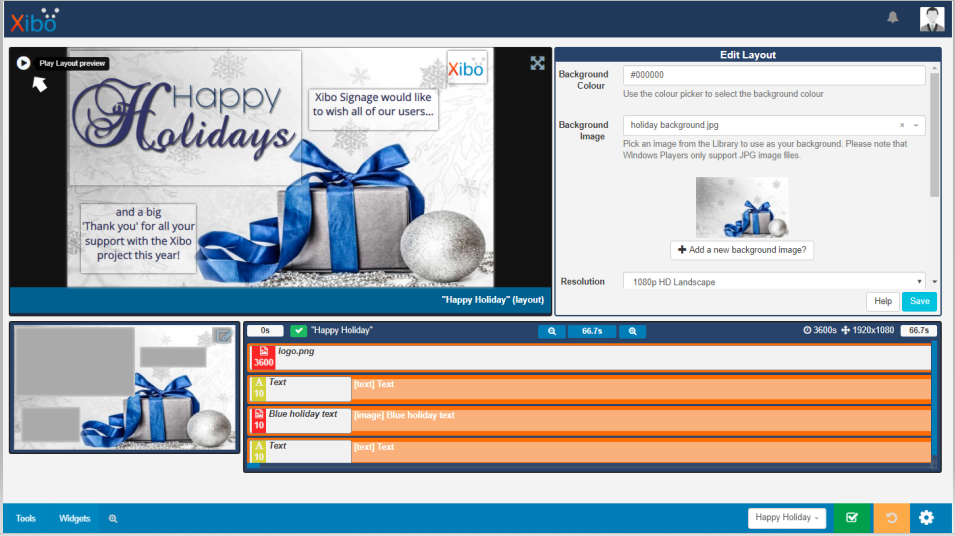
Layout Background
Add a Background Image by uploading an image file to the CMS Library.
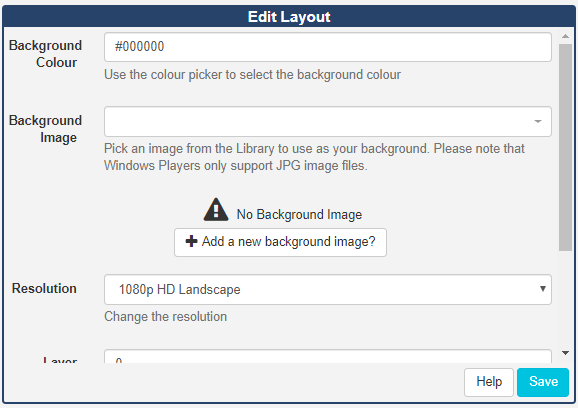
Click on the +Add a new background image button, select the image file you wish to use and click the blue button to upload the image.
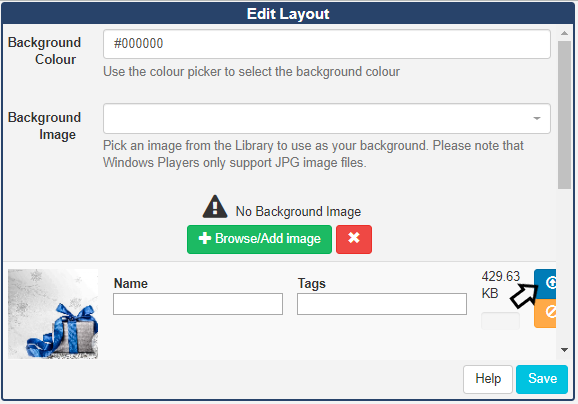
Once successfully uploaded click Save.
Tip: You can already use images that have been uploaded to your CMS library by using the drop down menu and selecting the image file that you wish to use.
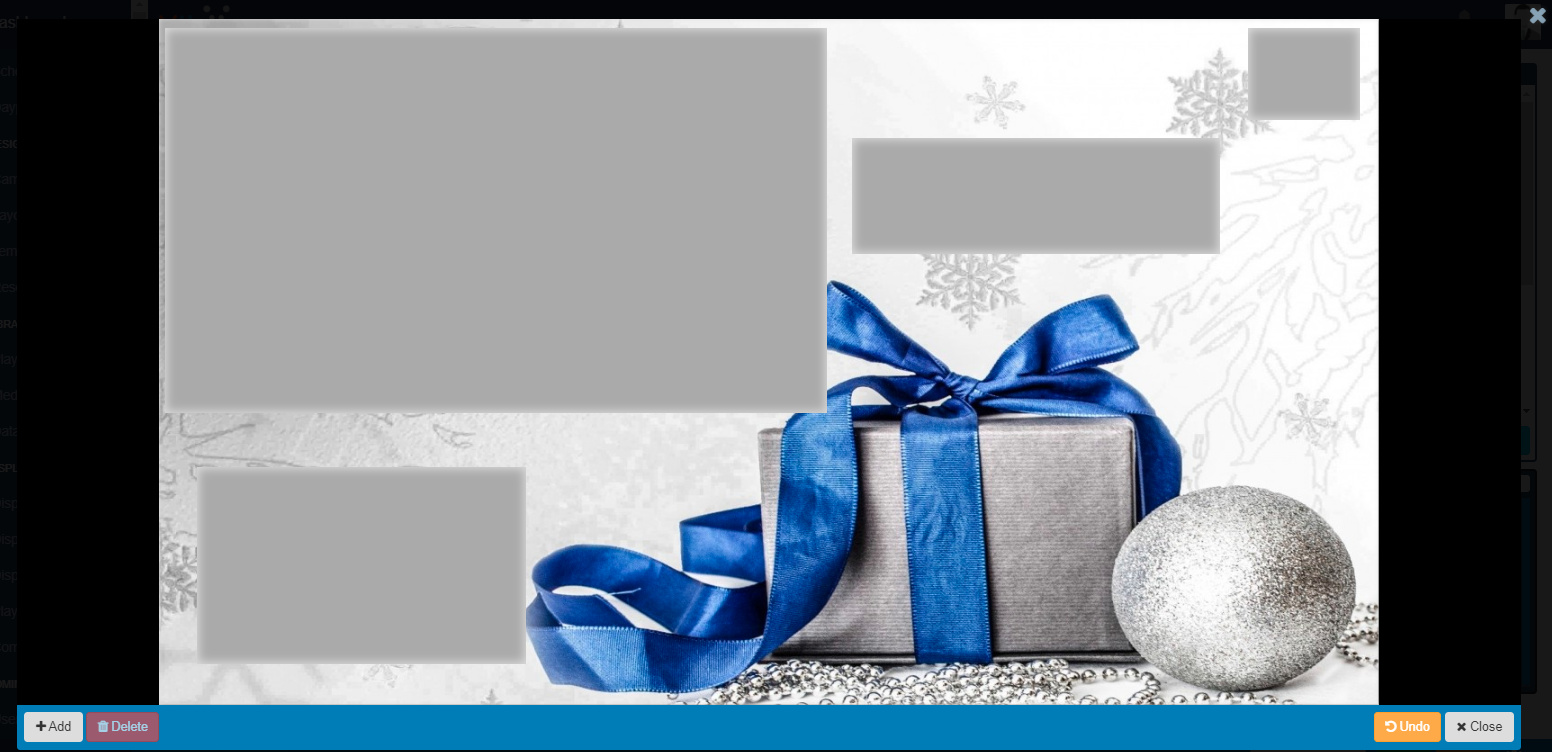
Add, resize and position Regions
Click on the pencil icon to open the Region editor.
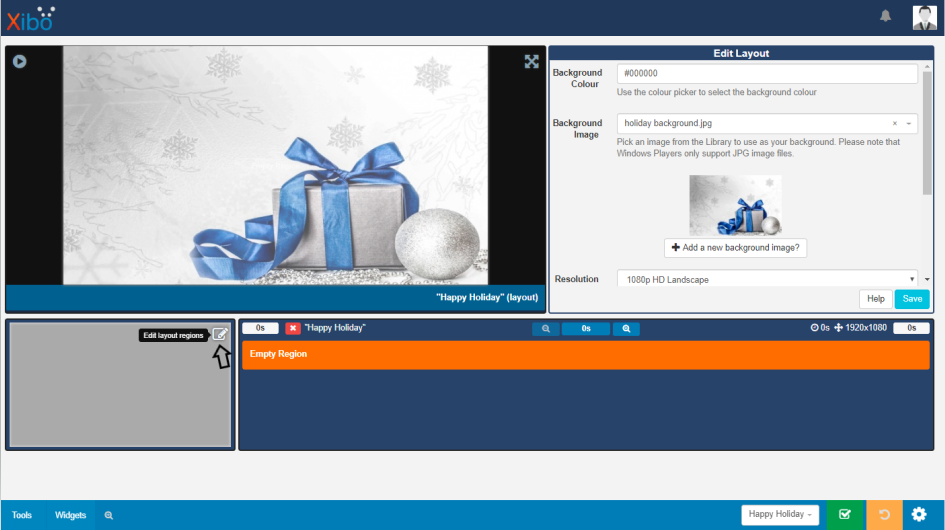
By default a new Layout will contain a full sized Region, you can move and resize this to where you want it.
Use the handle, in the bottom right hand corner to resize.
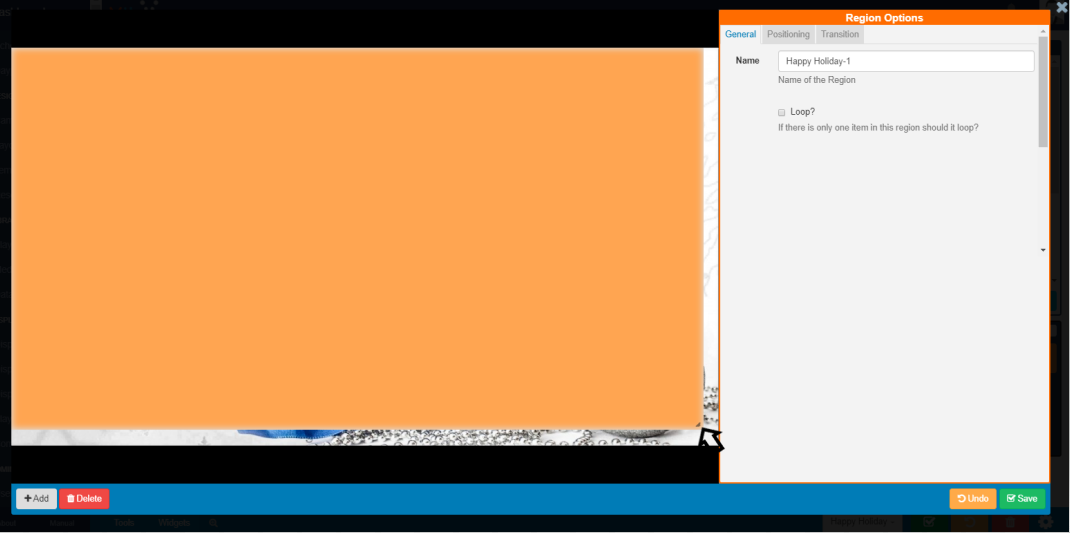
Click in the Region and drag to move it into position.
Use the +Add button to add 3 more Regions.
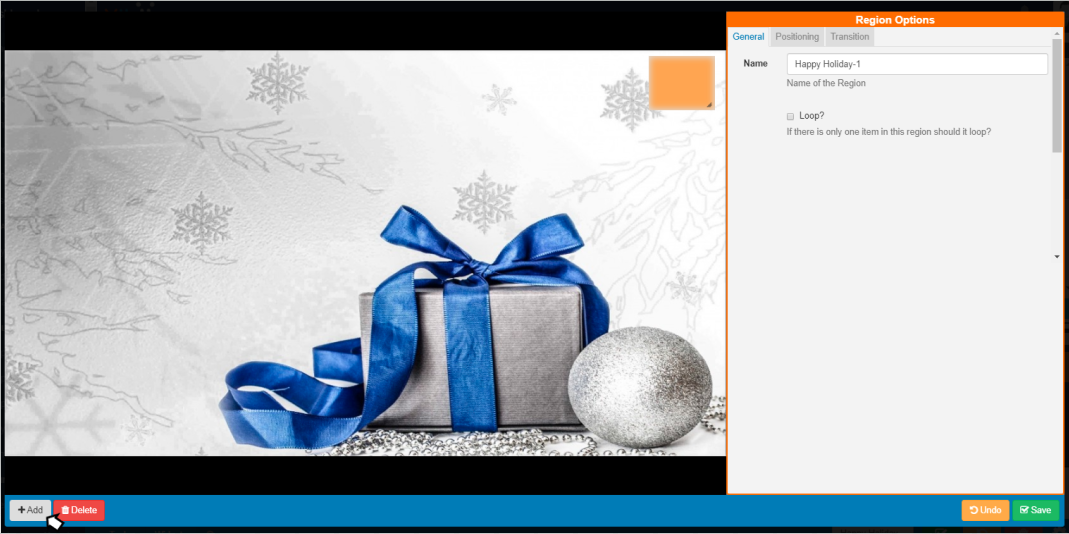
Resize and position to suit the background image.
Save and Close to exit.
3. Add Content
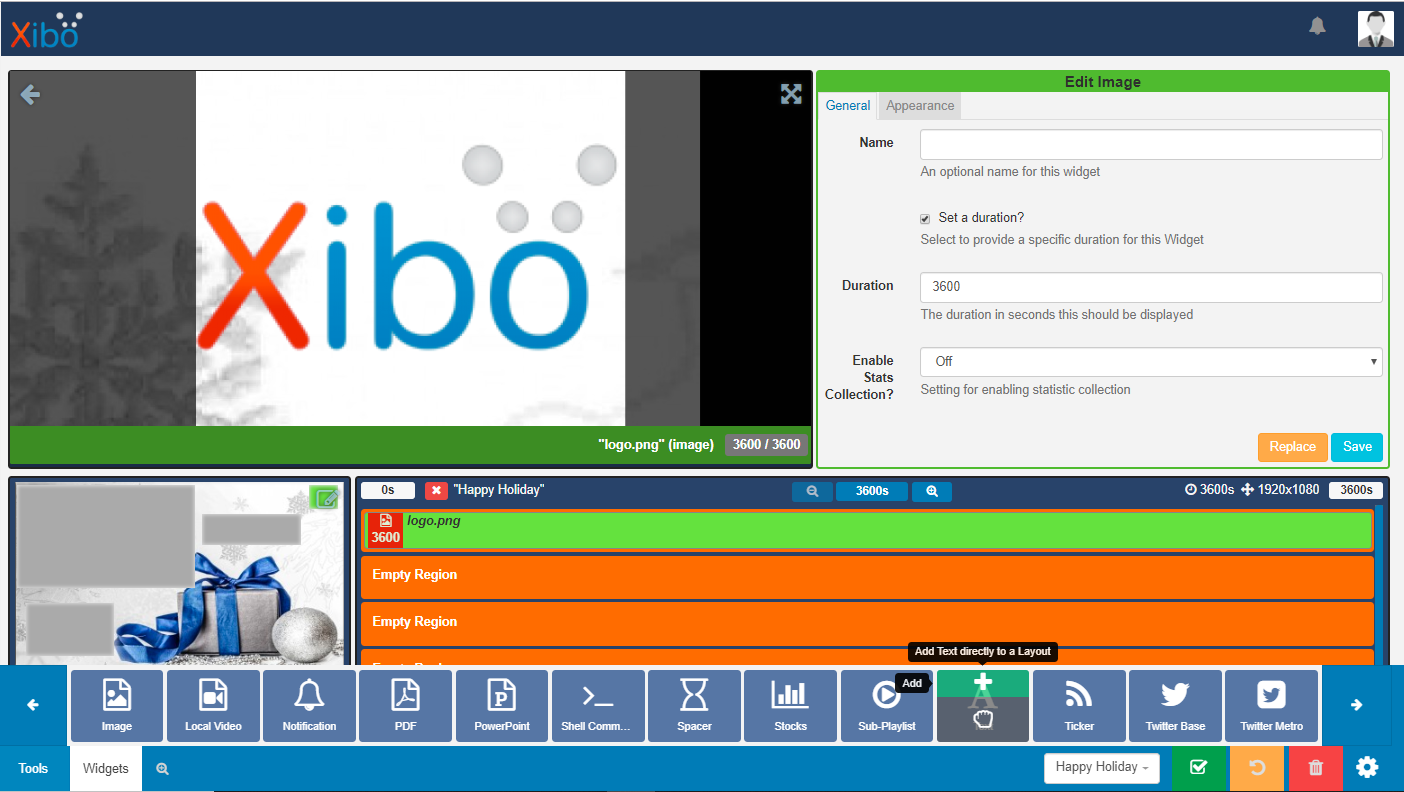
Region 1
The logo I want to use is already uploaded to my CMS Library so I can add this using the Library Search function.
Tip: Add the Image Widget and upload a media file if you do not have your logo already uploaded to your Library.
Click on the magnifying glass located on the bottom toolbar to search the Library. Use the filters to find the file you wish to use.
Tip: Use the handle in the bottom right corner of the Library Search window to resize and click to drag to make it easier to add files.
Click on the blue cross icon next to the file you wish to use and then click into a Region to add.
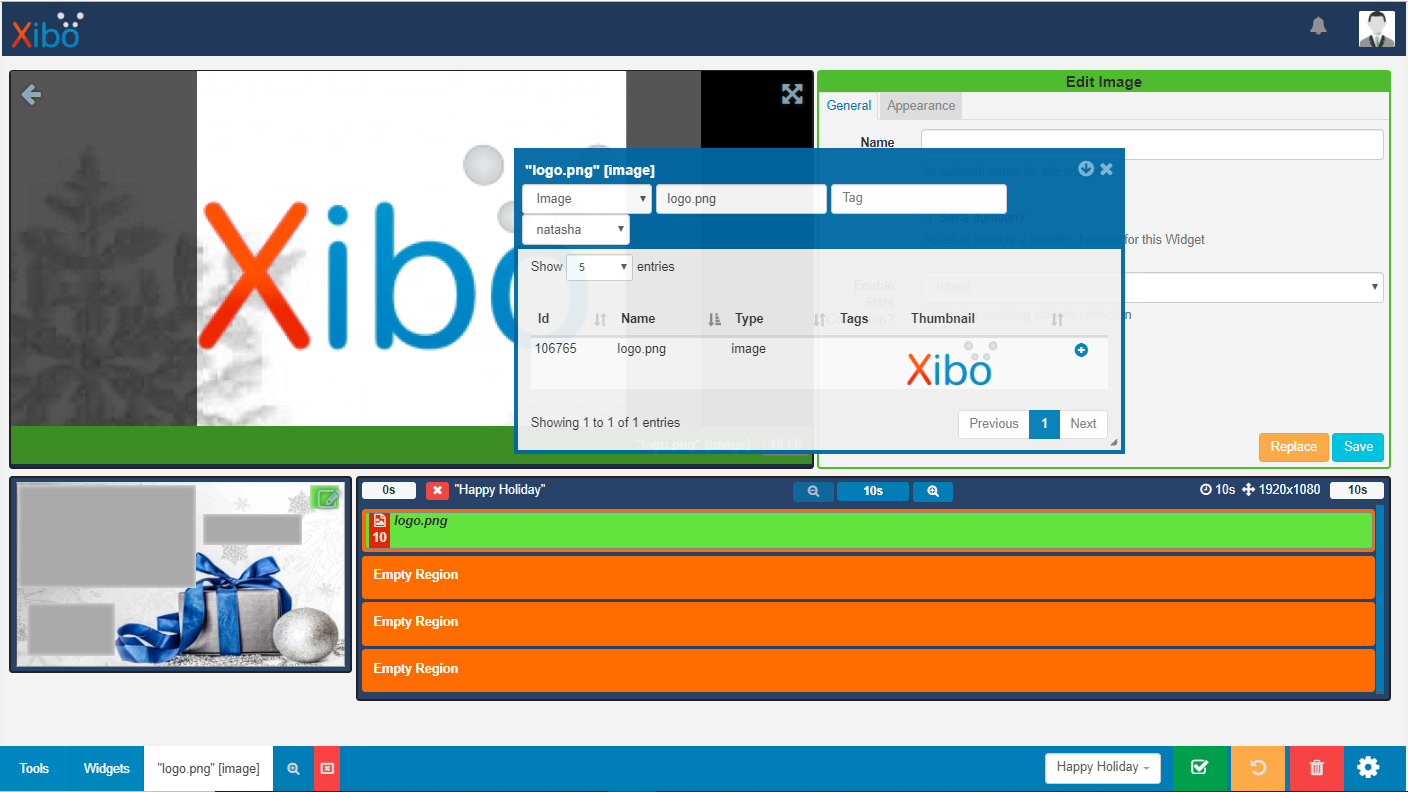
Once added, close the Library Search window.
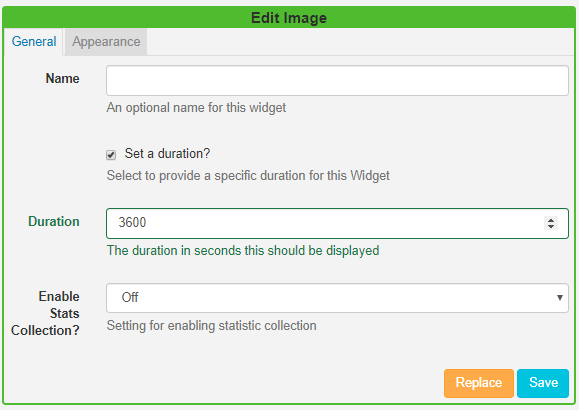
Tick to Set a duration and enter 3600 seconds to make it the longest running Region on the Layout.
Save
The Preview window will now update and display the content of that Regions timeline.
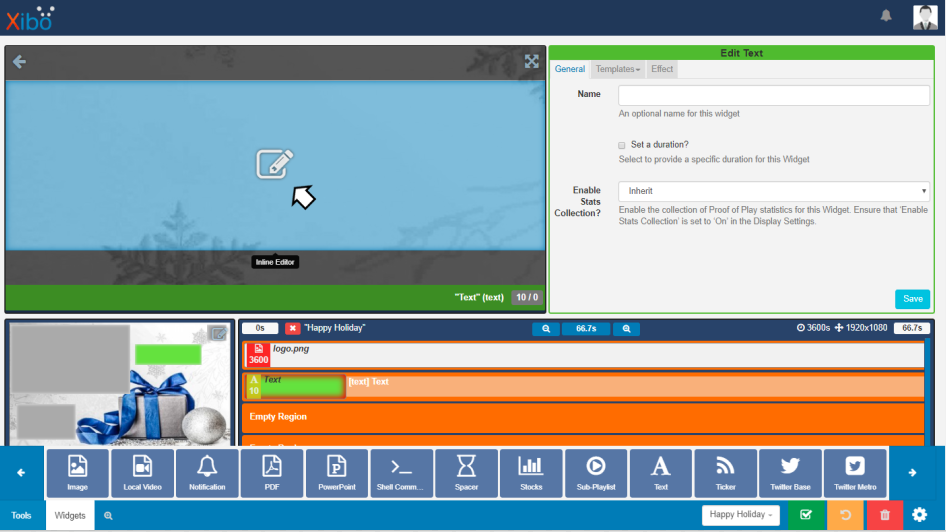
Region 2
Click on Widgets on the bottom toolbar and scroll through using the arrows until you find the Text Widget.
Highlight Add and click in a Region to add the Text Widget.
Tip: Click in a Region on the Timeline or Region Editor window. You can also use the grab option to drag the Widget to a Region!
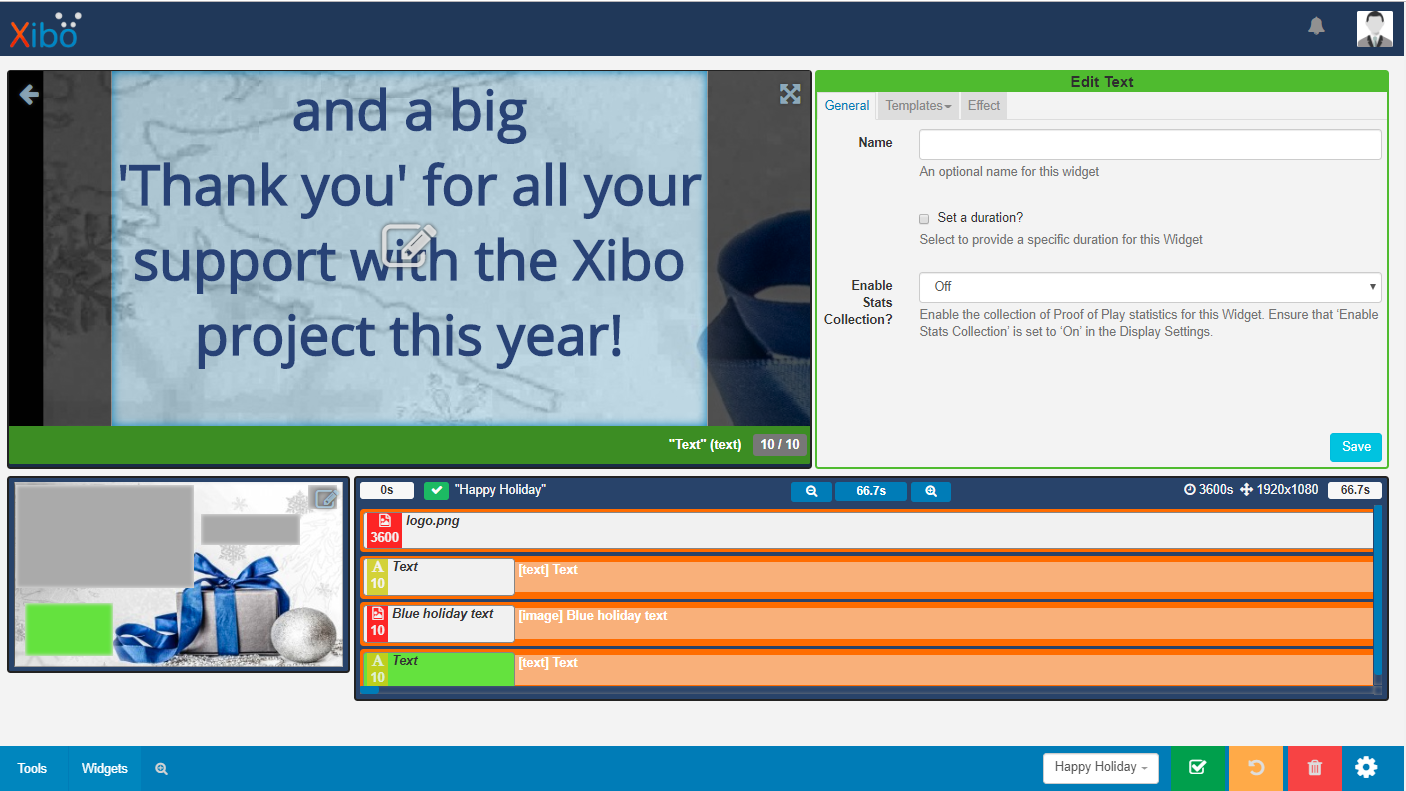
Click on the edit icon to open the inline editor
Type your message and use the editor to format the text.
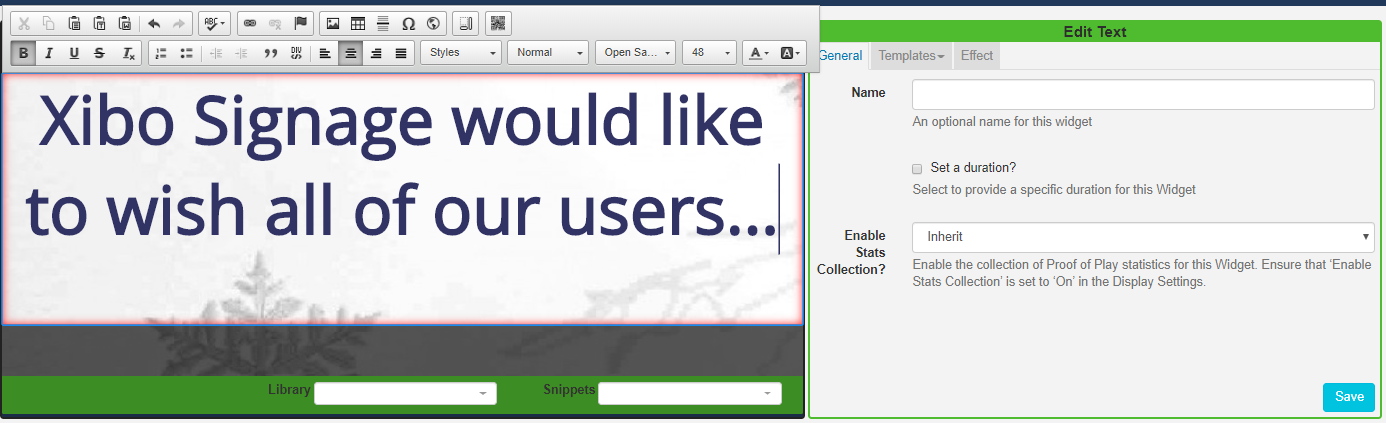
Tip: Ensure your text remains within the red Region border. Anything outside of this will not be seen!
Save
Region 3
Using Widgets, scroll through and find the Image Widget and click on the Region to add.
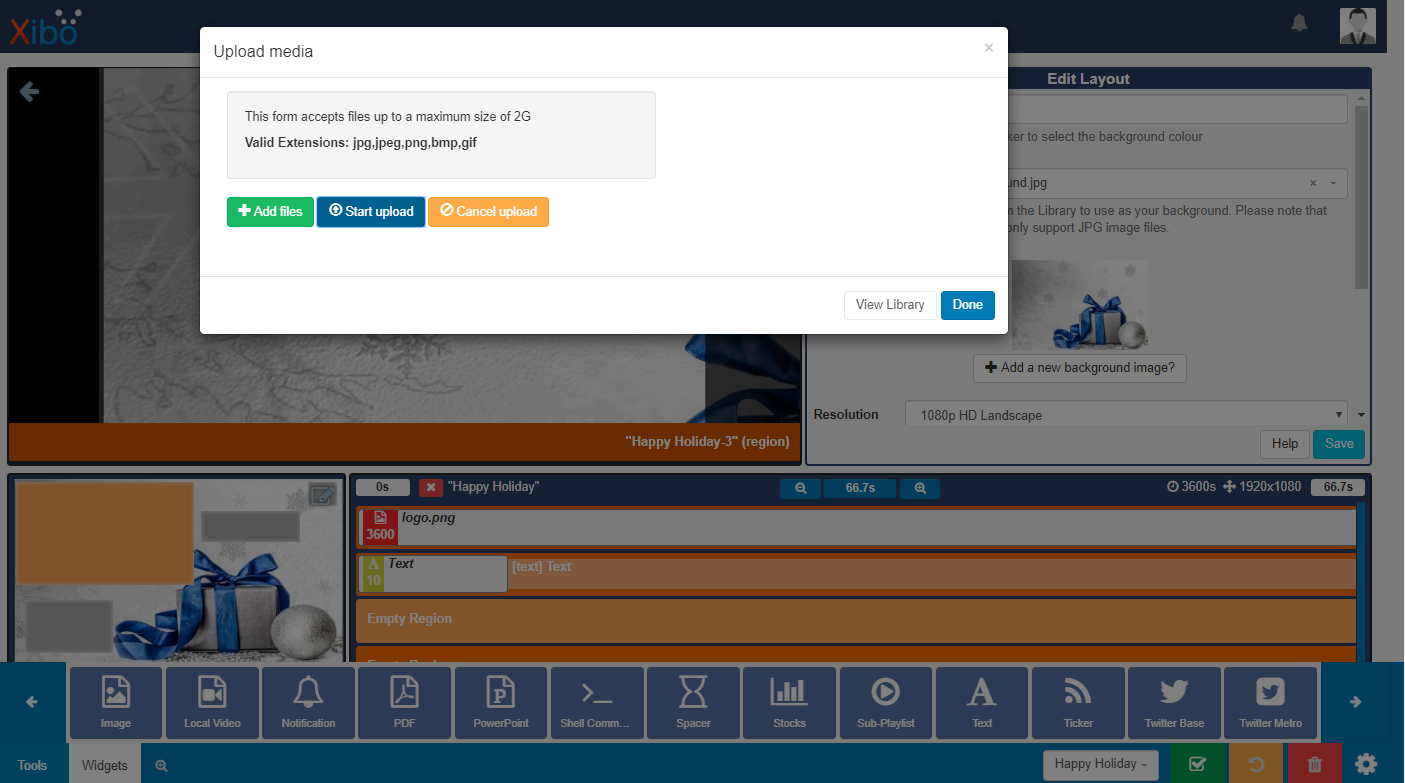
Click on Add files and upload the image file to use.
Tip: If the image you want to use has already been uploaded to your Library, use the View Library button to add or simply use the Library Search function!

Region 4
Add the Text Widget as before, write and format your message.
Save
Tip: Click on the Widgets tab again to close for a cleaner workspace!
4. Preview Layout
Preview the Layout to see how it will look once Scheduled to Displays
Click on the arrow icon in the top left of the Preview window to view the full Layout and click the Play button.
Tip: Play in full screen by using the toggle in the top right corner of the Preview window.
This Layout can now be Published and Scheduled to Displays…but using the new Spacer Widget you can easily make this Layout more dynamic!
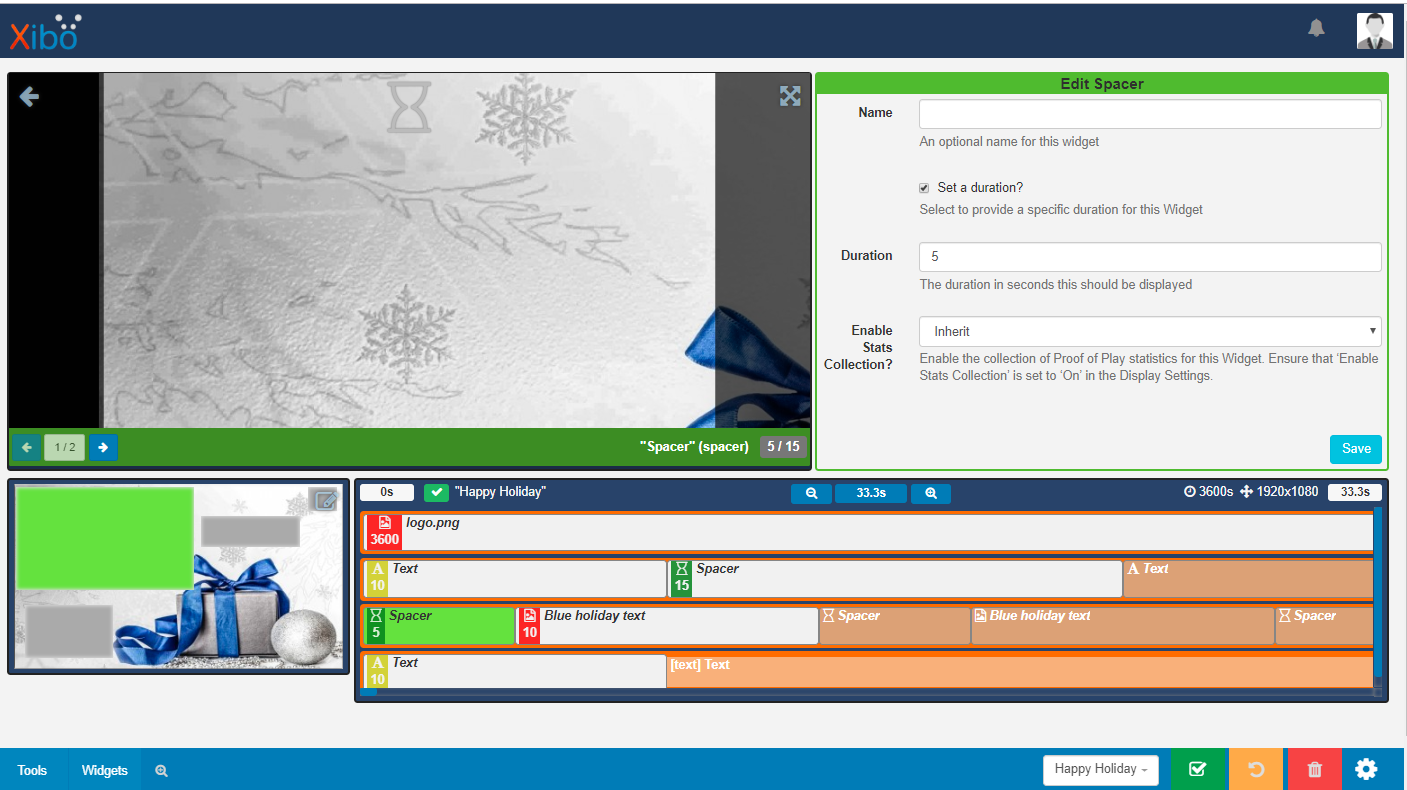
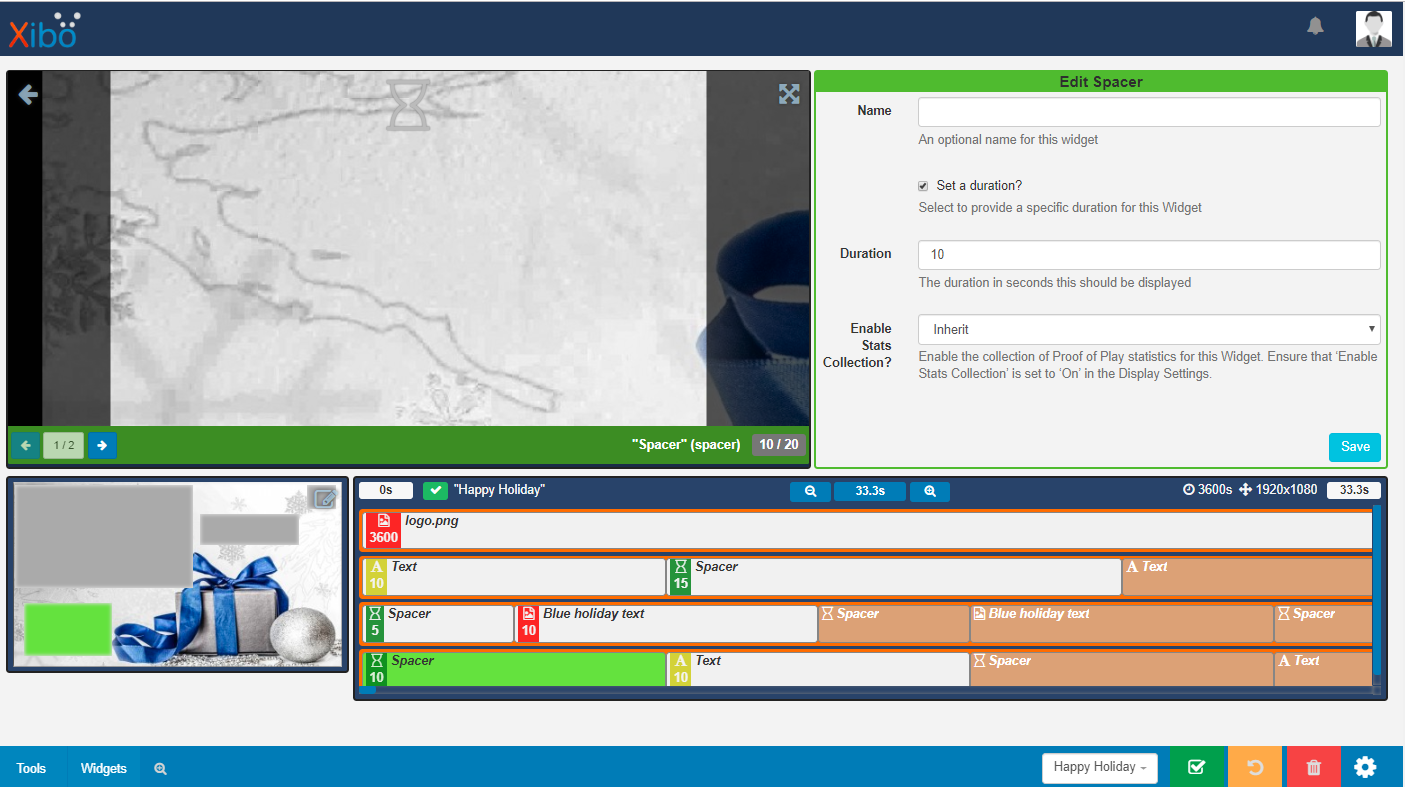
5. Add Spacer Widget
Using the Spacer Widget you can set a delay for content to be shown.
Click on Widgets and navigate to the Spacer Widget, add it to the second Region, after the Text Widget.
Tick to Set a duration and enter 15, Save.

Add a Spacer Widget to the third Region, and Set a duration of 5 and Save.
Move this Spacer Widget so that it is the first Widget for this Region by clicking and dragging to replace the Image Widget position.
Add a Spacer Widget to the fourth Region, and Set a duration of 10 and Save.
Move this Spacer Widget so that it is the first Widget for this Region to replace the Text Image position.
Tweak durations to control how each Media will play on the Layout:
Highlight the Image Widget in the third Region and Set a duration of 20, Save.
Highlight the Text Widget in the fourth Region and Set a duration of 15, Save.
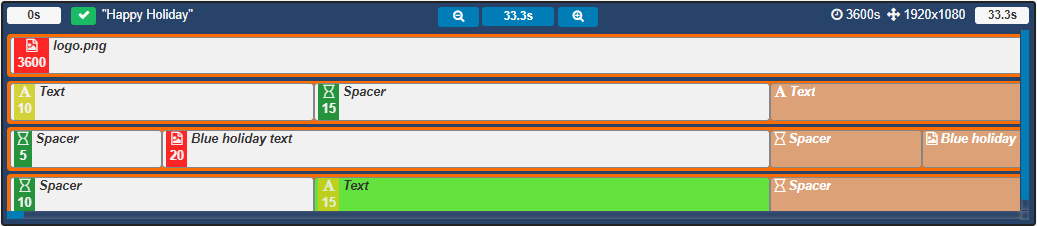
The above Timeline shows exactly how each Region will Play on the Layout:
(The Logo image will remain on screen for the duration of the Layout as this is the longest running Region).
0 - 5 seconds - Logo and message

5 - 10 seconds - Logo, message and ‘Holiday’ Image

10 - 15 seconds - Logo, Holiday Image and second message
Regions will then reload and play until the longest running Region has played in full.
View by clicking the Preview.
Click the green tick button on the bottom toolbar to Publish the Layout.
Once Published the Layout is ready to be Scheduled to Displays!
Want to take a closer look?
This Layout is available as a free download to import into your CMS here!