The Xibo for Windows Player can be used with an LED Board. Below are instructions on how to do this.
Background
When an LED Board is set up, the Media it is set to display will be based on one of two very similar concepts. It will either use a set region of the screen, or it may include functionality that allows the user to define where and how much of the screen are sent to the Board itself.
Resolution
As the LED Board will receive only a small section of the screen, the resolution for that area will be low. In many cases this can be as small as 200x100. If the aspect ratio for this small region is the same as an existing resolution, for example 16:9, then an existing resolution can be chosen and Xibo will scale down the Layout to correctly display.
Custom resolutions can also be created to match your LED Board to ensure that the content is scaled and therefore displayed correctly.
How to create a Custom Resolution:
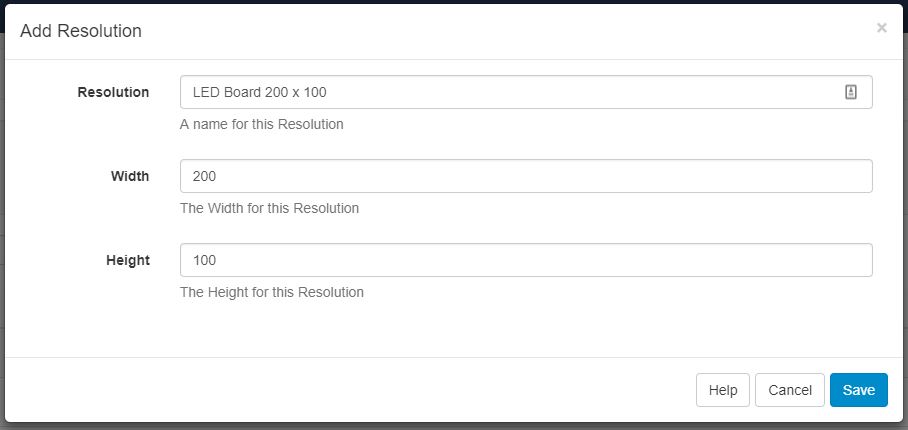
Select the Resolutions option in your CMS. Click the Add Resolution Button to open the Add Resolution window.

Enter the Name, Width and Height of your new resolution and select Save.
You will now be able to choose your Custom Resolution when creating a new Layout. Just select the Resolution field in the Add Layout window and choose you’re new Resolution.

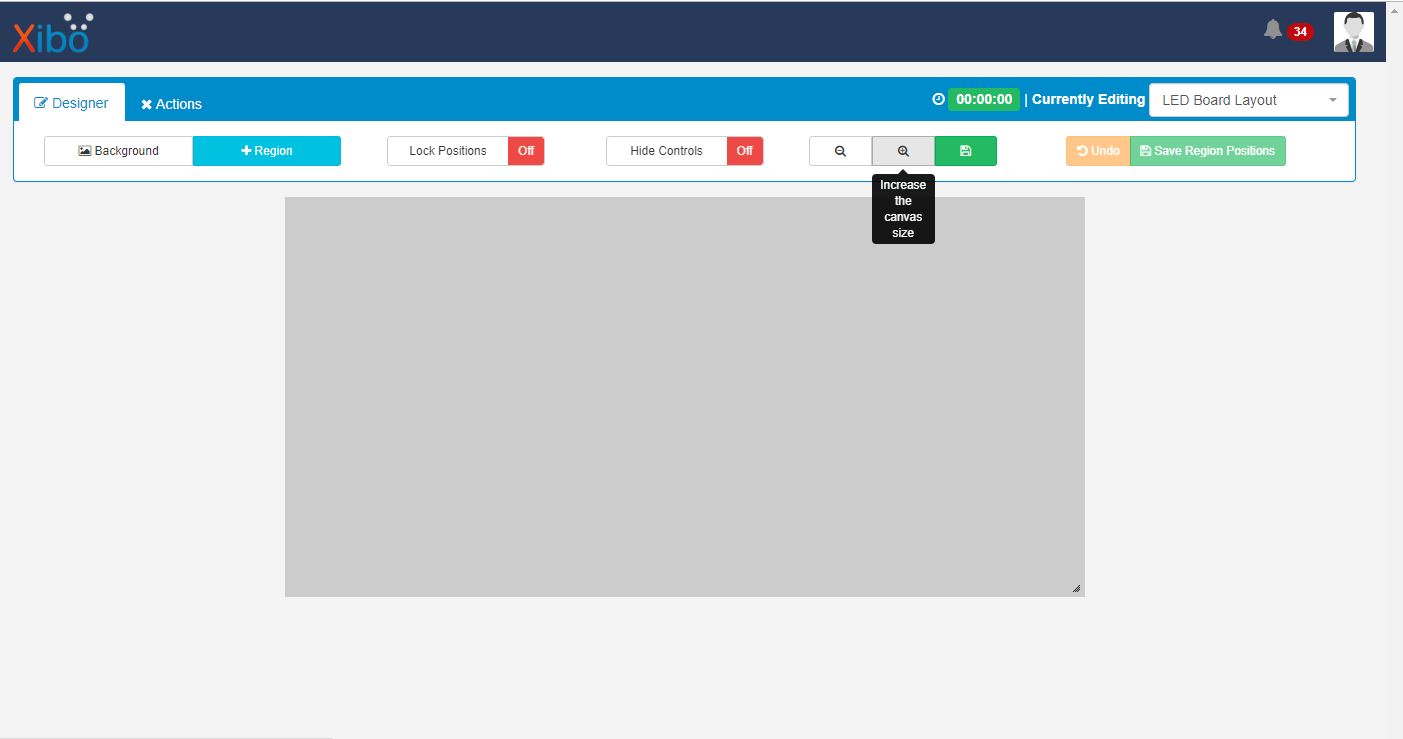
When creating your Layout, you may find that the Canvas is not large enough. You can adjust the size of the Canvas using the Increase and Decrease Canvas size buttons:
Position
By default, your Player will Display across the entire screen on your Device, starting from the top left corner. As mentioned previously, this may need to be adjusted to the region of the screen that the LED Board will use as a source for the Media.
To set the size and position of the Player window, you will need to adjust the Location settings for the Players Display Profile.
Please note that if you have multiple Players using the same Display Profile, any modifications will apply to all of those Players. To avoid disruption of your other Players, I would recommend creating a new Display Profile to be used with your LED Board.
How to create a Display Profile
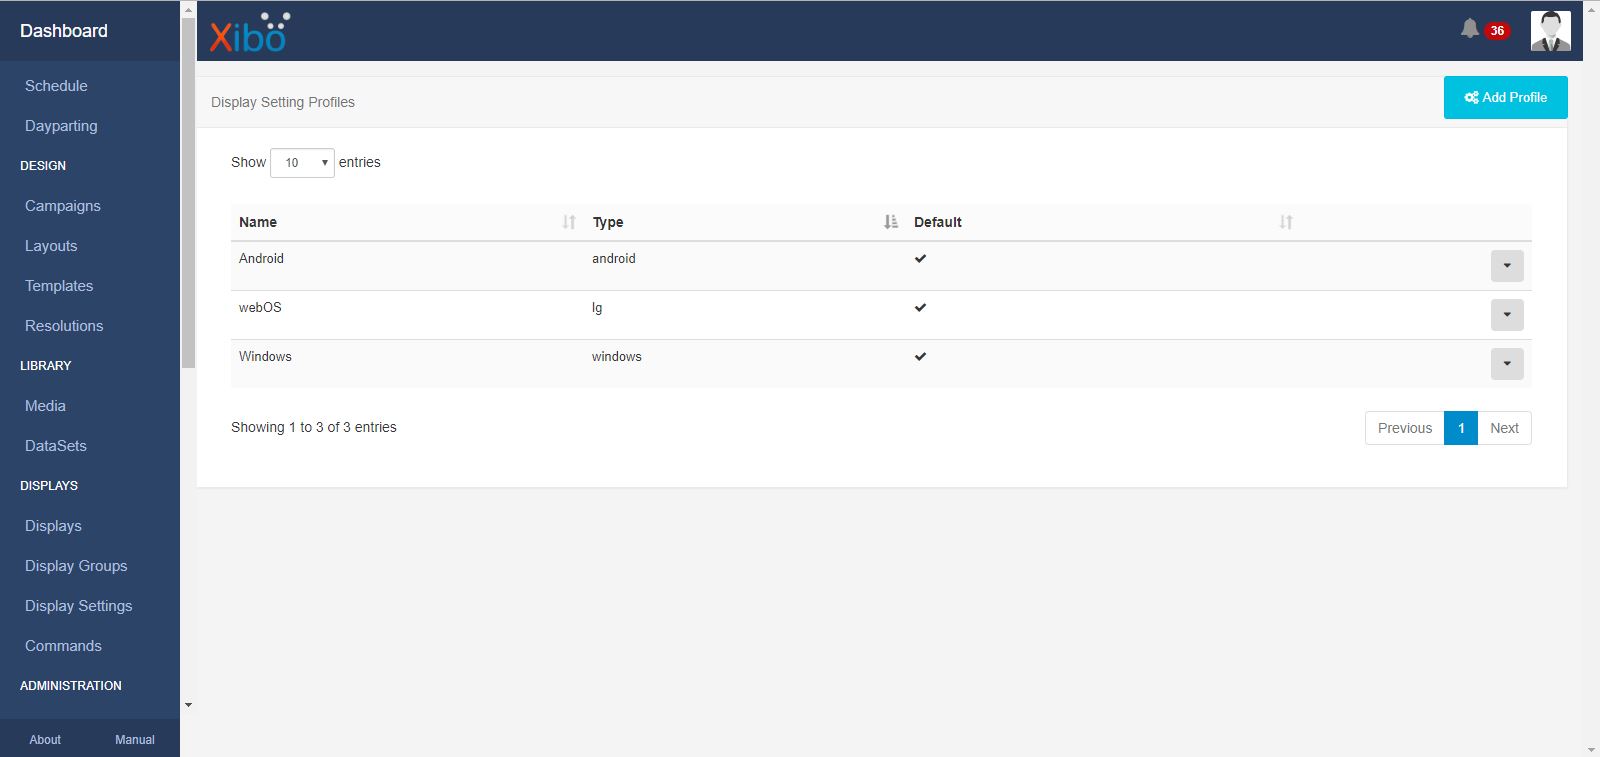
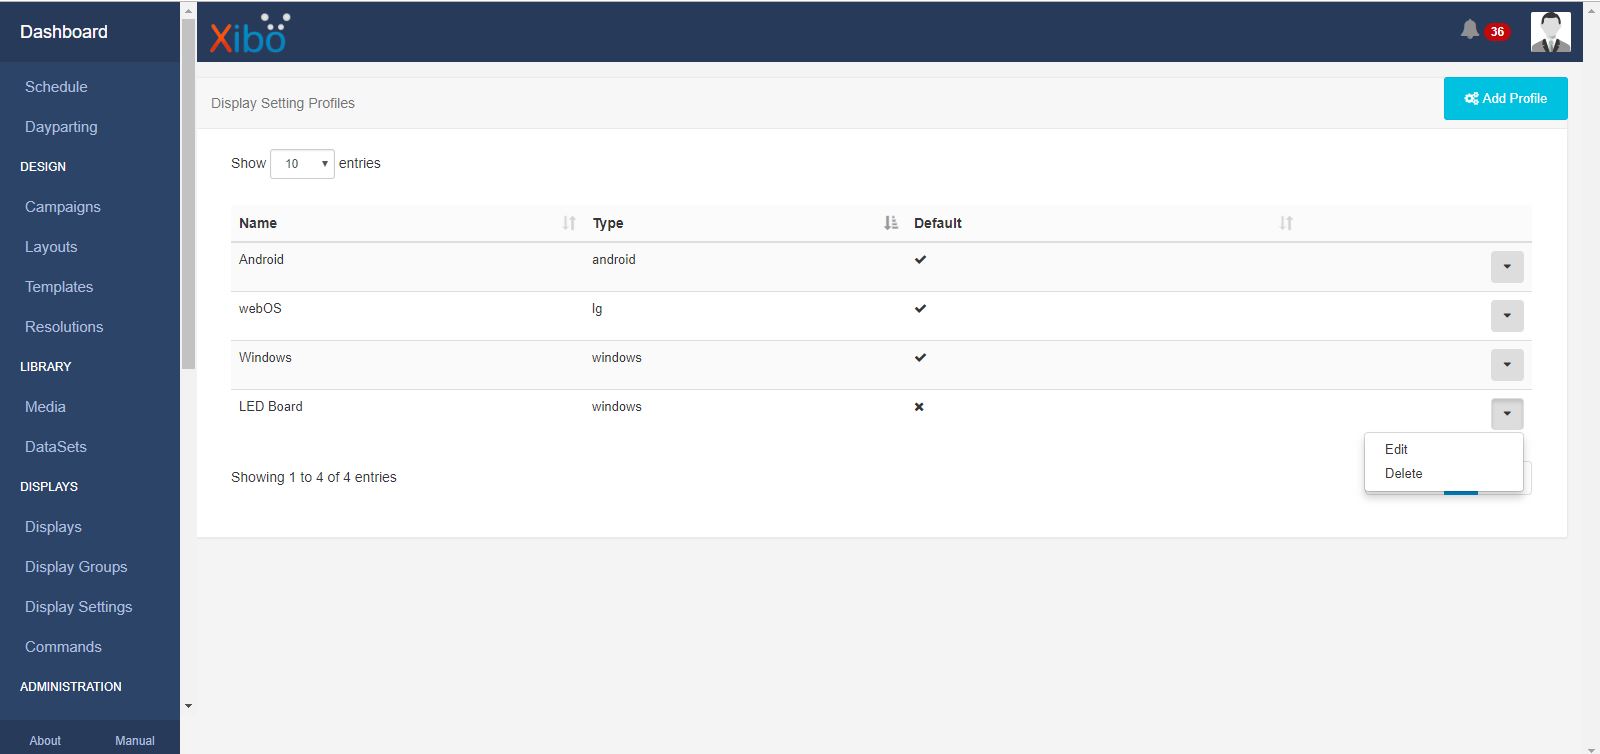
Select the Display Settings option in your CMS and click on the Add Profile button.
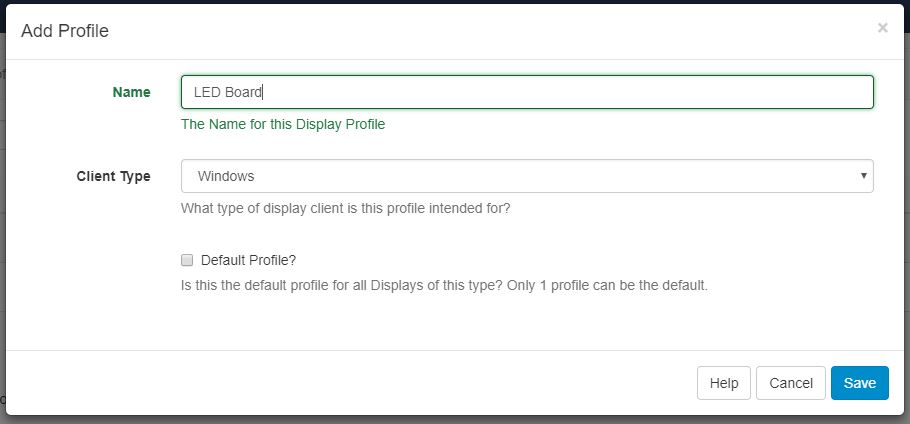
This will open the Add Profile window. In the below example I have given the Profile a name that is relevant to the function of this new Profile and set the Client Type. For this example I am using a Windows Player.
Please note that the newly created Profile will have a default configuration that may not match your other Display Profiles. Once you have created the Profile, the Edit Profile window will automatically open. If you are using XMR, the address will need to be entered into the XMR Public Address field. Remember to save any changes you have made to the Profile before exiting.
How to set the Size and Position of your Player
Select the Display Settings option in your CMS and click the down facing arrow at the end of the appropriate Profiles’ row. Choose the Edit option from the drop down menu.
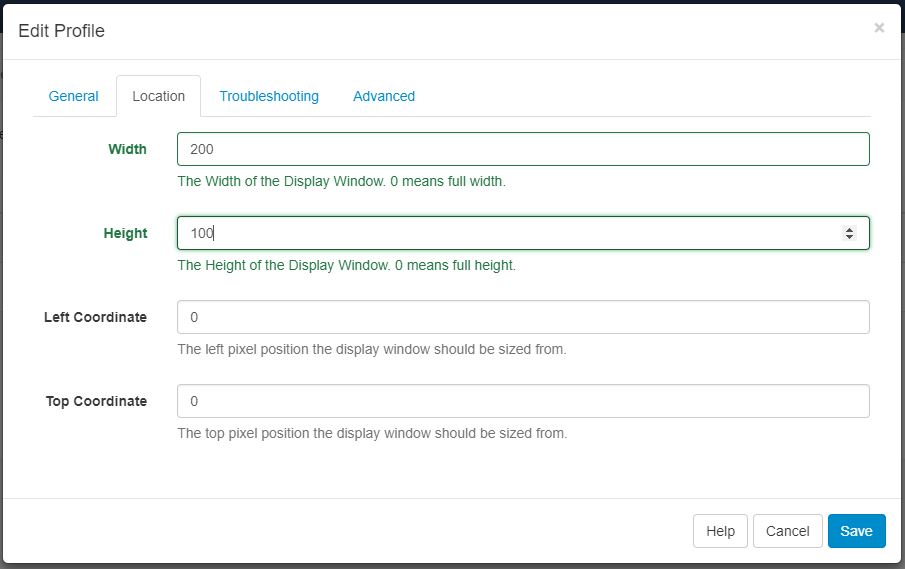
This will open the Edit Profile window. Click the Location tab to reveal the Top, Left, Width and Height fields. In the below example, I have set the Width and Height to match the Resolution of the Layout I have created. By keeping the Left and Top fields set to 0, the Player will display from the top left corner of the screen on the Player Device. Increasing the value in the Left and Top fields will adjust the Players position to the right and down respectively.
Special consideration for Android Players
When using Xibo for Windows, setting the Player to display on a small region of the screen will allow the machine to be used for other functions, as the Desktop will be displayed. When using Xibo for Android, the area of the screen not being used to display the Layout will instead be black. As the app will need to be running in order to be read and sent to the LED Board, this means that the Android Player cannot be otherwise used whilst content is being displayed.