This guide will take administrators through steps to create and utilise Folders in order to replace the older Permissions found in versions earlier than v3.0.0.
Introduction
Up until v3.0.0 of the Xibo CMS, access to user objects (Layouts, Campaigns, Widgets, Library Media, Playlists, Displays etc) was controlled by a “permissions” based system where each object could be assigned View,Edit,Delete permissions for Users and User Groups. Each object would specifically need to be edited to allow for Permissions to be set which could result in a mammoth task for some administrators.
The entire Permissions structure was re-worked and replaced with Features and Sharing with the release of v3.0.0.
Features replaced System Objects and Share replaced User Objects which when used in conjunction with each other ensure that only the relevant parts of the CMS are visible and objects have the appropriate level of interaction applied for Users/User Groups.
Administrators can still give View,Edit,Delete access for individual objects in the CMS to Users/User Groups using Share…
…but rather than having to repeat this process for ‘every object’ that needs to be shared, we wanted to make the entire ‘sharing’ process easier, and so Folders were introduced in v3.0.0!
Creating Folders
Folders are used throughout the CMS to give administrators an easy way to control User/User Group access for multiple objects. Once created, User/User Group View,Edit,Delete access is applied to the Folder. Any objects held or later moved into the Folder will automatically inherit the Share options applied.
So lets start by creating a Folder!
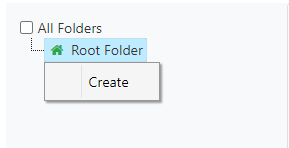
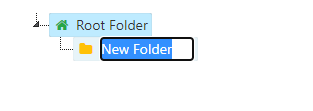
Folders can be created by right clicking a Root Folder:
The Root Folder can be found on multiple grids throughout the CMS:

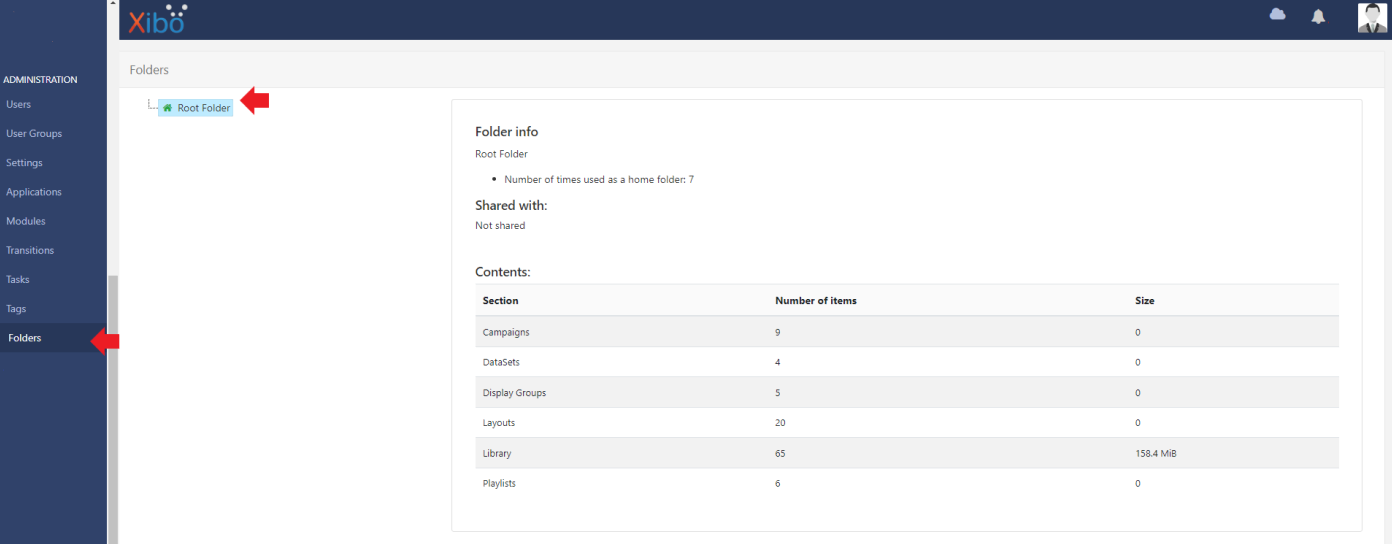
and from a dedicated Folders page (only available for administrators from v3.2.0) for all Folder management purposes:
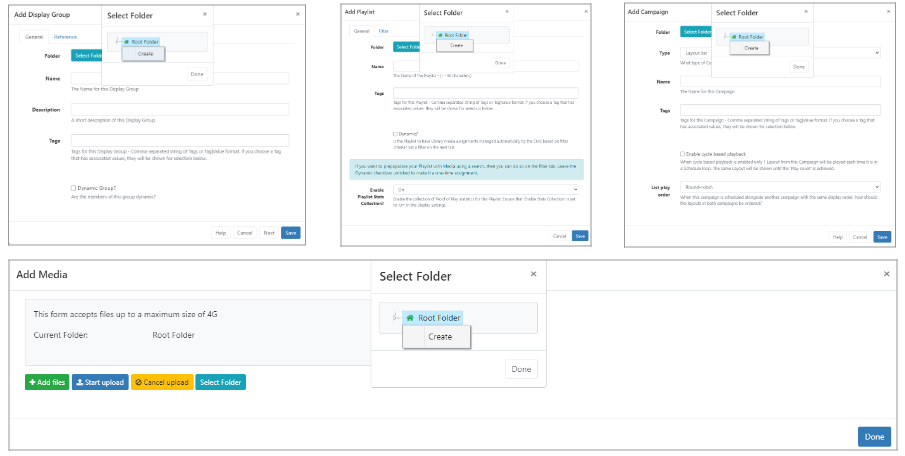
as well as when adding/uploading items:
Click Create and give your New Folder a name:
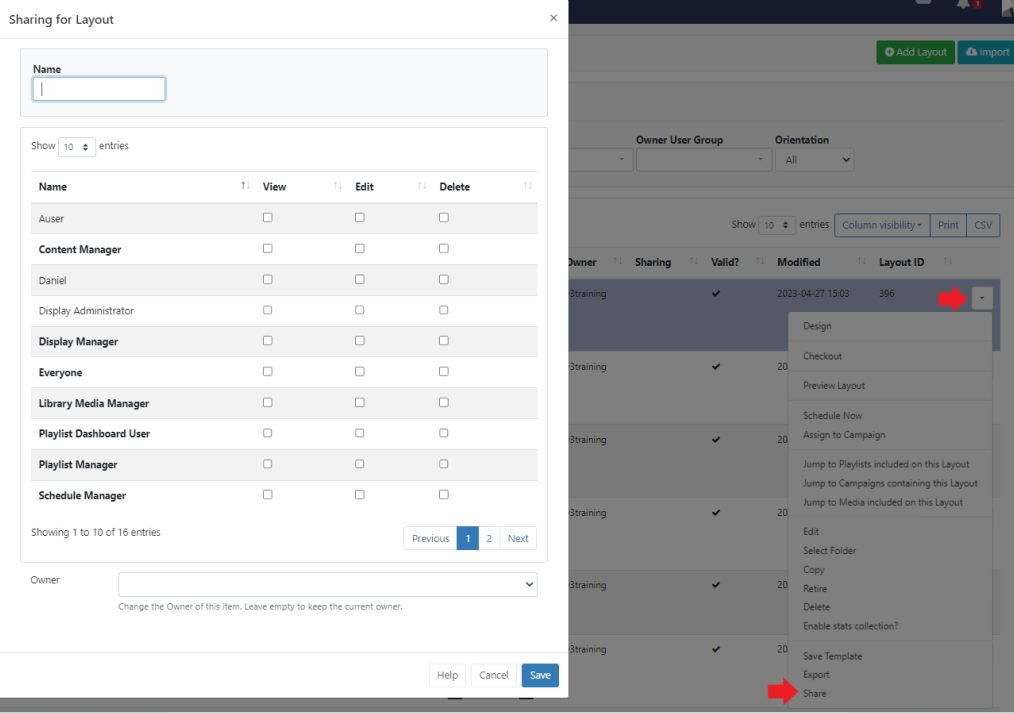
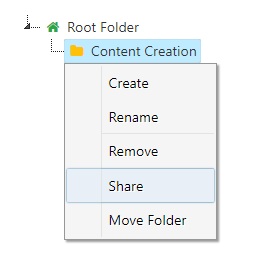
For the purposed of this example I have named my New Folder ‘Content Creation’, I can now right click this folder and click Share to open the available options for sharing to set the appropriate access options for User/User Groups:
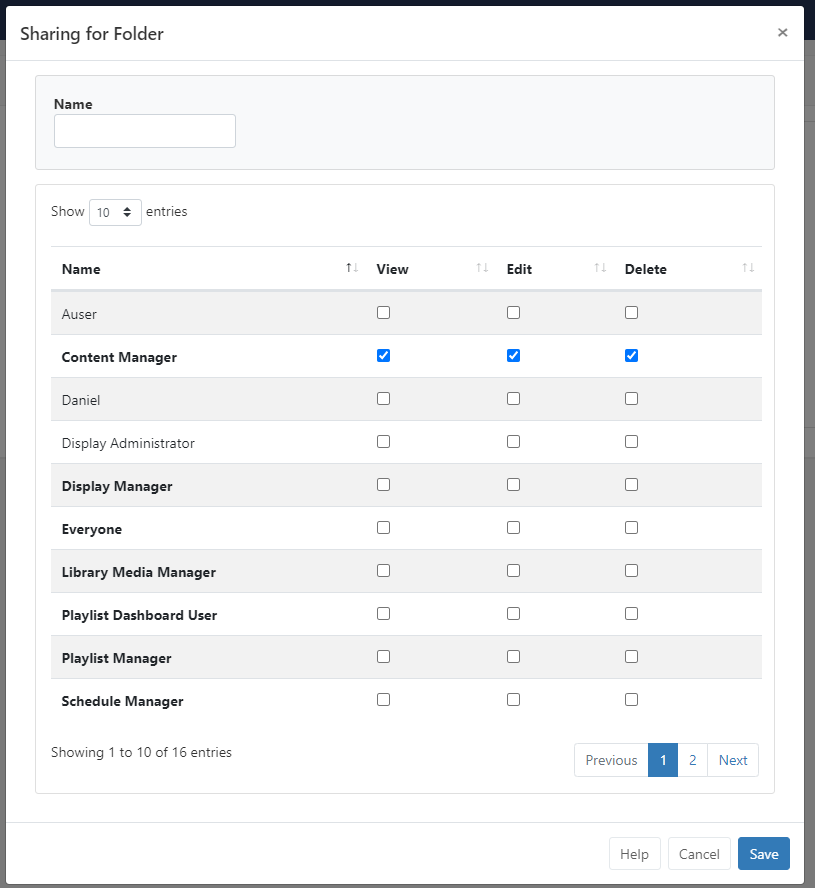
I am going to give the Content Manager User Group View, Edit and Delete access to this Folder and Save:
I can now move objects into this Folder that I want to Share with all members of the Content Manager User Group.
Remember that if users need View,Edit,Delete access to any Library Media items that have been included in Layouts or Playlists you want to fully share then these too must be saved to the same Folder to inherit the applied Share options.
For example, I need to share the following Layout with the Content Manager User Group:
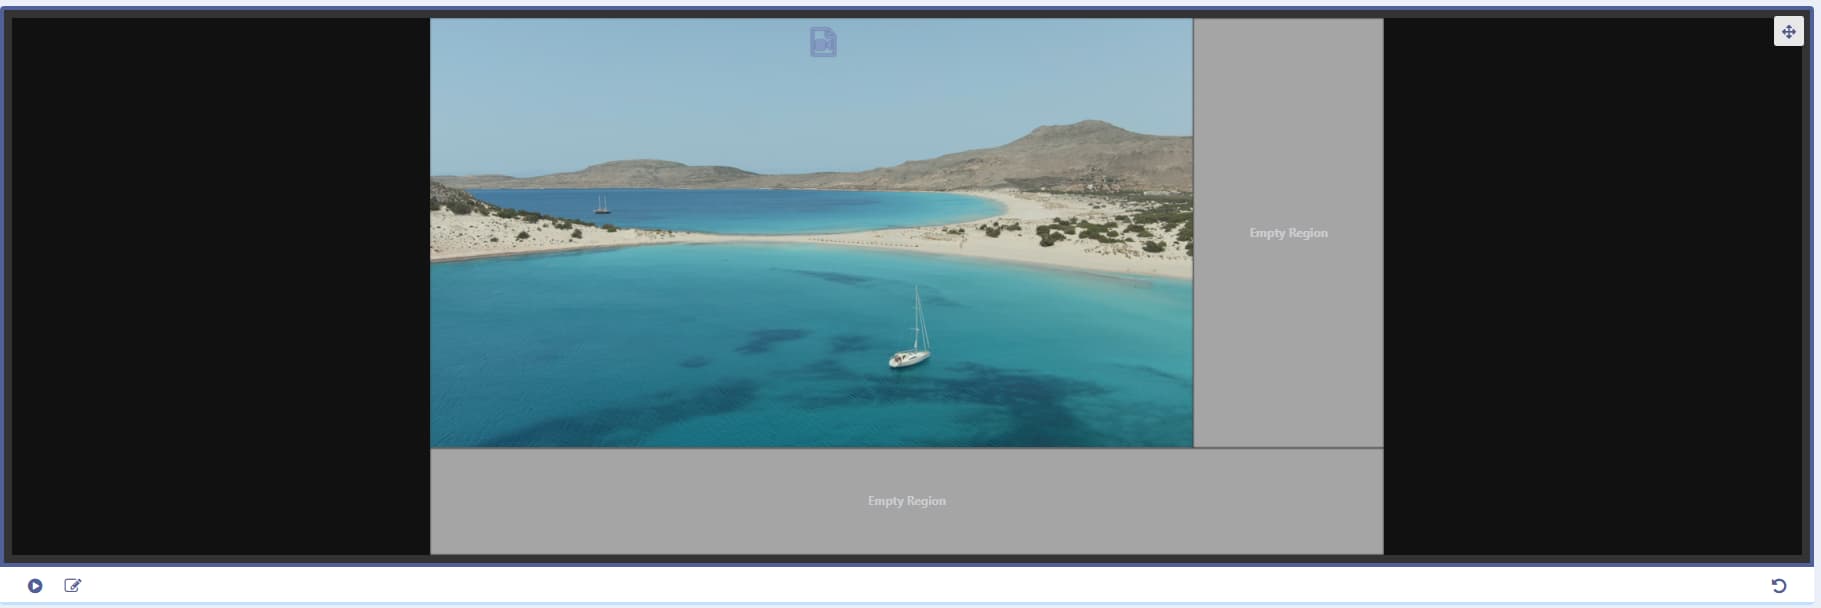
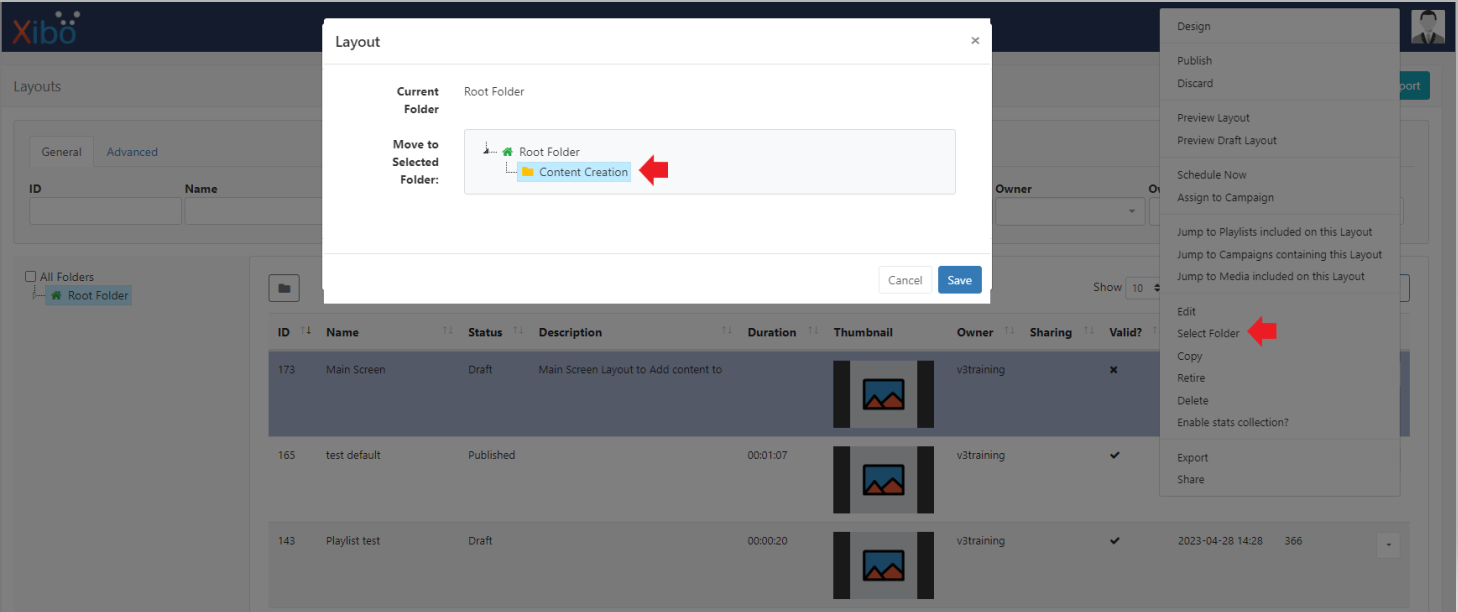
As you can see the Layout already contains a Video file which I want the members of this group to also be able to fully access, so first I will move the Layout:
- From the Design section, click Layouts
- Use the row menu for the selected Layout
- Click Select Folder
- Expand the Root Folder
- Select the Content Creation Folder
- Save
NOTE: It is important to note that the Share options applied will automatically cascade down to all Widgets and Regions on a Layout when saved to a Folder. If a Layout is not saved to a Folder and Share options are applied directly to the Layout then each Widget and Region on the Layout, which also requires access by the User/User Group, will need to have the appropriate options set as well.
I now need to do the same for the Video file and save to the same Folder:
- From the Library section, click Media
- Use the row menu for the file
- Click Select Folder
- Expand the Root Folder
- Select the Content Creation Folder
- Save
Any User that is added to the Content Manager User Group will have access straight away to fully edit the Layout and Video file added to the Content Creation Folder.
Anything further added to that Folder will inherit the set options making it a much easier process to enable access for multiple objects and multiple Users in just a few clicks opposed to setting them at the individual object level as in earlier versions.
NOTE: It should also be noted that like Layouts which hold library media, Campaigns would also require the included Layouts and Media if appropriate, to be added to the same Folder for full access to a Campaign!
Creating Sub-Folders
Sub-Folders are a great way to allow for access to additional items for selected User/User Groups as well as the contents from the main Folder.
Let’s say I have a User that I would like to have access to additional Library Media and Layouts which the main Content Manager User Group should not. I can do this by creating a Sub-Folder:
From the Content Creation Folder:
- Right click to open further options
- Click Create
- Name your New Folder

- Right click the new Sub-Folder
- Select Share
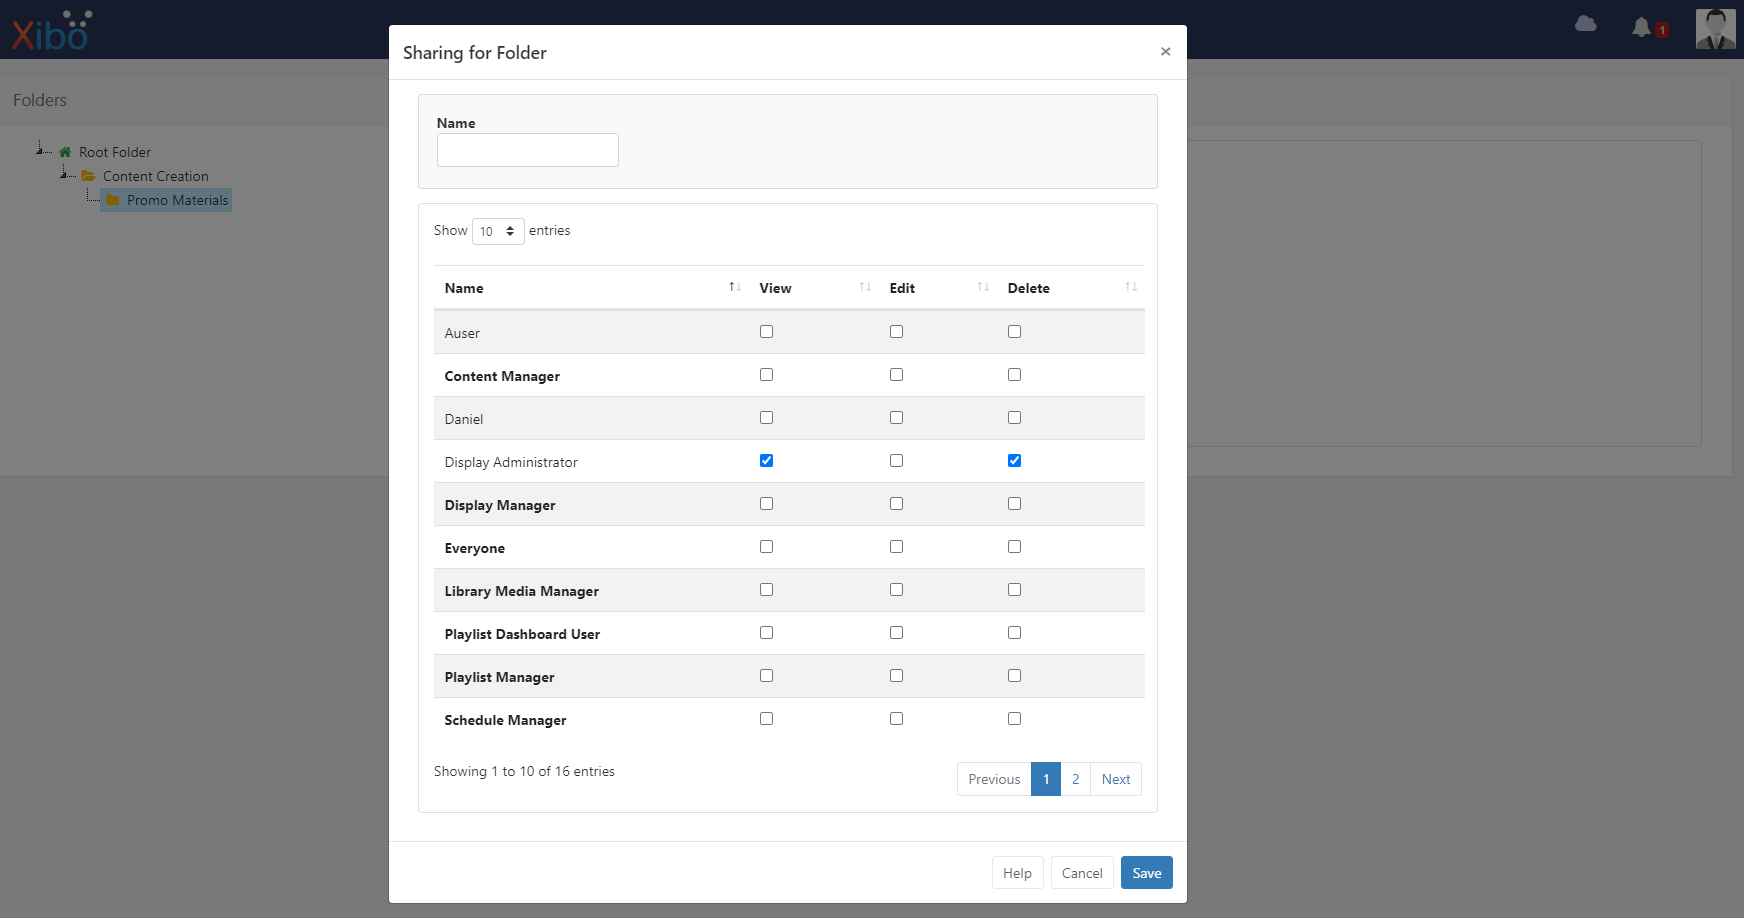
I want to give my Display Administrator User access to View and Delete but not have the ability to Edit anything saved to the Promo Materials Sub-Folder. They will however have full access to the contents of the Content Creation Folder as Sub-Folders will inherit applied Share options from the parent Folder.
As before I can now move the particular items I need to this Folder and again anything added to this Sub-Folder will inherit the applied options.
The Display Administrator User will now be the only User to have access to the contents of this Sub-Folder, and anything further that is added to it.
If we now look at the Folder management page for these two Folders we can see an overview of the contents and see who it has been shared with.
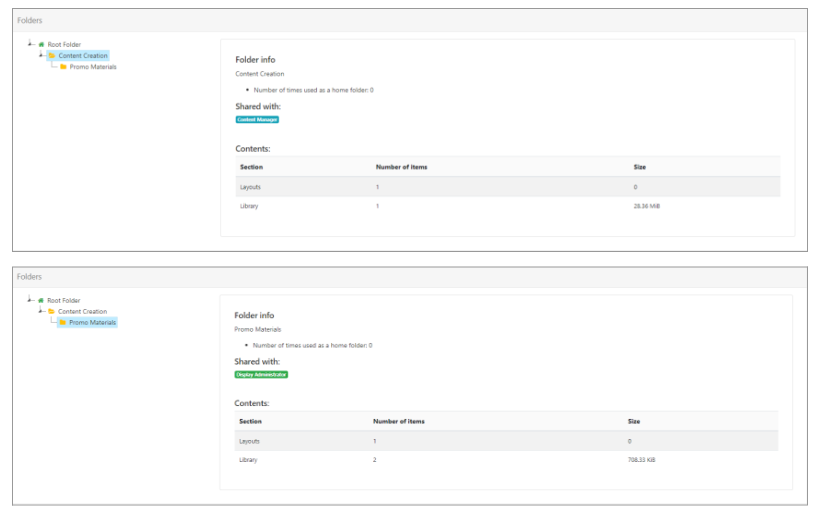
NOTE: When viewing Sub-Folders only the directly assigned options will be shown, inherited options from the parent Folder will not be shown.
Moving Multiple Objects to Folders/Sub-Folders
If you had multiple Layouts or media files (or any other objects) that needed to be moved into a particular Folder you can do that easily from their respective grid. For example, I want to add further Video files to the Content Creation Folder:
- Click in the rows to select and highlight the Video files to move
- Use the With Selected menu at the bottom of the grid
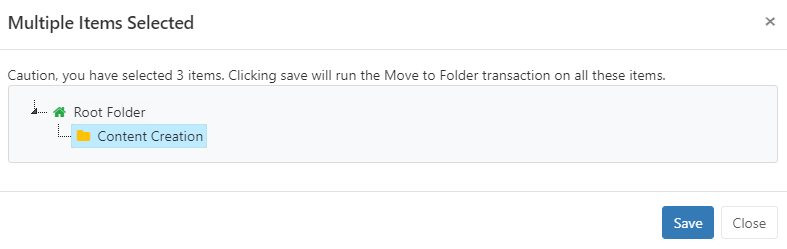
- Select Move to Folder

- Expand the Root Folder
- Select the Content Creation Folder
A note will show how many items have been selected.
- Click Save to confirm
On Saving, the file names will be shown with a Success message to confirm that the selected items have been moved to the destination Folder.