I have updated my install guide for version 3.3.3 on Ubuntu Server 22.04 using Apache2 as the web server.
I am always updating my guides and this one can also be found at Install Xibo on Debian | Sifr Moja
Notes
- The MariaDB version installed here are not currently supported by Xibo.
- The library location is /var/www/Library due to the installer writing the install log file to /var/www/library. The installer requires that the library directory is empty.
- A local install of QuickChart is not covered in this guide but recommended.
- Ubuntu 22.04 uses unsupported php8 by default. We will install php7.4 instead.
Install Requirements
First we need to add the php repositories to install version 7.4 of PHP.
sudo add-apt-repository ppa:ondrej/php -y
sudo apt update
All of the requirements can be installed using apt.
sudo apt install mariadb-server mariadb-client apache2 libapache2-mod-xsendfile libapache2-mod-php7.4 php7.4-{cli,gd,json,dom,mysql,zip,soap,curl,xml,mbstring,zmq}
Install Xibo CMS
When I am configuring server software outside of a package manager I always place it under the /srv folder. I will be installing Xibo under /srv/xibo-cms.
sudo mkdir /srv/xibo-cms
cd /srv/xibo-cms
sudo wget https://github.com/xibosignage/xibo-cms/releases/download/3.3.3/xibo-cms-3.3.3.tar.gz
This extracts the contents of the archive without placing it into a folder
sudo tar -xvzf xibo-cms-3.3.3.tar.gz --strip-components=1
sudo rm xibo-cms-3.3.3.tar.gz
The apache2 user ‘www-data’ needs to be set as owner of all the extracted items.
sudo chown -R www-data:www-data /srv/xibo-cms
This deletes the existing /var/www directory and creates a symlink to /srv/xibo-cms.
sudo rm -r /var/www
sudo ln -s /srv/xibo-cms /var/www
Configure Apache2
This enables the necessary apache2 modules and creates a site configuration using vim.
sudo a2enmod rewrite
sudo a2enmod ssl
sudo a2enmod session
sudo vim /etc/apache2/sites-available/xibo-cms.conf
xibo-cms.conf
<VirtualHost *:80>
    DocumentRoot "/var/www/web"
    ServerName xibo.domain.com
    XSendFile on
    XSendFilePath /var/www/Library
    <Directory "/var/www/web">
        AllowOverride All
        Options Indexes FollowSymLinks MultiViews
        Order allow,deny
        Allow from all
        Require all granted
    </Directory>
</VirtualHost>

<VirtualHost *:443>
    DocumentRoot "/var/www/web"
    ServerName xibo.domain.com
    XSendFile on
    XSendFilePath /var/www/Library
    SSLEngine on
    SSLCertificateFile "/etc/ssl/certs/ssl-cert-snakeoil.pem"
    SSLCertificateKeyFile "/etc/ssl/private/ssl-cert-snakeoil.key"
    <Directory "/var/www/web">
        AllowOverride All
        Options Indexes FollowSymLinks MultiViews
        Order allow,deny
        Allow from all
        Require all granted
    </Directory>
</VirtualHost>
This disables the default site and enables the newly created xibo-cms site configuration.
sudo a2dissite 000-default.conf
sudo a2ensite xibo-cms.conf
Configure MariaDB
This configures a root password for MariaDB. Make sure to change MY_NEW_PASSWORD to your password of choice. First enter mysql console by runinng sudo mysql, then run these SQL commands.
ALTER USER 'root'@'localhost' IDENTIFIED BY 'MY_NEW_PASSWORD';
FLUSH PRIVILEGES;
quit
Configure PHP
PHP configuration needs to be modified to allow upload of larger files.
sudo vim /etc/php/7.4/apache2/php.ini
You need to modify the file to change the following settings
max_execution_time = 300
memory_limit = 256M
post_max_size = 2G
upload_max_filesize = 2G
session.cookie_secure = Off
session.cookie_httponly = On
session.cookie_samesite = Lax
You can do this quickly with sed.
sudo sed -i 's/max_execution_time = 30/max_execution_time = 300/g' /etc/php/7.4/apache2/php.ini
sudo sed -i 's/memory_limit = -1/memory_limit = 256M/g' /etc/php/7.4/apache2/php.ini
sudo sed -i 's/post_max_size = 8M/post_max_size = 2G/g' /etc/php/7.4/apache2/php.ini
sudo sed -i 's/upload_max_filesize = 2M/upload_max_filesize = 2G/g' /etc/php/7.4/apache2/php.ini
sudo sed -i 's/;session.cookie_secure =/session.cookie_secure = Off/g' /etc/php/7.4/apache2/php.ini
sudo sed -i 's/session.cookie_httponly =/session.cookie_httponly = On/g' /etc/php/7.4/apache2/php.ini
sudo sed -i 's/session.cookie_samesite =/session.cookie_samesite = Lax/g' /etc/php/7.4/apache2/php.ini
Configure XMR
Create XMR Configuration File
sudo vim /srv/xibo-cms/vendor/xibosignage/xibo-xmr/bin/config.json
Enter the following information and change the pubOn IP address to the public IP of the server. You can view this by running the command “ip address”
{
    "listenOn": "tcp://127.0.0.1:50001",
    "pubOn": ["tcp://192.168.1.1:9505"],
    "debug": false
}
Set www-data as the owner of the file.
sudo chown www-data:www-data /srv/xibo-cms/vendor/xibosignage/xibo-xmr/bin/config.json
Create XMR service
sudo vim /etc/systemd/system/xibo-xmr.service
Enter the following.
[Unit]
Description=Xibo XMR
After=network.target

[Service]
User=www-data
Group=www-data
ExecStart=/usr/bin/php /srv/xibo-cms/vendor/bin/xmr.phar
Restart=always
KillMode=process
RestartSec=1

[Install]
WantedBy=multi-user.target
Start the service
sudo systemctl daemon-reload
sudo systemctl enable xibo-xmr.service
sudo systemctl start xibo-xmr.service
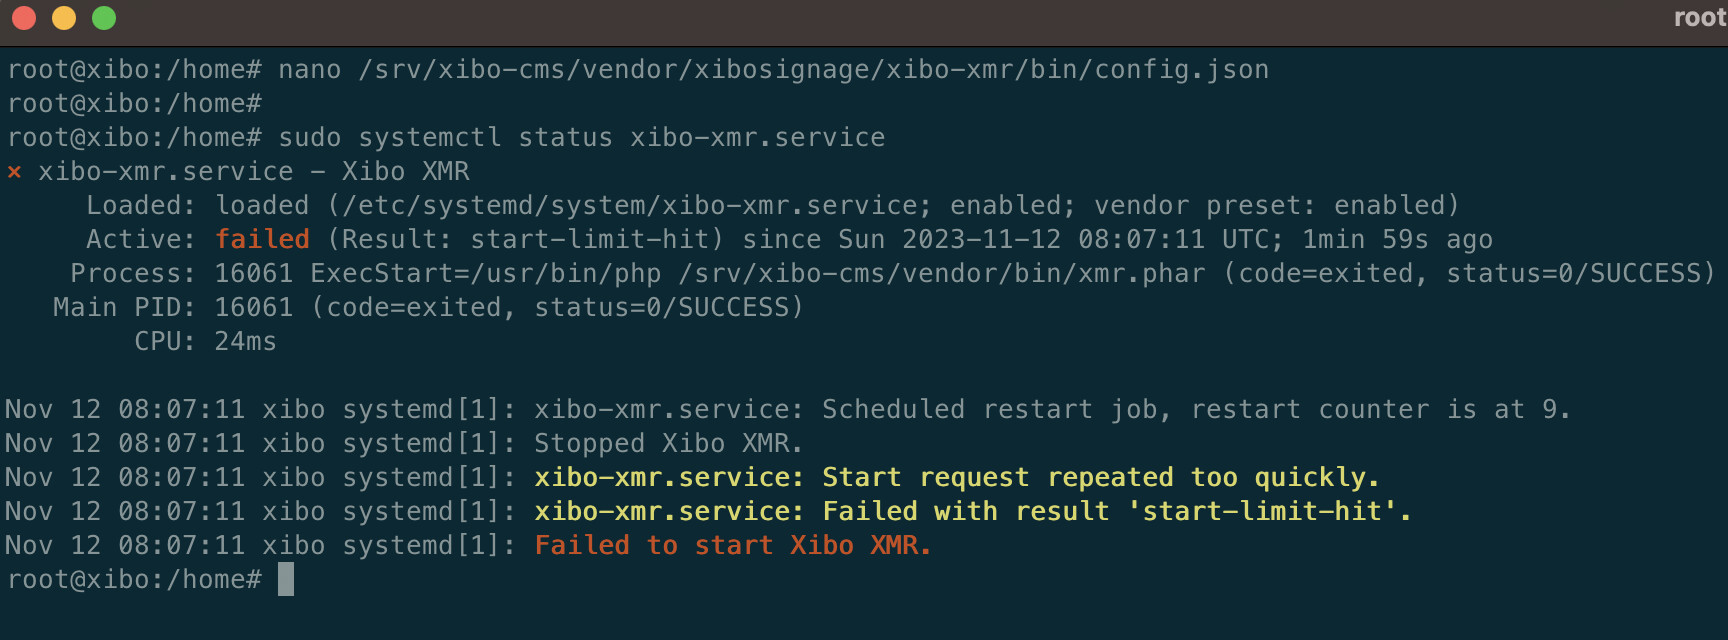
Check the status of the xibo-xmr service to confirm it is working.
sudo systemctl status xibo-xmr.service
Configure XTR
sudo crontab -u www-data -e
Select the editor you prefer and then enter the following line.
* * * * * /usr/bin/php /var/www/bin/xtr.php
Configure Firewall
sudo ufw allow ssh
sudo ufw allow http
sudo ufw allow https
sudo ufw allow 9505/tcp
sudo ufw enable
Complete the Installation
sudo systemctl restart apache2
You can now browse to the server at the location you configured in the xibo-cms.conf