Using DataSets to display meeting room bookings with Xibo
If you are using v2, please use the following link: Getting Started Guide - Datasets
1. Introduction
DataSets are a feature to design and store tabular data. Once designed data can be entered manually, imported from a CSV file, as JSON via the API or synced remotely on a schedule. The DataSet is defined in the library and can be reused across multiple DataSet views and Layouts and comes in two parts:
- The DataSet (Data Structure and data)
- The Display (DataSet View / Ticker / a source of data for a custom Module)
This tutorial will walk you through the process of how to produce a Layout to show a current meeting on a screen in a meeting room, that will update automatically from the information held in a created DataSet.

2. Before you begin
To ensure that all the features used in this tutorial are available you will need to be using Xibo CMS 1.8.0 or later. Earlier versions do have DataSets available but do not have the features used in this walkthrough.
3. Creating DataSets
Log in to your CMS and go to Library > DataSets.
Click on the Add DataSet button and name it “Meeting Room 1” to represent that the DataSet will hold the schedule for that meeting room, and Save.

We now need to define the fields that the DataSet will hold. For any given meeting we need to know the following information:
- When it starts
- When it finishes
- Meeting Name
- Meeting Description/Notes
So we need to create 4 columns in the DataSet as follows:
- dtMeetingStart
- dtMeetingFinish
- sMeetingName
- sDescription
Click on the drop-down Menu for your DataSet ‘Meeting Room 1” and View Columns. One column (Col1) has been added by default.

Click on the drop-down button next to Col1 to Edit.
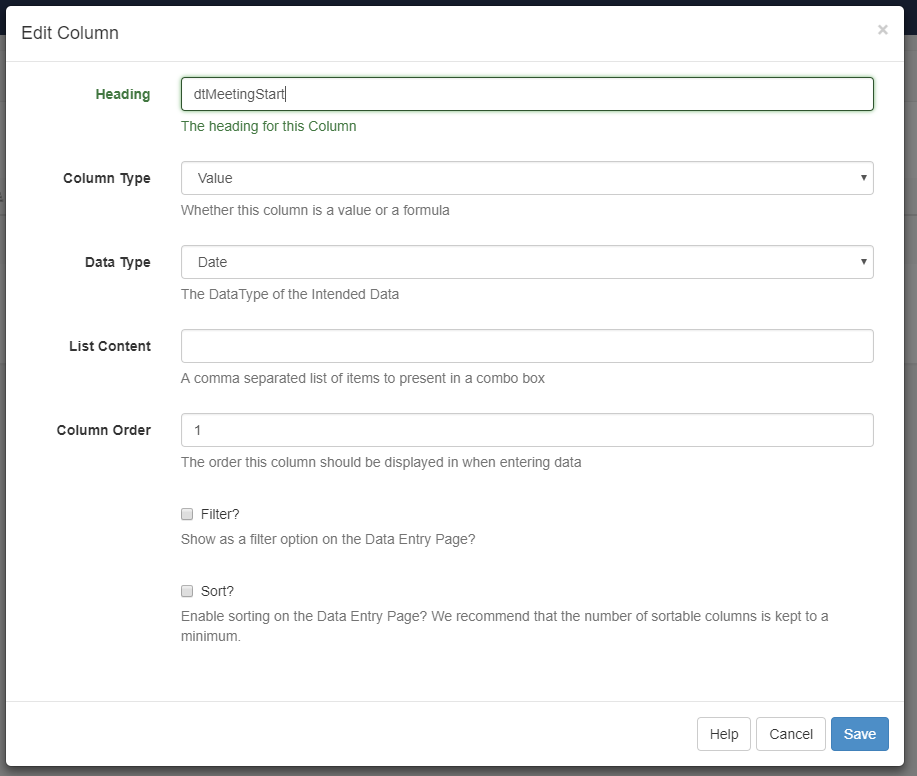
- Change Heading to ‘dtMeetingStart’
- Column Type set to ‘Value’
- Data Type set to ‘Date’
- Column Order set to ‘1’ (the other values can be left blank)
- Save
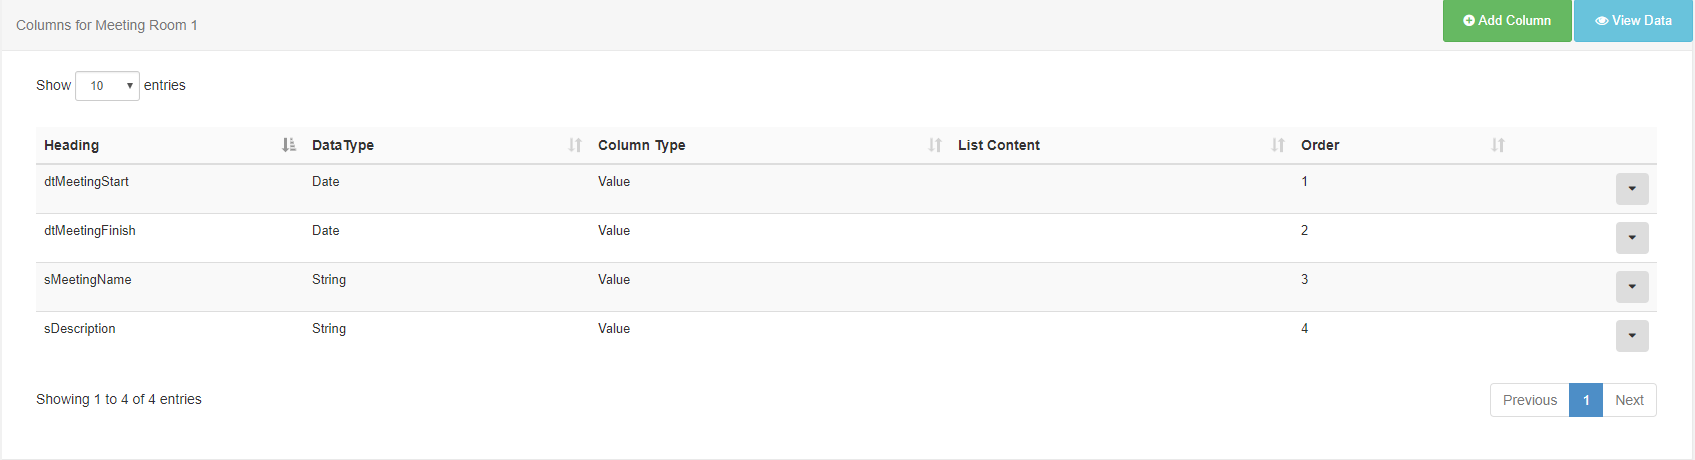
Using the Add Column button repeat the above steps for ‘dtMeetingFinish’ and set a Column Order of 2.
Repeat these actions for the remaining two columns needed but this time change the Data Type to ‘String’ and increase the Column order by 1 for each column.
You should now have a Column structure that looks like this:
Next, we need to add some data to our DataSet. For this example, we will manually key data in but you can choose to import data directly from a CSV file which could also come from another system, such as a meeting room booking system.
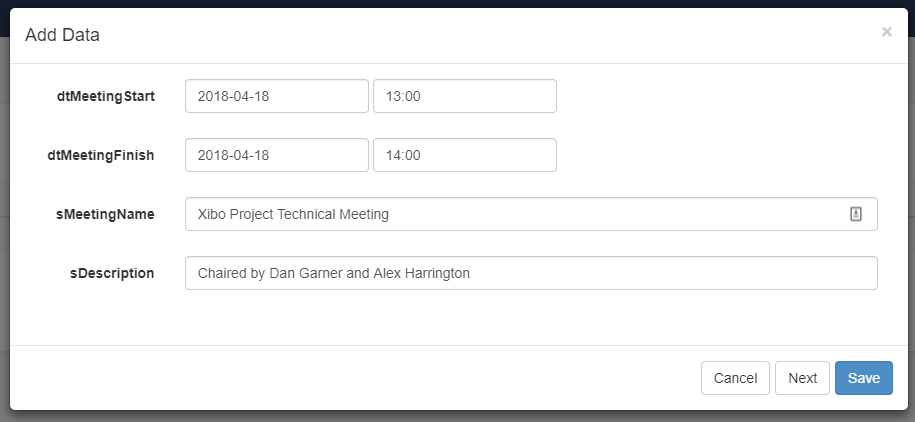
Click on the View Data button, then Add Row.
Using the datepicker enter dates and times, (ensure that a meeting will be running at the time you Preview your Layout so that there is something to view later!). Give your Meeting a name and a description (which will be shown on your displays), Save.
Add additional Rows to create a schedule of meetings which will take place in Meeting Room 1.
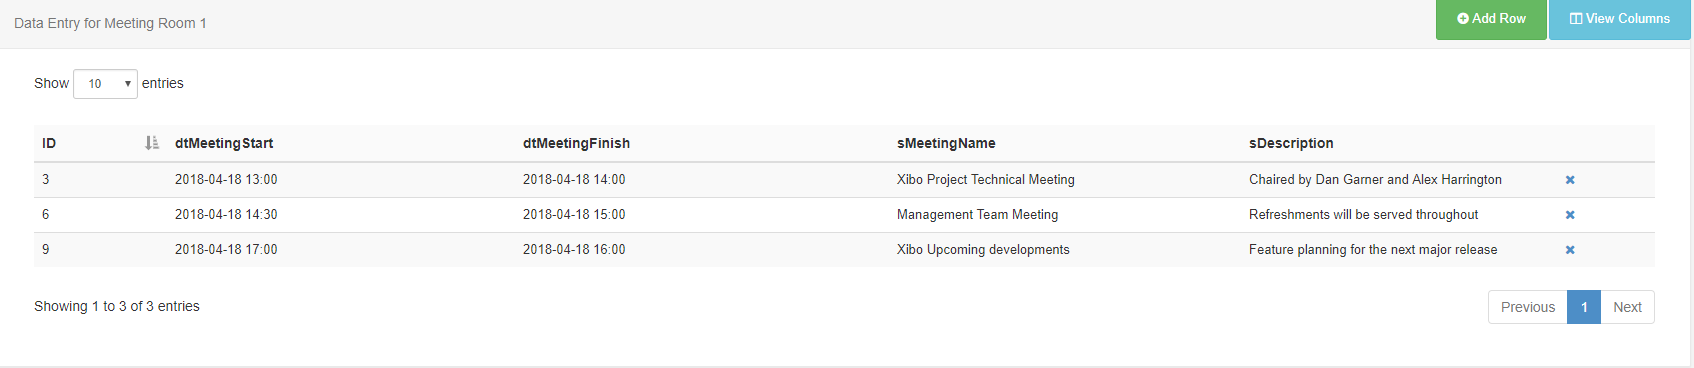
You can make edits to your data by simply double clicking on the row you wish to amend and Saving.
Now you should have a structured DataSet containing some test data that we can use in Layouts!
4. Creating Layouts to leverage your DataSets.
From the main Dashboard, go to Layouts
- Add Layout
- Resize and position your Region
- Save Region Positions
- Add an image or choose a coloured background
(For the purpose of this tutorial I have downloaded a background image from the Xibo Layout Exchange called “BlueGreen - Clock”) - Edit the Region Timeline
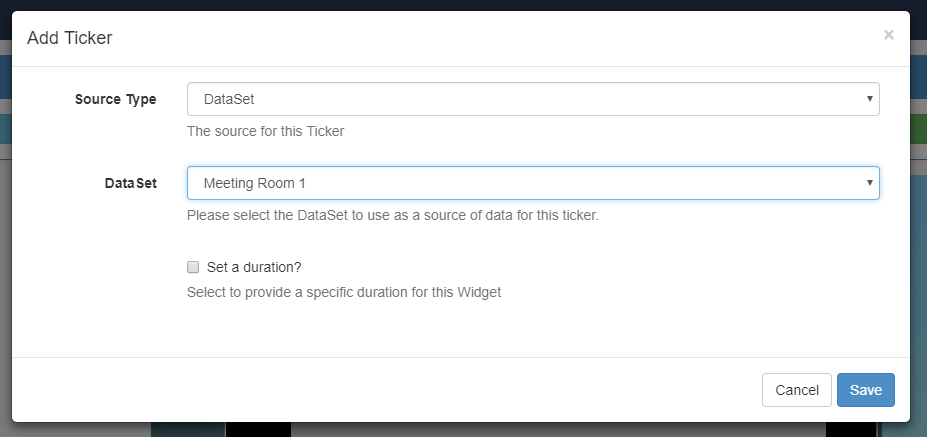
- Select Ticker
(Tickers can take a feed from a DataSet as well as an RSS feed). - Source Type, drop down and select DataSet
- Data Set, drop down and select Meeting Room 1
- Save
We can now Edit the Ticker to suit your specific needs using the different tabs:
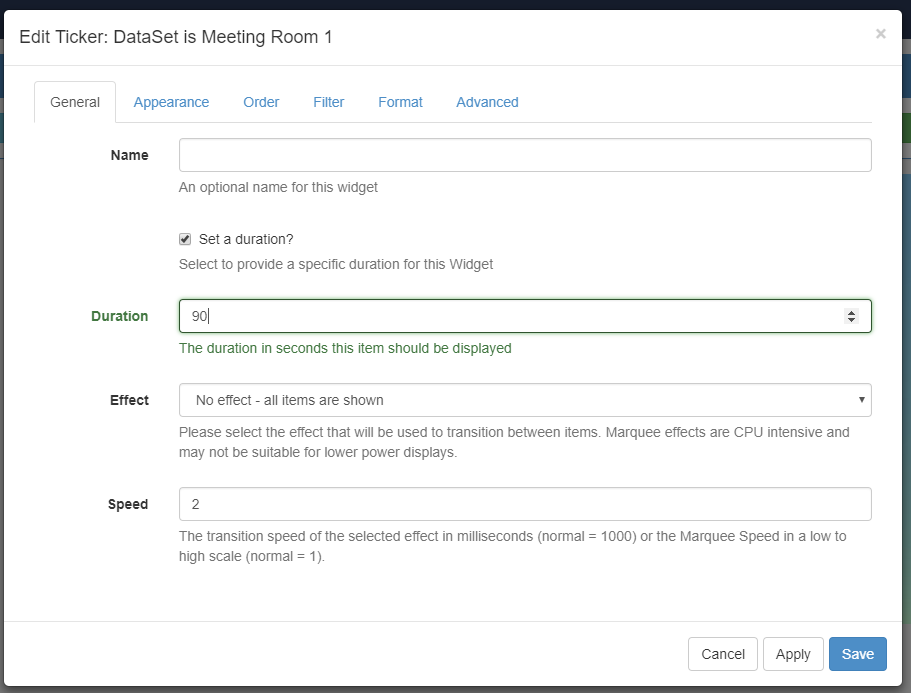
General
- Tick ‘Set a duration’ to change the default time to a value that is more appropriate for your Layout (I have chosen a duration of 90 seconds).
- Select No effect - all items are shown, results in this tutorial are not spread across multiple pages.
- Speed is set to 2 as no effects have been selected.
- Apply
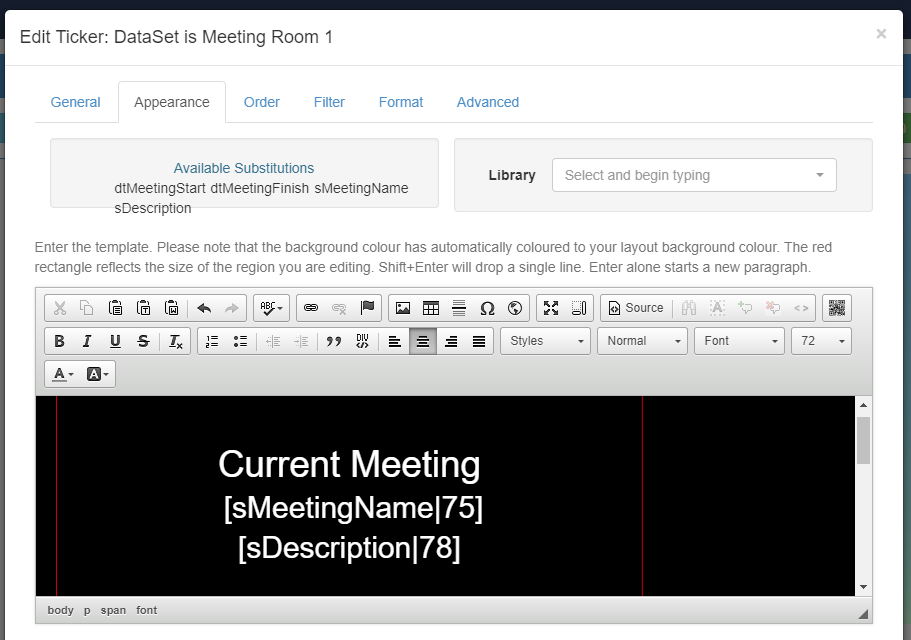
Appearance
- Double click on the text fields under Available Substitutions to add them to your Layout.
- Using the text editor resize, position, colour etc to make the text from the DataSet look attractive in the Layout.
- Apply
Order
DataSet results can be ordered by any column using the clause builder or by providing a SQL command for more complex ordering. We do not require any ordering for our results and so can be left blank for this tutorial.
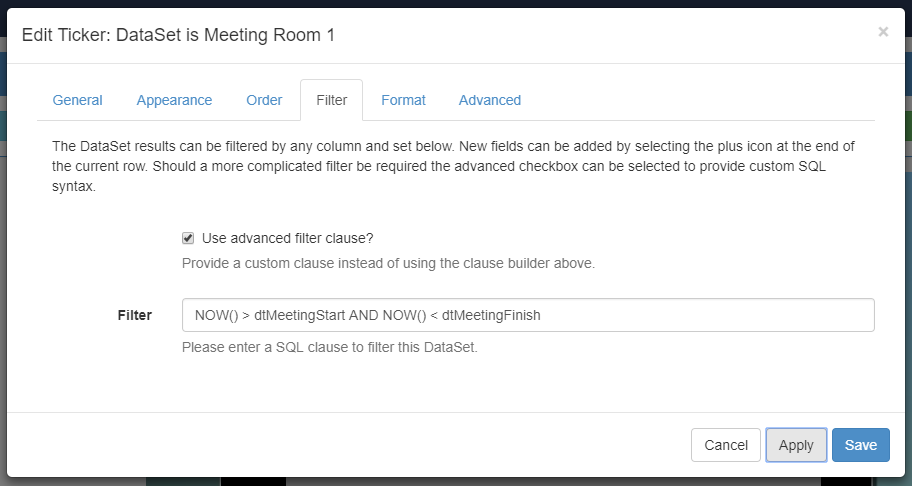
Filter
DataSet results can be filtered by any column by using the clause builder to only include/omit your DataSet results based on your chosen criteria.
As we want to only show current meeting information only we need to filter using a SQL command:
- Tick Use advanced filter clause
- Copy + paste the following into the Filter field:
NOW() > dtMeetingStart AND NOW() < dtMeetingFinish
(which means only show items where the meeting has started but hasn’t finished.) - Apply
Format
Works in conjunction with effects to show items per page. As we have selected no effects this can be left blank.
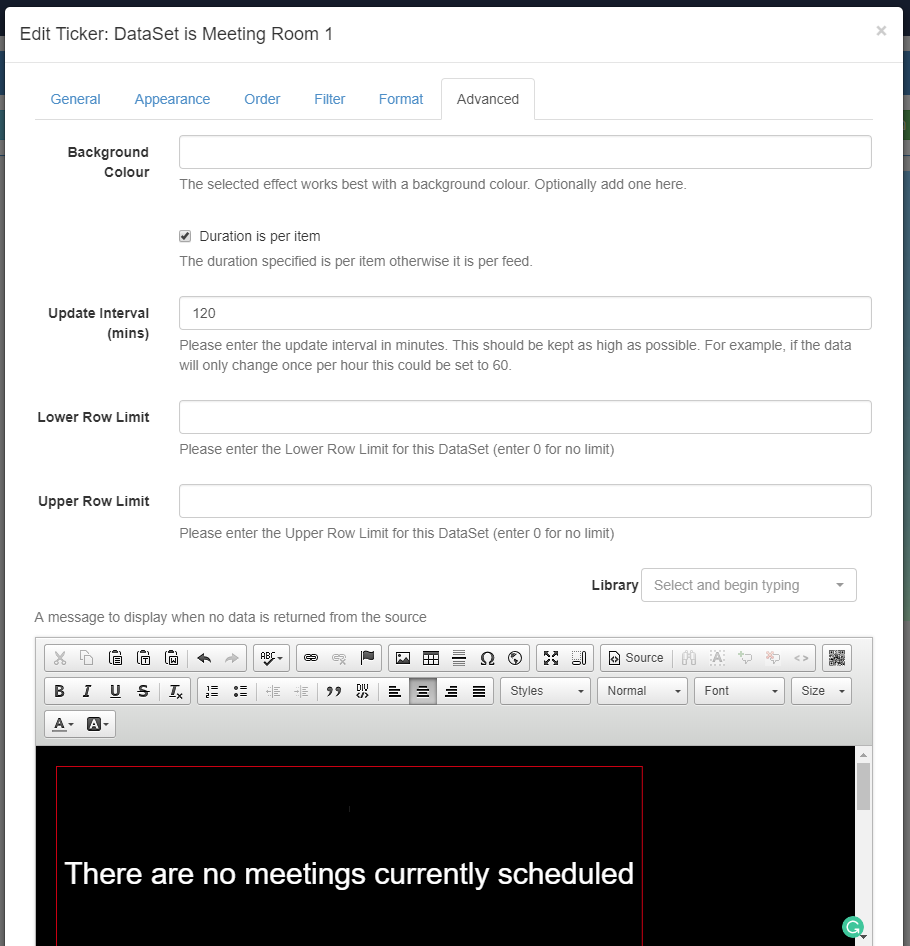
Advanced
- Update Interval set to 120 (mins). This is how long the client should wait between checks to make sure there’s no new data in the DataSet. For a live booking system, you might want to consider using a value of 5 minutes, rather than the default of 120 minutes.
- Lower Row and Upper Row limits can be left blank, which will automatically add a 0 on save, as we have no row limits in this example.
- Enter a message, using the text editor, to display a message when there is no data returned from the source so that your audience is not left with a blank screen.
- Save
- Close your Region Timeline
Your Layout will show your updated information. Preview Layout using the Actions tab to see the correct data displayed for the current meetings in Meeting Room 1, as defined in the DataSet.
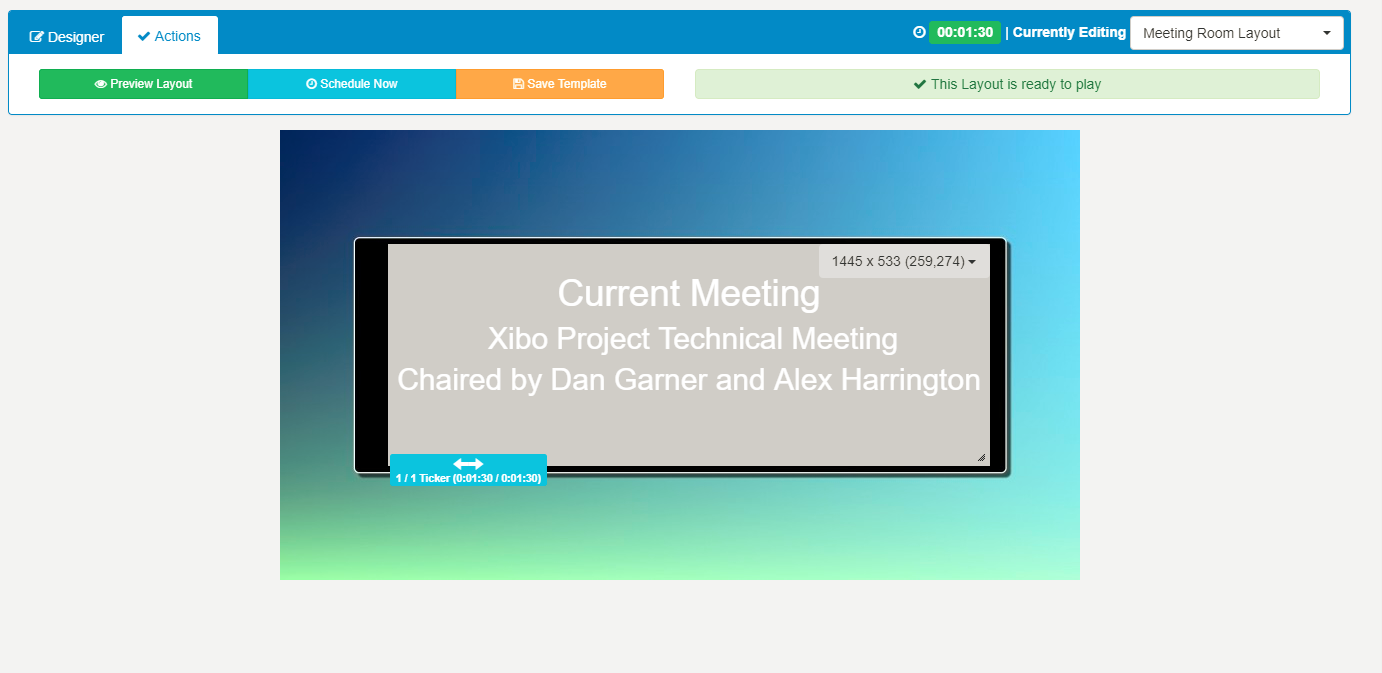
If you edit the DataSet your changes will be available in the system straight away ready to be picked up by clients on their next collection.
Layouts can then be scheduled as normal to be shown on your chosen display/display groups!
Now you have hopefully grasped the concept of DataSets and how they can be utilised so that you can get the best out of Xibo!
Additional help available:
Troubleshooting