This guide will explain how to create and Schedule a Layout that is using a Remote DataSet. For this example I will be using a remote data source that contains JSON formatted data but you can also use CSV. Below is the raw JSON I will be retrieving:
{
   "data":[
      {
         "id":1,
         "date":"2018-10-10 13:11:22",
         "title":"Test 1"
      },
      {
         "id":2,
         "date":"2018-10-11 03:04:41",
         "title":"Test 2"
      },
      {
         "id":3,
         "date":"2018-10-12 06:51:21",
         "title":"Test 3"
      }
   ]
}
You can see in the above screenshot that the id, date and title data are stored within the data array. This will be important when the data root is configured later.
Please note that this DataSet Layout was set up using Xibo CMS version 3.
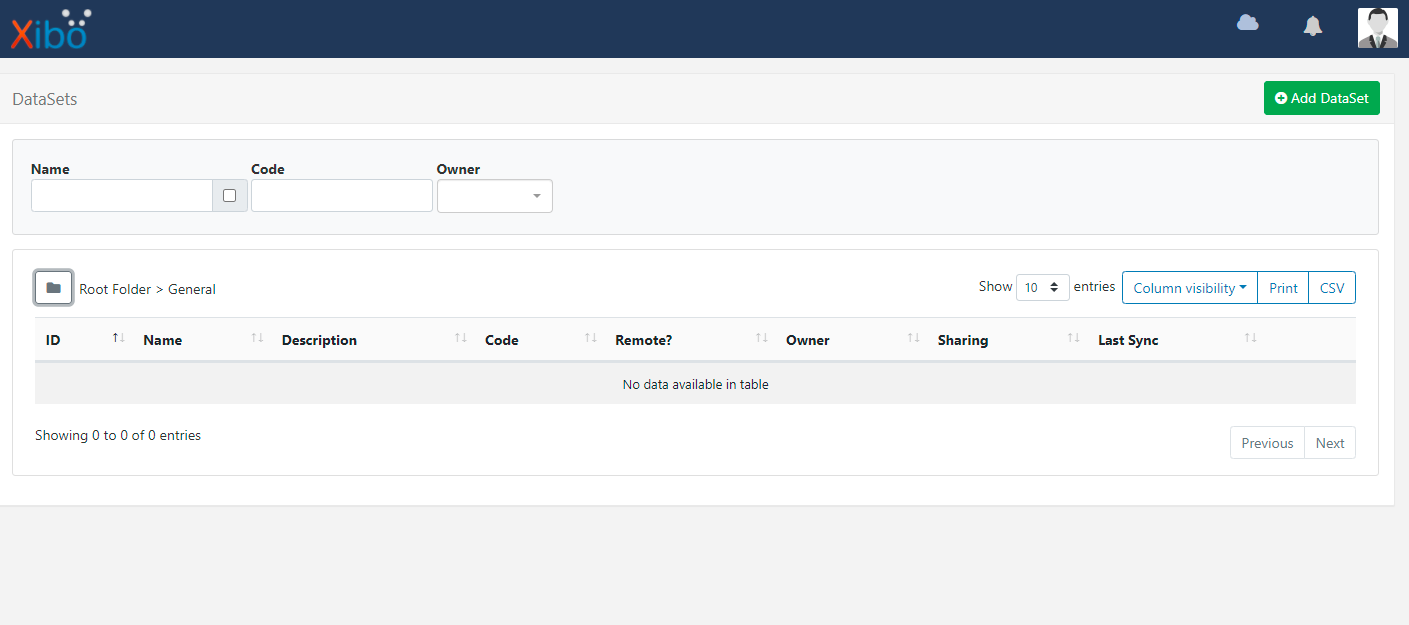
Step 1: Create the DataSet.
The first step is to create a DataSet in your CMS. Go to the DataSets menu in your CMS and click the Add DataSet button.
The Folder icon shown in my screenshot is an optional feature for storing and sharing and organising your media, layouts, displays and datasets in your CMS. This is not a requirement for creating a dataset. Please see the Folders documentation for more information.
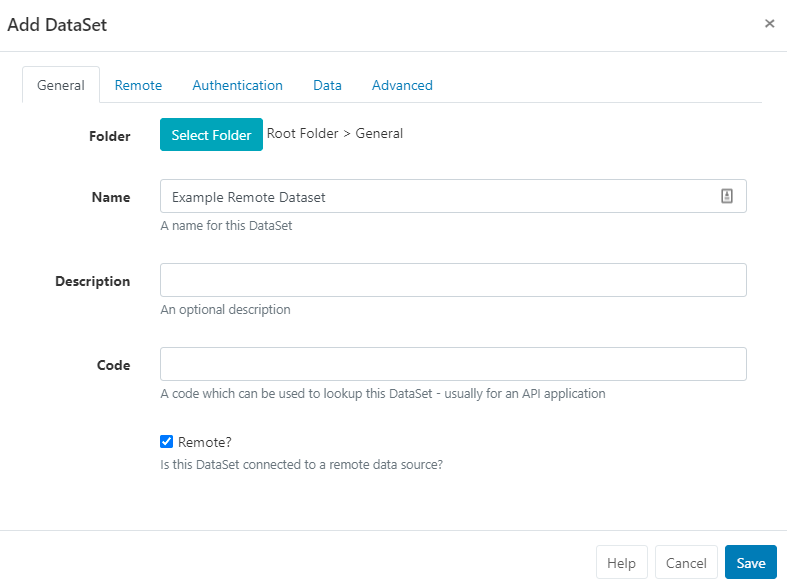
This will open the Add DataSet form. Give the DataSet a name and make sure to tick the Remote?
option to reveal the Remote DataSet configuration tabs.
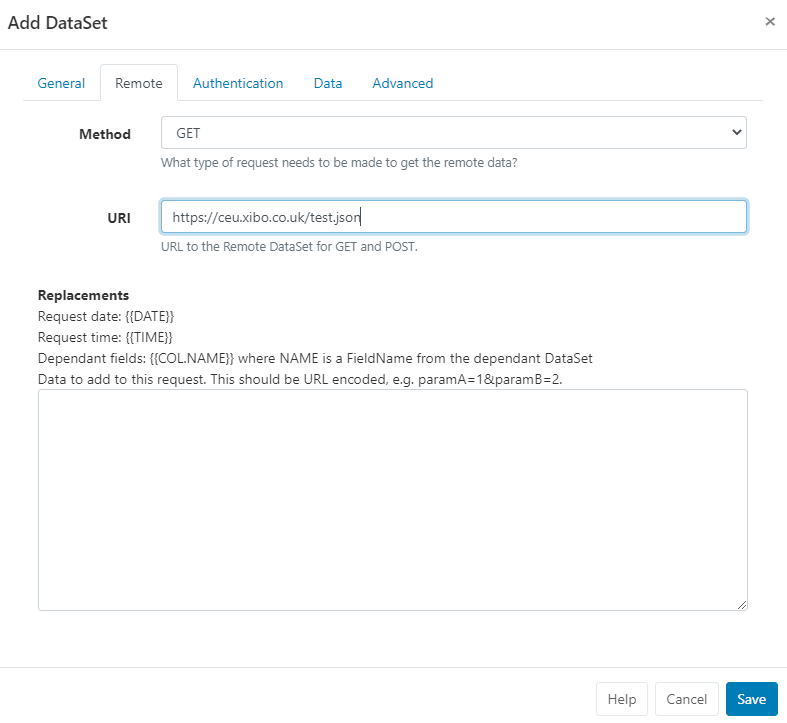
Now you can begin to configure our Remote DataSet ready for use with your Layout. First go to the Remote tab and enter the URI for your remote data source. You can see in my screenshot that I have added the URI for my test DataSet.
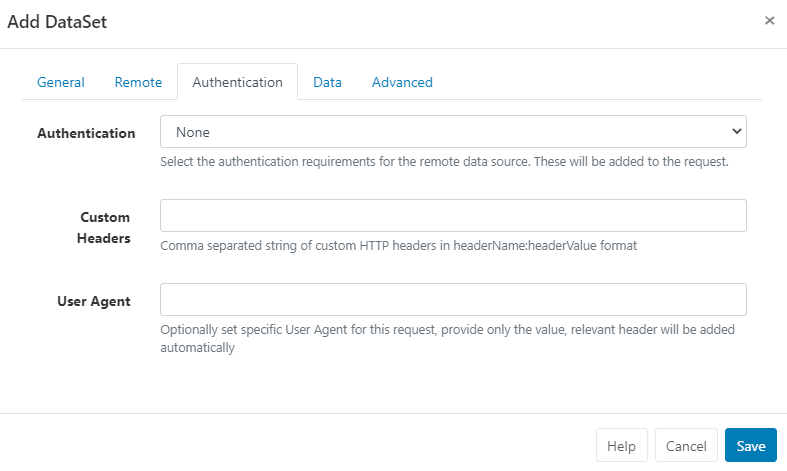
Next go to the Authentication tab. If you have configured authentication on your remote DataSet, this is where you can provide the credentials and authentication method. Xibo supports BASIC, Digest, NTLM and Bearer. Choose the appropriate method and enter the credentials required to access your Remote DataSet. For this guide I do not have authentication configured so I will leave this set to none.
We can now go to the Data tab. Xibo supports JSON and CSV formatted data, please choose the correct format in the Source field. If you click the Test data URL button you should see the data returned in the preview window. You can see in my screenshot and in the raw data I provided at the beginning of the guide that the data I would like to use under the data array, so I will need to set that as my Data root.
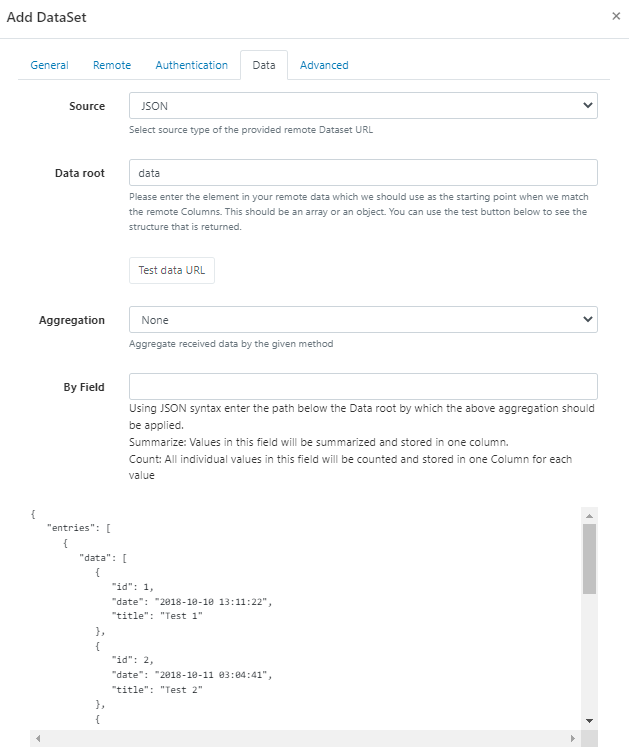
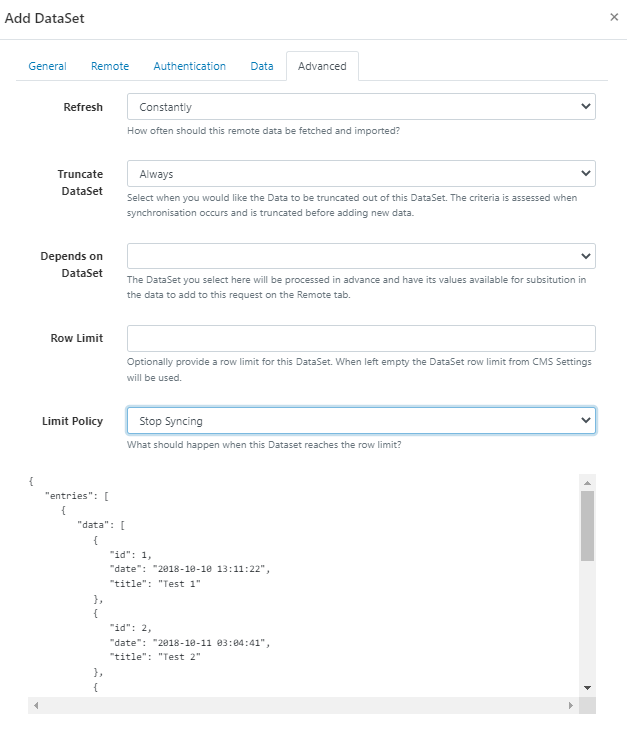
The Advanced tab is where you configure the Refresh tab, which determines how often the data will be checked for updates. By default this is set to constantly but you can set this to match your requirements.
The Truncate Dataset field allows you to set when you would like the data to be truncated in your DataSet. This is set to Always by default.
Save to confirm your configuration.
Step 2: Configure the columns for your DataSet.
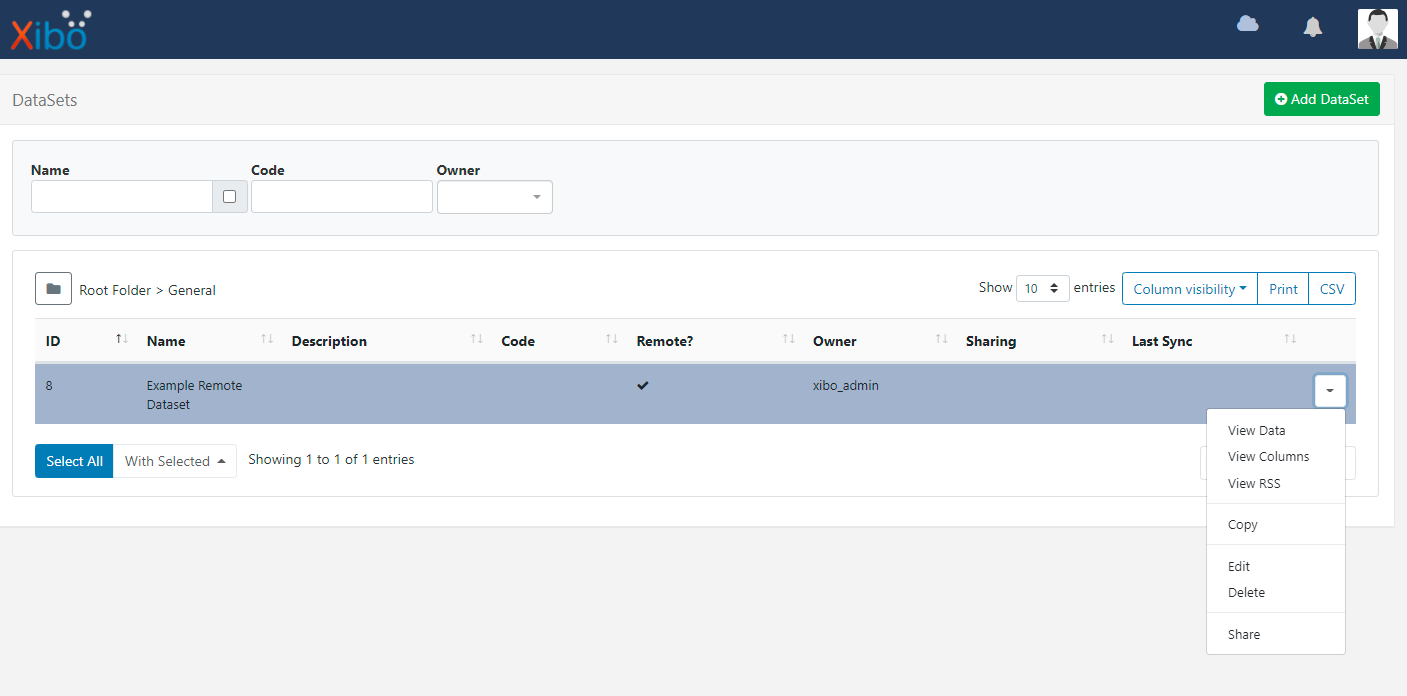
The next step is to set up the columns for your DataSet. I will create a single column that will store the date data from my example DataSet. Click the button at the end of the entry for your DataSet and choose View Columns from the menu.
You will see there is a default column already created. Click the row menu button for this column and choose Edit from the menu. You can see in the screenshot below how I have configured this column:
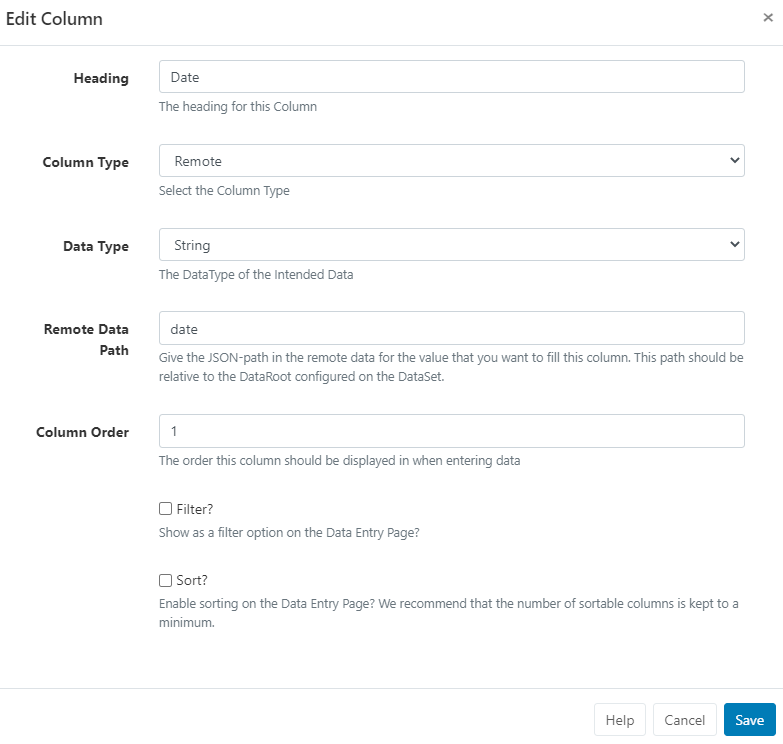
Headingis the name of the column.Column Typehas been set toRemoteas we are using a Remote DataSet.Data Typeis set to string as I want to show this as a string value. You will need to configure this to the appropriate data type for your use case.Remote Data Pathis where you set the path to the data you wish to be returned for this column. You can see in my earlier screenshot that the data I want to use is saved under thedateelement in my remote data source, so I will reference that in this field.- The
Column Order,Filter?andSort?options will determine how the row data in your column is ordered when viewing it in your CMS. I will only have a single column in this example but you may need to configure these options depending on your use case.
Step 3: Create your layout.
The DataSet has now been created and the column I want to use to return the data has been configured. Now we need to make a layout that will display that data to your audience. At this point you can choose to use the DataSet Ticker or DataSet View widget in your layout. Please read the documentation in the links to those widgets for more information about the differences between them. I will use the DataSet Ticker for this guide.
You will not see your remote data until you have created and scheduled a layout that uses your Remote DataSet.
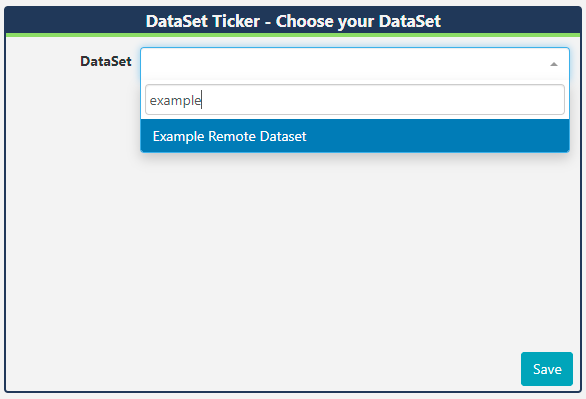
I have added a DataSet Ticker to my layout. The first step is to select your Remote DataSet:
Next we need to go to each tab to configure the DataSet Ticker Widget.
General:
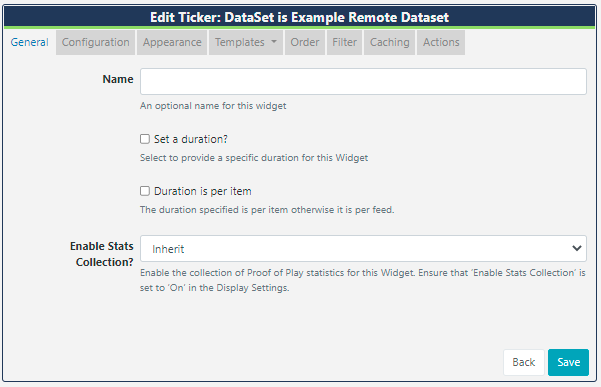
This is where you can set the duration of your widget, either as a set total or calculated based on the number of items you are displaying.
Configuration:
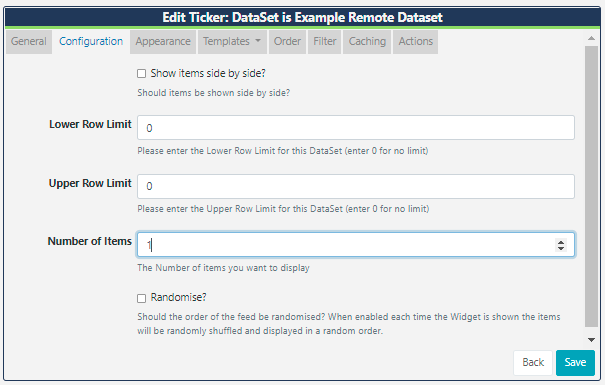
The Configuration tab is where you set the maximum number of items to be displayed in your layout, whether they are shown side by side and the Upper and Lower Row Limits for your data. More information about these options can be found in the documentation for this widget. I will return a single item for this test, so I will set the Number of Items to 1.
Appearance:
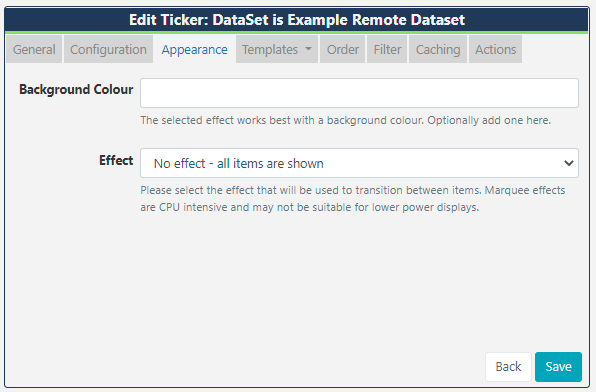
You can set the background colour for your ticker here and also set a transition for your data. This is also where you would choose whether you want all items shown at once or a paged setup, where items are shown separately.
Templates:
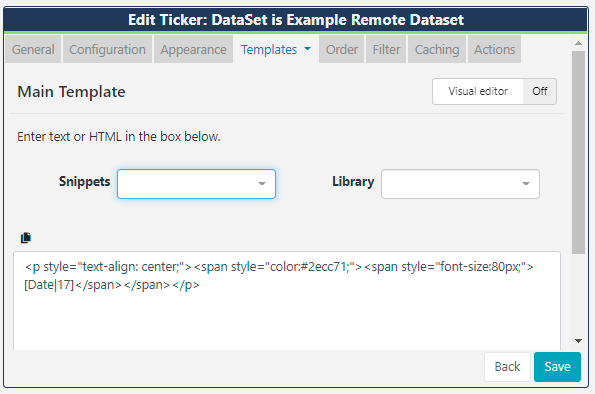
The Templates tab is where you will configure what you would like to display in your Layout from your DataSet. You can see in the above screenshot that I have some HTML that includes the formatting I would like to use for the Date data in the remote DataSet. When referencing the column data I wish to show, I selected the Snippets box in the above screenshot and chose the Date column I configured earlier in the DataSet.
The snippet
[Date|17]was added automatically when I chose the column I wanted to use in my widget. Each DataSet column will have its own unique ID that is automatically created by the CMS.
If you are unfamiliar with HTML, you can switch the Visual Editor on, using the button in the above screenshot. The preview window in the designer will open the text format options when the edit button in the middle of the window is clicked. You can see in the below screenshot that the Snippets box is now beneath the preview window.

If you select the Templates tab again you will also see:
No Data, which allows you to configure a message to be shown if there is no DataSet data to be displayed.Optional Stylesheet, which allows you to add CSS formatting to the widget.Optional Javascript, for adding Javascript.
Order/Filter:
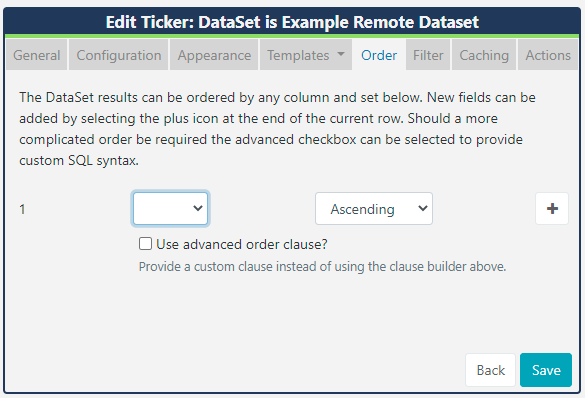
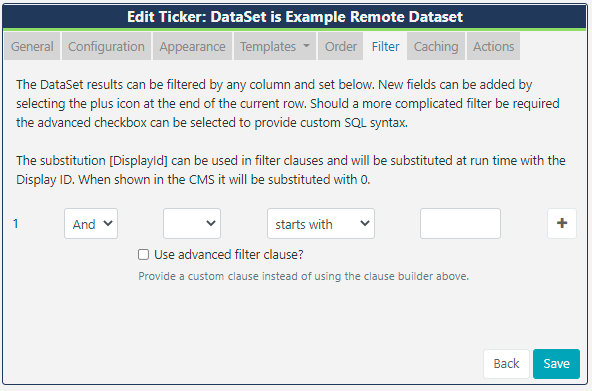
You can use the Order and Filter tabs to configure in what order your data will appear or to filter for specific row data if you do not wish to show all entries in a column. The Use advanced filter clause when ticked will allow you to enter your own SQL clauses if you find the standard options do not meet your requirements.
Caching:
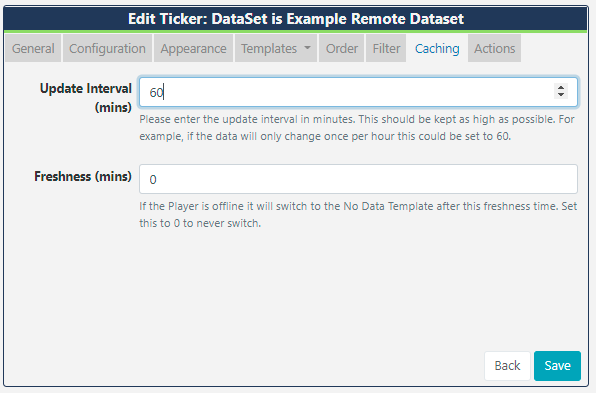
This option determines how often the data being shown in your layout will need to be updated. As suggested in the comments in the above screenshot, this should be managed carefully as it will require more bandwidth the more frequently you want the data to be updated. If the data in your remote DataSet is not likely to change often then a higher interval would be preferable, as it will reduce the load on your CMS.
The Freshness option can be used if you would like to set an upper time limit for how long the current data will show for when a display is offline. Once that limit is reached the No Data page will be displayed. For this guide we will not need this so it will remain set at 0, which means the data will remain on the display until it is replaced with new data.
The Freshness option is available from version 3.0.0 onwards.
Notes on Update Interval, your player Collect Interval and the Fetch Remote DataSet Task.
The Update Interval setting in your widget determines an upper time limit before the widget expects new data to be retrieved from the DataSet in your CMS. This is separate from the Fetch Remote DataSets task in your CMS, which is configured to connect to your remote data source, retrieve the data and save it to your DataSet in your CMS. The Collect Interval for your player determines how often the player will connect to your CMS to check for changes/updates to the scheduled events and required files for that player. Each will therefore effect how often and when new data is downloaded.
To help visualise this, please consider the following example. You would like the data in your widget to be updated every 30 minutes so you have set the Update Interval in your widget to 30 minutes. Your player has a default Collect interval set to 5 minutes and the Fetch Remote DataSets task in your CMS will run every hour.
- Your player will connect to your CMS every 5 minutes to see if any changes to the schedule, events or layouts need to be downloaded.
- Every 30 minutes your DataSet widget in your scheduled layout will request the data from your DataSet to be downloaded again the next time the player connects to your CMS.
- The data in your DataSet will be updated once an hour when the Fetch Remote DataSet task runs.
In the above example you would find that the data in your DataSet will be downloaded approximately twice an hour but the data in your DataSet will only update once an hour. In the meantime the player will have connected to your CMS approximately 12 times within that hour. With this in mind you should consider how best to configure all three of these settings to avoid unnecessary bandwidth and load on your CMS and players. This is particularly important if you are hosting multiple players that all require DataSet data from your CMS. Please also note that the DataSet ticker or DataSet view widget will not update to the new data until it reloads. With this in mind, please also consider the duration of your DataSet widgets in your layout as this can also delay new data displaying in your layout.
Actions:
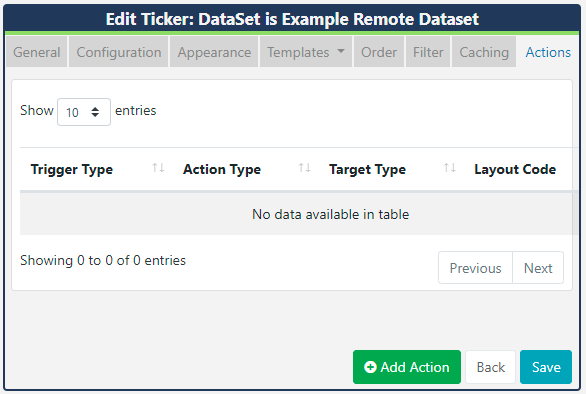
Version 3 supports interactive Actions, which allows you to create touch/click or web hook events for your widgets. Please see the documentation link for more information on how to configure them. For this guide we will not use this functionality.
Step 4: Scheduling the layout.
Now that you have finished configuring your DataSet and layout you can schedule it to your player. Remember that the remote data will not be fetched from your remote data source until the layout has been scheduled to a player.
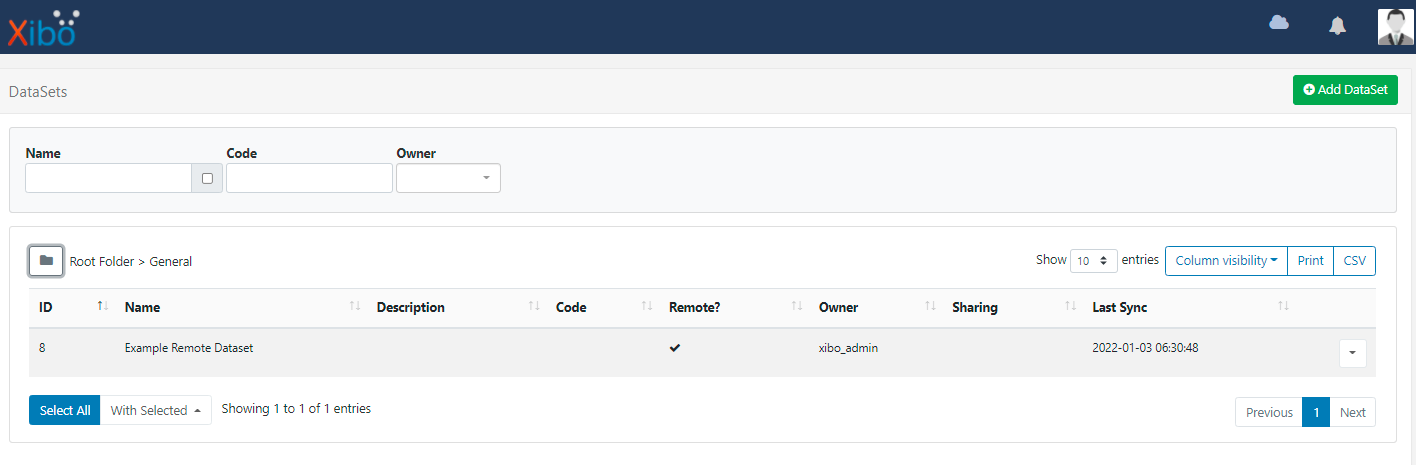
You can see in my screenshot that the Last Sync column has updated to confirm when the data was successfully retrieved:
You can manually run the Fetch Remote DataSet task by going to the
Tasksmenu in your CMS, then click the button at the end of the Fetch Remote DataSet task and chooseRun Now