This is a guide to install Xibo with Docker on Ubuntu 22.04, working through the Xibo for Docker on Linux instructions
For the purpose of this walkthrough I am starting with a standard Ubuntu 22.04 Server x64 machine, with at least 2GB of RAM, and 2GB of swap, logged in as the “root” user.
Install Docker
apt install docker.io docker-compose
That’s all the dependencies for Xibo installed.
Install the Xibo CMS
Lets now install the CMS:
mkdir /opt/xibo
cd /opt/xibo
wget -O xibo-docker.tar.gz https://xibosignage.com/api/downloads/cms
tar --strip-components=1 -zxvf xibo-docker.tar.gz
We now have the docker-compose files extracted in to /opt/xibo
Create config.env file
We need to create a config.env file per the install guide. Lets do that, ensuring we set a MYSQL_PASSWORD value. This must be alpha-numeric only. ie made up of A-Z a-z 0-9. No spaces, punctuation or other special characters. For example, something like BTvjCyqQEZ8kGPrb would work. Clearly, do not use that password!
A link to a random password generator is provided in the comments and is the best thing to use!
cp config.env.template config.env
nano config.env
Save your changes and quit.
Now bring the CMS up
docker-compose up -d
Please note: It is normal for you to experience a delay whilst the CMS finishes setting up, please be patient.
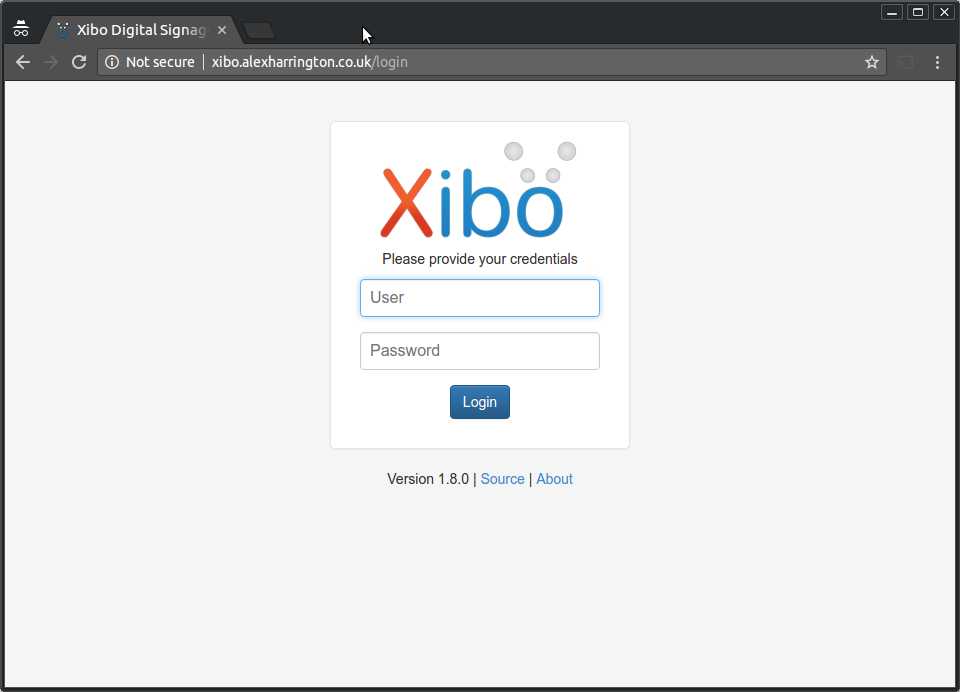
The CMS will be downloaded and run, and you should be able to log in at the IP address of your server. I have a DNS name pointed to my server (xibo.alexharrington.co.uk) so I can simply enter that name:
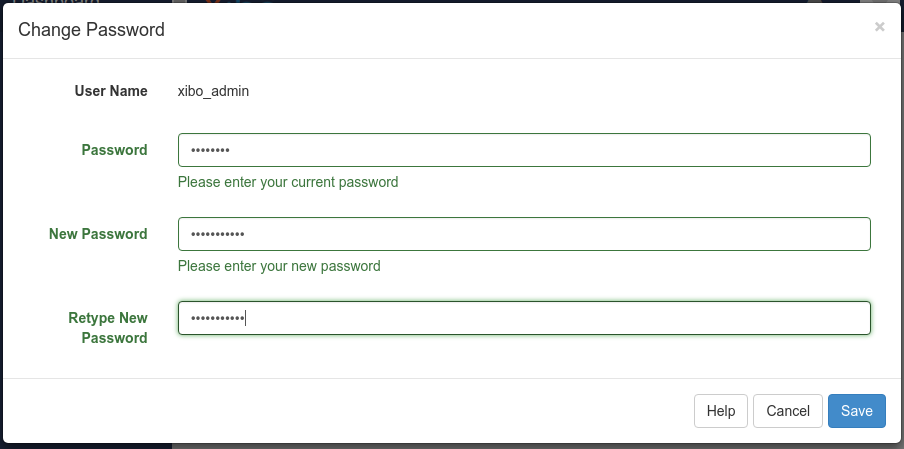
First thing to do is to change our xibo_admin account password:
Once that’s changed, we’re ready to use the CMS over HTTP only. Work through the CMS Post Installation Guide for setup information.
You should consider setting up a firewall. As a bare minimum, the following will set you up the ufw firewall with the right ports open for HTTP, SSH and XMR:
ufw allow ssh
ufw allow 80/tcp
ufw allow 9505/tcp
ufw enable
Adding SSL Support
There are several ways you could add SSL support to this configuration.
The simplest is to install Apache on the host Ubuntu server, and have it proxy the SSL requests into our container.
First, we need to stop the running CMS since we’ll need port 80 for our Apache server.
cd /opt/xibo
docker-compose down
Now move Xibo on to a different port number.
We’ll be following the instructions to install Xibo for Docker on Linux from the “Using different ports” heading.
cp cms_custom-ports.yml.template cms_custom-ports.yml
rm docker-compose.yml
nano cms_custom-ports.yml
Edit the “ports” section of the cms-xmr and cms-web services so they read as follows:
version: "2.1"

services:
    cms-db:
        image: mysql:5.7
        volumes:
            - "./shared/db:/var/lib/mysql:Z"
        restart: always
        environment:
            - MYSQL_DATABASE=cms
            - MYSQL_USER=cms
            - MYSQL_RANDOM_ROOT_PASSWORD=yes
        mem_limit: 1g
        env_file: config.env
    cms-xmr:
        image: ghcr.io/xibosignage/xibo-xmr:0.9
        ports:
            - "9505:9505"
        restart: always
        mem_limit: 256m
        env_file: config.env
    cms-web:
        image: ghcr.io/xibosignage/xibo-cms:release-3.3.5
        volumes:
            - "./shared/cms/custom:/var/www/cms/custom:Z"
            - "./shared/backup:/var/www/backup:Z"
            - "./shared/cms/web/theme/custom:/var/www/cms/web/theme/custom:Z"
            - "./shared/cms/library:/var/www/cms/library:Z"
            - "./shared/cms/web/userscripts:/var/www/cms/web/userscripts:Z"
            - "./shared/cms/ca-certs:/var/www/cms/ca-certs:Z"
        restart: always
        links:
            - cms-db:mysql
            - cms-xmr:50001
        environment:
            - XMR_HOST=cms-xmr
            - CMS_USE_MEMCACHED=true
            - MEMCACHED_HOST=cms-memcached
        env_file: config.env
        ports:
            - "127.0.0.1:8080:80"
        mem_limit: 1g
    cms-memcached:
        image: memcached:alpine
        command: memcached -m 15
        restart: always
        mem_limit: 100M
    cms-quickchart:
      image: ianw/quickchart
      restart: always
So specifically, we changed the line:
            ports:
                 - "65500:9505"
to
            ports:
                 - "9505:9505"
and
            ports:
                 - "65501:80"
to
            ports:
                 - "127.0.0.1:8080:80"
Save your changes. That will ensure that XMR runs on port 9505 as before, and the web service runs on port 8080 only on the loopback interface.
Bring the containers back up with those changes:
docker-compose -f cms_custom-ports.yml up -d
Now protect that Container with an Apache server and a LetsEncrypt SSL certificate:
apt install apache2
a2enmod proxy
a2enmod proxy_http
a2enmod headers
Edit the default apache config file to create a reverse proxy to our container:
nano /etc/apache2/sites-available/000-default.conf
It should contain
<VirtualHost *:80>

        ServerAdmin webmaster@localhost
        DocumentRoot /var/www/html

        ErrorLog ${APACHE_LOG_DIR}/error.log
        CustomLog ${APACHE_LOG_DIR}/access.log combined

        ProxyPreserveHost On
        RequestHeader set X-Forwarded-Proto expr=%{REQUEST_SCHEME}

        ProxyPass / http://127.0.0.1:8080/
        ProxyPassReverse / http://127.0.0.1:8080/

</VirtualHost>
Save your changes, and then restart Apache
service apache2 restart
Our CMS should now be available back on port 80.
If you’re using ufw, lets put a rule in for https traffic now
ufw allow 443/tcp
Then install letsencrypt (from Certbot Instructions | Certbot)
snap install core
snap refresh core
apt-get remove certbot
snap install --classic certbot
ln -s /snap/bin/certbot /usr/bin/certbot
And then generate a certificate (replacing xibo.alexharrington.co.uk with the DNS name for your server.
certbot --apache -d xibo.alexharrington.co.uk
Do not select the option to automatically redirect requests to https connections. Once the certificate has been issued, try accessing the CMS over https. If it works as expected, log in to the CMS and in the Settings → Network tab, tick the option to “Force HTTPS” connections.
Upgrading
Upgrading is simple. The steps below show the steps to take to upgrade taking a full backup before hand. Run these as the root user.
# Stop the running container
cd /opt/xibo

# With SSL
docker-compose -f cms_custom-ports.yml stop

# Without SSL
docker-compose stop

# Backup the existing container data
cd /opt
# Delete any old backup version
rm -r xibo-backup
cp -rp xibo xibo-backup

# Download the new docker-compose files
cd /opt/xibo
wget -O xibo-docker.tar.gz https://xibosignage.com/api/downloads/cms
tar --strip-components=1 -zxvf xibo-docker.tar.gz
NOTE: If you are upgrading then remove the old xibo-docker.tar.gz file to avoid creating duplicate files:
cd /opt/xibo
rm xibo-docker.tar.gz
wget -O xibo-docker.tar.gz https://xibosignage.com/api/downloads/cms
If you didn't enable SSL, then

    docker-compose pull
    docker-compose up -d

If you did enable SSL, then you'll need to:

    rm docker-compose.yml
    cp cms_custom-ports.yml cms_custom-ports.yml.old
    cp cms_custom-ports.yml.template cms_custom-ports.yml
    nano cms_custom-ports.yml

Make the same edits to this file as in the install guide above, to specify the correct ports to use, and then run

    docker-compose -f cms_custom-ports.yml pull
    docker-compose -f cms_custom-ports.yml up -d

It can take several minutes for the upgrade to complete and the webserver to start - particularly when going between major or minor CMS versions.

    docker-compose [-f cms_custom-ports.yml] logs -f cms-web

will give you diagnostic information as to what is happening. It is normal to see an error like

    mysqldump: Error: 'Access denied; you need (at least one of) the PROCESS privilege(s) for this operation' when trying to dump tablespaces

or

    AH00558: httpd: Could not reliably determine the server's fully qualified domain name, using 172.19.0.4. Set the 'ServerName' directive globally to suppress this message

and these can safely be ignored.